|
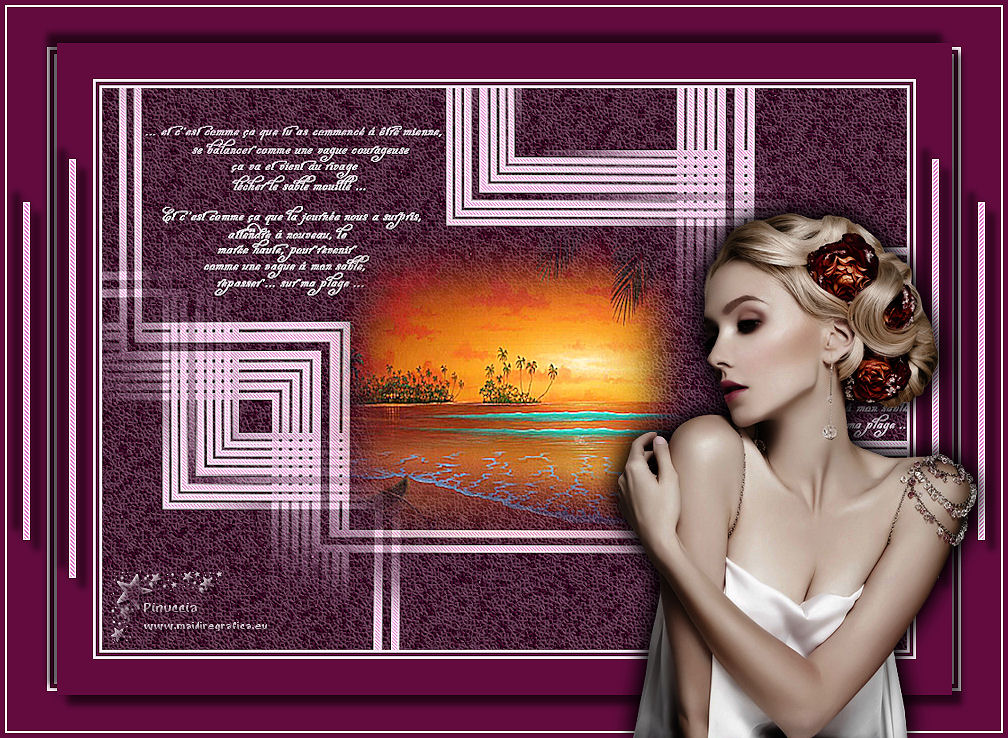
MON POÈME


Thanks Emilieta for your invite to translate your tutorials into english.
Here you can find the original tutorial.

This tutorial has been translated with PSPX2, but it can also be made using other versions of PSP.
Since version PSP X4, Image>Mirror was replaced with Image>Flip Horizontal,
and Image>Flip with Image>Flip Vertical, there are some variables.
In versions X5 and X6, the functions have been improved by making available the Objects menu.
In the latest version X7 command Image>Mirror and Image>Flip returned, but with new differences.
See my schedule here
french translation here
your versions here
Material here
Tube woman by Kahlan
Tube landscape by Kamil
Mask by Emilieta
Poem Mi Arena mi playa, author registered in Safeti Creative-Emilieta.
(The links of the tubemakers here).
Plugins
consult, if necessary, my filter section here
Filters Unlimited 2.0 here
Penta.com - Jeans here
Xenofex 1.1 - Baked Earth here
Filters Penta.com can be used alone or imported into Filters Unlimited.
(How do, you see here)
If a plugin supplied appears with this icon  it must necessarily be imported into Unlimited it must necessarily be imported into Unlimited

You can change Blend Modes according to your colors.
Copy the Selection in the Selections Folder.
Open the mask in PSP and minimize it with the rest of the material.
1. Open a new transparent image 1000 x 700 pixels.
Set your foreground color to #630b3f,
and your background color to #f9e7f5.
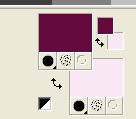
Flood Fill  the transparent image with your foreground color #630b3f. the transparent image with your foreground color #630b3f.
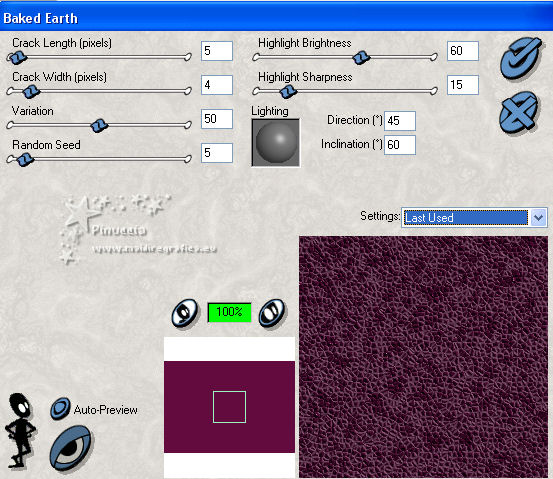
2. Effects>Plugins>Xenofex 1.1 - Baked Earth.
3. Layers>New Raster Layer.
Flood Fill  the layer with your background color #f9e7f5. the layer with your background color #f9e7f5.
4. Layers>New Mask layer>From image
Open the menu under the source window and you'll see all the files open.
Select the mask Lia-lineascruzadas-neg
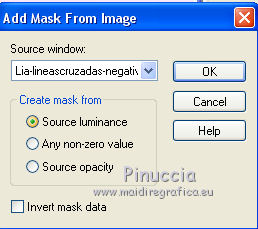
Layers>Merge>Merge group.
5. Effects>Plugins>Penta.com - Jeans, default settings.
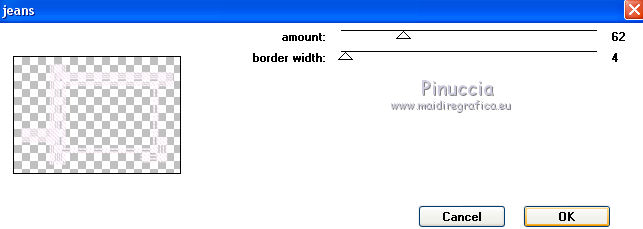
6. Effects>Edge Effects>Enhance More.
7. Effects>Image Effects>Seamless Tiling, default settings.

8. Effects>Reflection Effects>Rotating Mirror.
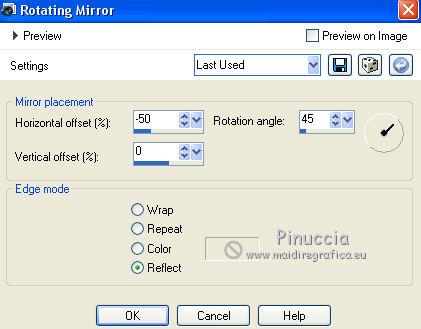
9. Open Poema.pspimage - Edit>Copy.
Go back to your work and go to Edit>Paste as new layer.
Effects>Image Effects>Offset.
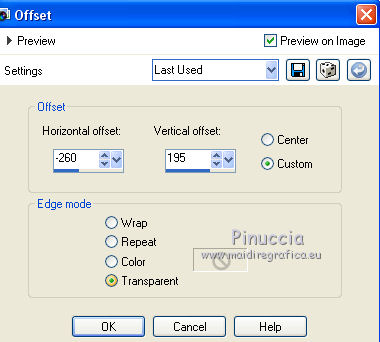
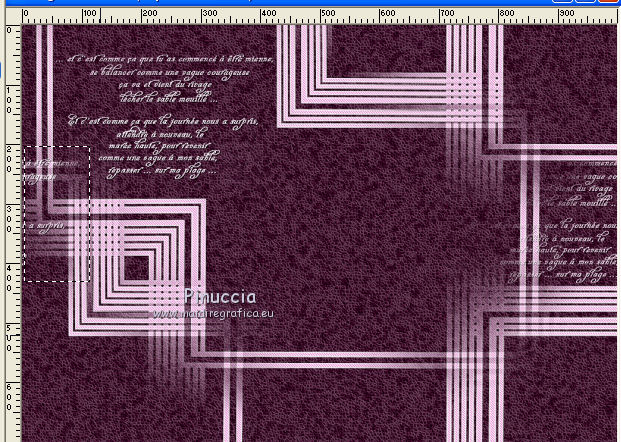
10. Layers>Duplicate.
Effects>Image Effects>Seamless Tiling.
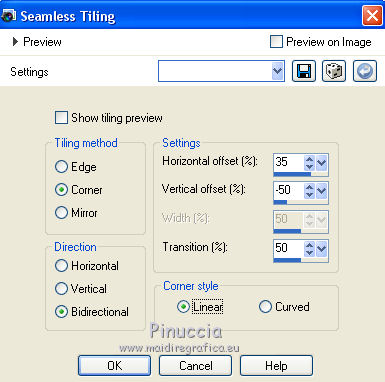
Activate the Erase Tool 
and erase the texte in the left side.
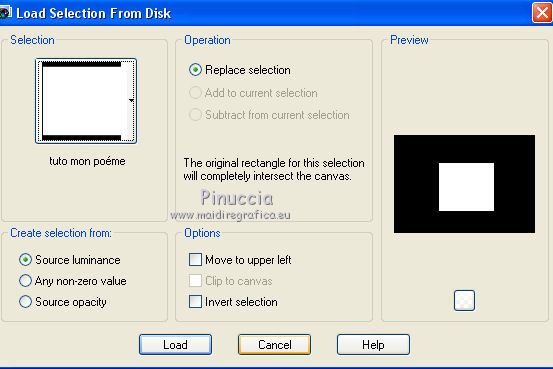
11. Selections>Load/Save Selection>Load Selection from Disk.
Look for and load the selection tuto-mon poème.
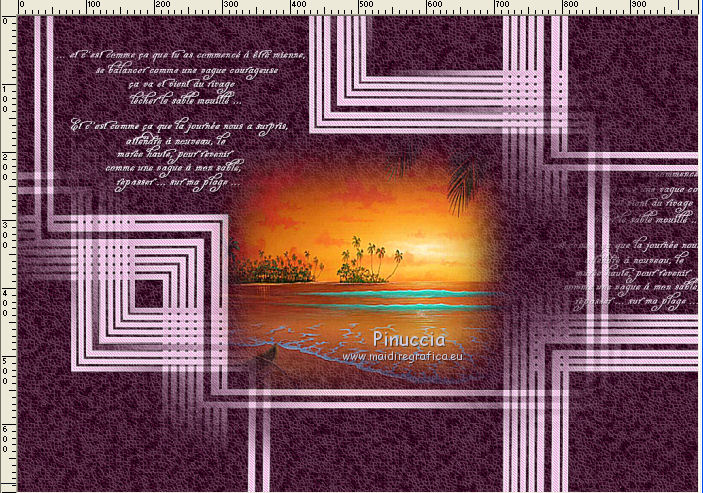
Layers>New Raster Layer.
Open the landscape tube, erase the watermark and go to Edit>Copy.
Go back to your work and go to Edit>Paste into Selection.
Selections>Select None.
Image>Resize, to 120%, resize all layers not checked.
12. Layers>Duplicate.
Image>Merge>Merge Down.
Adjust>Sharpness>Sharpen More - 2 times.
Move  the tube a bit to the left. the tube a bit to the left.
13. Layers>New Raster Layer.
Flood Fill  the layer with your background color #f9e7f5. the layer with your background color #f9e7f5.
Selections>Select All.
Selections>Modify>Contract - 3 pixels.
Press CANC on the keyboard 
Selections>Select None.
14. Image>Add borders, 5 pixels, symmetric, foreground color.
Image>Add borders, 3 pixels, symmetric, background color.
15. Image>Resize, to 90%, resize all layers checked.
16. Image>Add borders, 40 pixels, symmetric, foreground color.
Layers>Duplicate.
Image>Resize, to 90%, resize all layers not checked.
17. Effects>3D Effects>Drop Shadow.
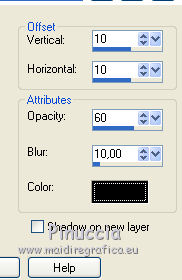
Repeat Drop Shadow, vertical and horizontal -10.
18. Image>Add borders, 2 pixels, symmetric, color white.
Image>Add borders, 5 pixels, symmetric, foreground color.
19. Open the tube adorno barras - Edit>Copy.
Go back to your work and go to Edit>Paste as new layer.
Don't move it.
Effects>3D Effects>Drop Shadow, same settings.
20. Sign your work on a new layer.
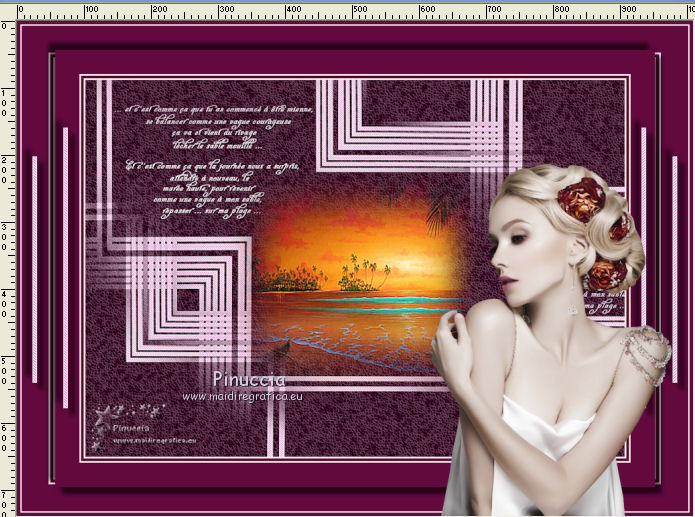
21. Open the femme tube, erase the watermark and go to Edit>Copy.
Go back to your work and go to Edit>Paste as new layer.
Image>Mirror.
Image>Resize, to 80%, resize all layers not checked.
Move  the tube at the bottom right. the tube at the bottom right.
Layers>Duplicate.
Change the Blend Mode of this layer to Multiply.
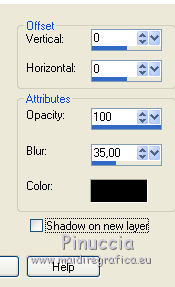
Effects>3D Effects>Drop Shadow.
22. Layers>Merge>Merge All.
Adjust>Sharpness>Sharpen.
Save as jpg.

If you have problems or doubts, or you find a not worked link, or only for tell me that you enjoyed this tutorial, write to me.
24 August 2018
|

