|
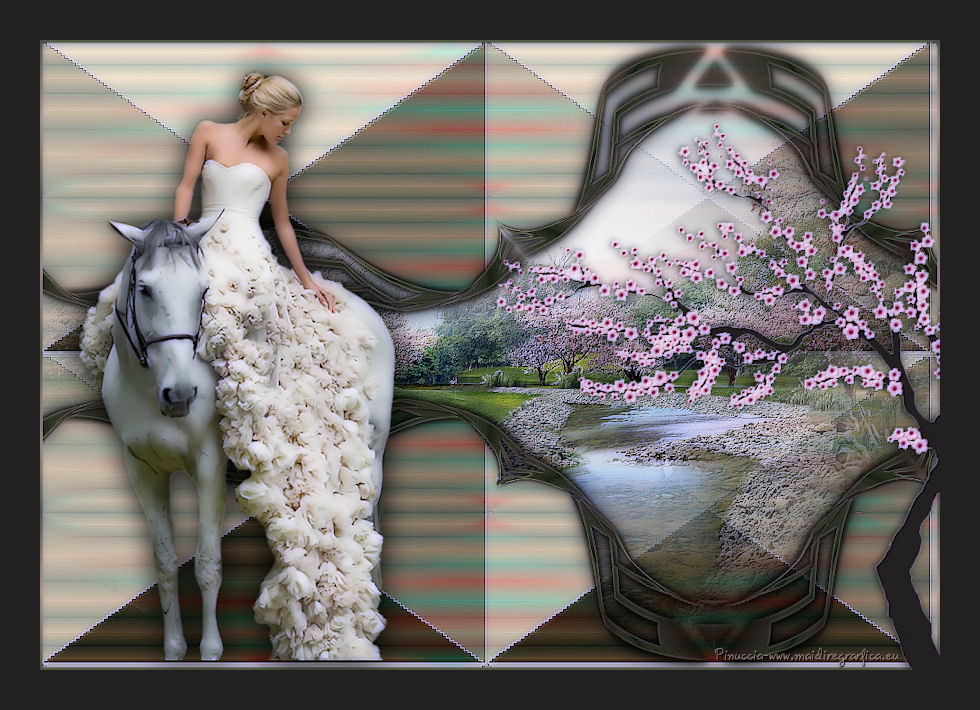
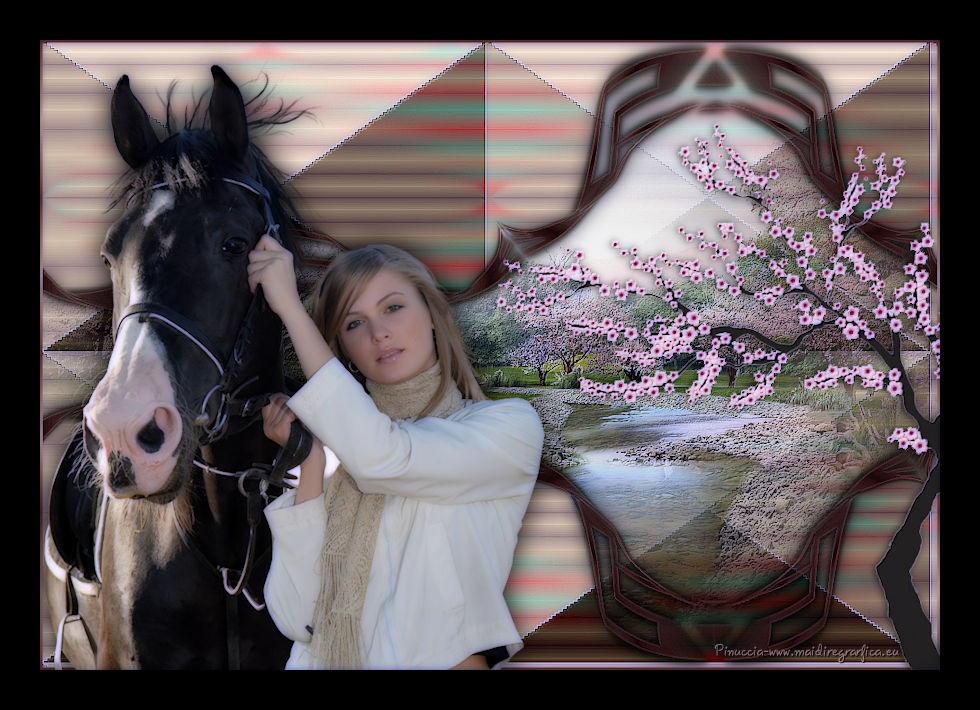
LADY HORSE


Thanks Emilieta for your invite to translate your tutorials into english.
Here you can find the original tutorial.

This tutorial has been translated with PSPX3, but it can also be made using other versions of PSP.
Since version PSP X4, Image>Mirror was replaced with Image>Flip Horizontal,
and Image>Flip with Image>Flip Vertical, there are some variables.
In versions X5 and X6, the functions have been improved by making available the Objects menu.
In the latest version X7 command Image>Mirror and Image>Flip returned, but with new differences.
See my schedule here
french translation here
your versions here
Material here
For the tube thanks DA.
The rest of the material is by Emilieta.
Plugins
consult, if necessary, my filter section here
Filters Unlimited 2.0 here
Andrews Filter 3 - Folding a Tea Cloth here
Unplugged Tools - Pyramids here
Flaming Pear - Flexify 2 here
Xero - Porcelain here
FM Tile Tools - Blend Emboss, Saturation Emboss here
Filters Andrew's and Unplugged Tools can be used alone or imported into Filters Unlimited.
(How do, you see here)
If a plugin supplied appears with this icon  it must necessarily be imported into Unlimited it must necessarily be imported into Unlimited

You can change Blend Modes according to your colors.
In the newest versions of PSP, you don't find the foreground/background gradient (Corel_06_029).
You can use the gradients of the older versions.
The Gradient of CorelX here
Open the mask in PSP and minimize it with the rest of the material.
1. Open a new transparent image 1000 x 700 pixels.
2. Set your foreground color to #583030,
Set your background color to #d5b28c.
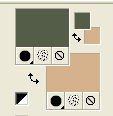
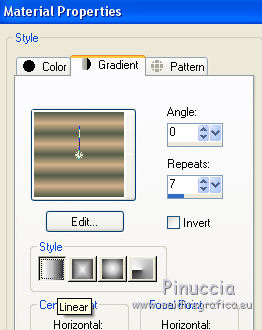
Set your foreground color to a Foreground/Background Gradient, style Linear.
Flood Fill  the transparent image with your Gradient. the transparent image with your Gradient.
3. K key to activate the Pick Tool 
mode Scale  , ,
push the central node at the top, down at 350 pixels
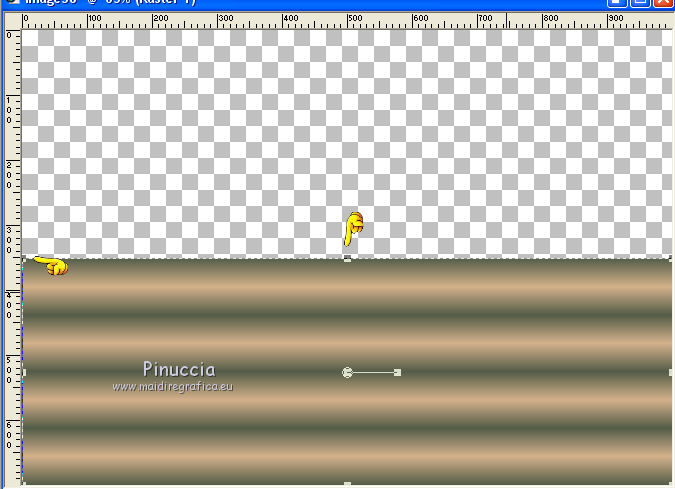
and the central right node to the left at 500 pixels.
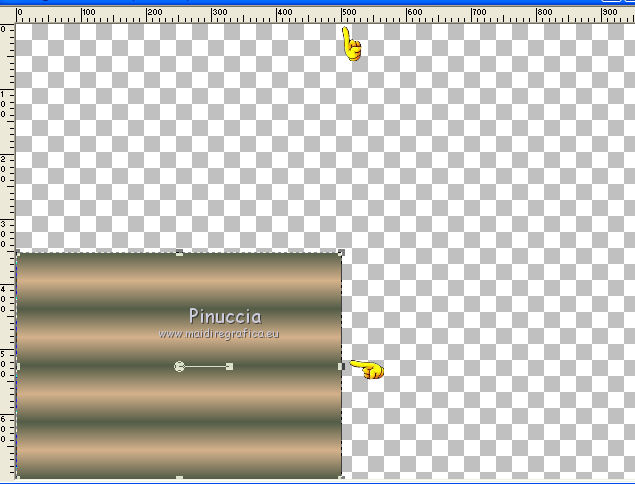
4. Layers>Duplicate.
Image>Flip.
5. Layers>Merge>Merge visible.
6. Layers>Duplicate.
Image>Mirror.
Layers>Merge>Merge visible.
7. Effects>Distortion Effects>Pinch

8. Effects>Image Effects>Seamless Tiling.

9. Effects>Plugins>Andrew's 3 - Folding a Tea Cloth, default settings.
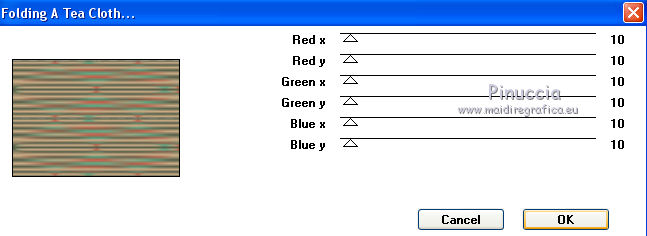
10. Effects>Plugins>Unplugged Tools - Pyramids.
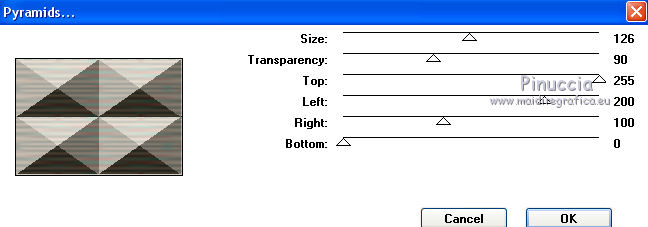
Effects>Edge Effects>Enhance More.
11. Effects>Plugins>FM Tile Tools - Saturation Emboss, default settings.

12. Layers>New Raster Layer.
Set your foreground color to Color.
Flood Fill  the layer with your dark foreground color. the layer with your dark foreground color.
13. Layers>New Mask layer>From image
Open the menu under the source window and you'll see all the files open.
Select the mask Lia_Mask_marc-1.
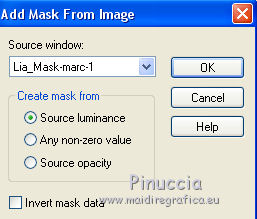
Layers>Merge>Merge Group.
14. Layers>Duplicate - 2 times.
Change the Blend Mode of the first copy to Multiply.
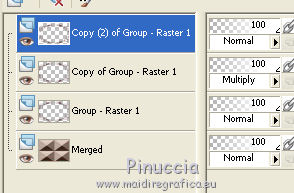
Keep the top layer selected
Layers>Merge>Merge Down, 2 times.
15. Effects>3D Effects>Drop Shadow, color #583030.
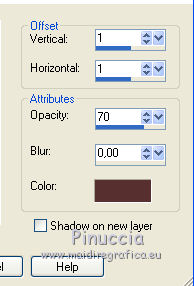
Repeat Drop Shadow, but vertical and horizontal -1.
16. Again Effects>3D Effects>Drop Shadow.
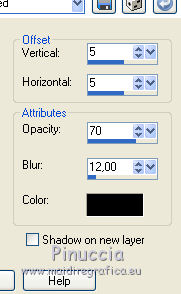
Repeat Drop Shadow, but vertical and horizontal -5.
17. Effects>Geometric Effects>Circle.

18. Effects>Plugins>Flaming Pear - Flexify 2.
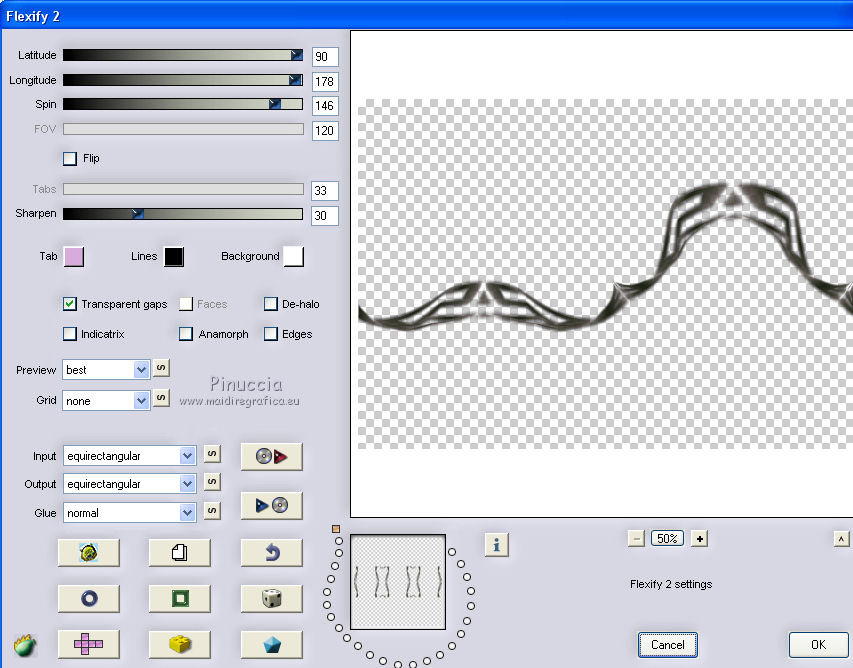
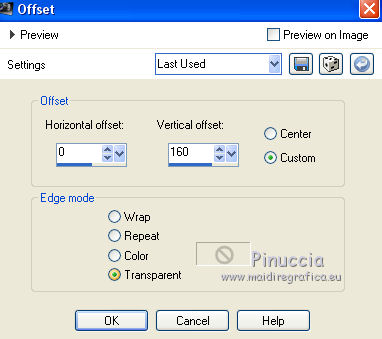
19. Effects>Image Effects>Offset.
20. Layers>Duplicate.
Image>Flip.
Layers>Merge>Merge Down.
21. Effects>3D Effects>Drop Shadow.
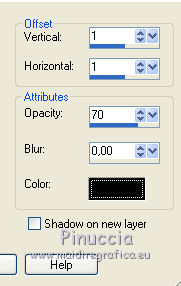
Repeat Drop Shadow, but vertical and horizontal -1.
22. Again Effects>3D Effects>Drop Shadow.
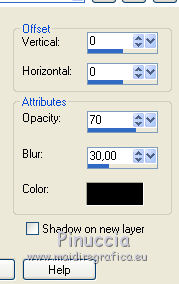
Effects>Edge Effects>Enhance More.
23. Layers>New Raster Layer.
Set again your foreground color to Gradient.
Flood Fill  the layer with your gradient. the layer with your gradient.
24. Selections>Select All.
Selections>Modify>Contract - 3 pixels.
Press CANC on the keyboard 
Selections>Select None.
Layers>Merge>Merge Down.
25. Open the landscape tube - Edit>Copy.
Go back to your work and go to Edit>Paste as new layer.
Layers>Arrange>Move Down.
Layers>Duplicate.
Layers>Merge>Merge Down.
Adjust>Sharpness>Sharpen.
26. Effects>Plugins>FM Tile Tools - Blend Emboss, default settings.

27. Activate the top layer.
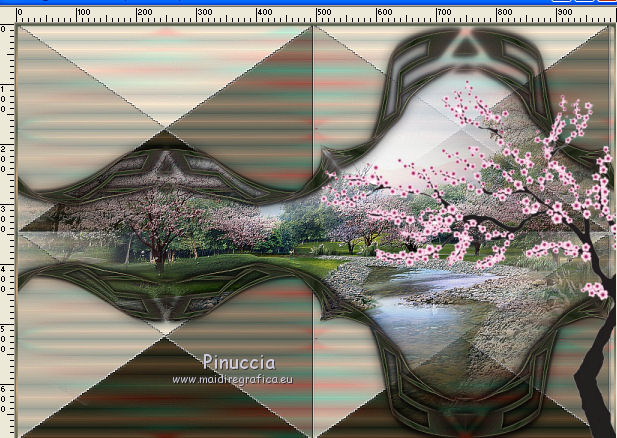
Open the tree tube - Edit>Copy.
Go back to your work and go to Edit>Paste as new layer.
Move  the tube at the bottom right. the tube at the bottom right.
28. Effects>3D Effects>Drop Shadow, color black.
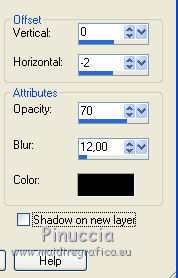
Effects>Plugins>FM Tile Tools - Blend Emboss, default settings.
29. Open the tube of the woman on the horse - Edit>Copy.
Go back to your work and go to Edit>Paste as new layer.
Image>Resize, to 60%, resize all layers not checked.
Adjust>Sharpness>Sharpen - 2 times.
Effects>Image Effects>Offset.
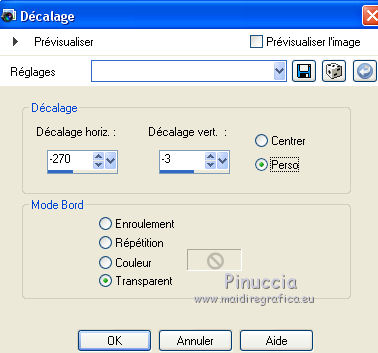
30. Effects>3D Effects>Drop Shadow, color black.
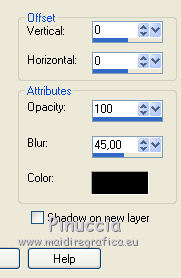
31. Layers>Merge>Merge All.
Image>Resize, to 90%, resize all layers checked.
32. Image>Add borders, 40 pixels, symmetric, with a dark color of the tree trunk #242122.
33. Sign your work on a new layer.
Layers>Merge>Merge All.
34. Effects>Plugins>Xero - Porcelain, default settings.
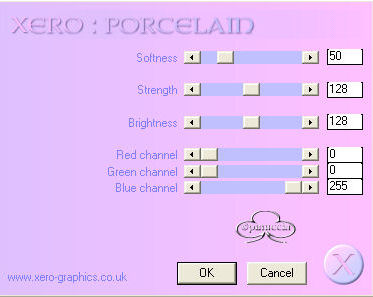
Save as jpg.
The tube of this version is by Anna.br.

If you have problems or doubts, or you find a not worked link, or only for tell me that you enjoyed this tutorial, write to me.
30 January 2018
|

