|
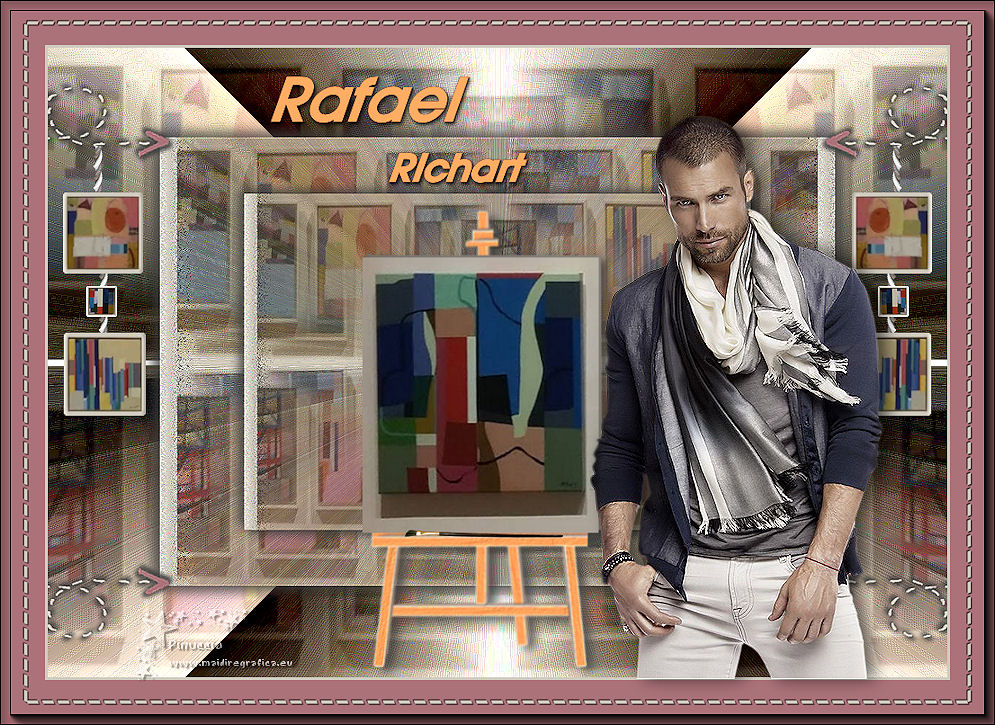
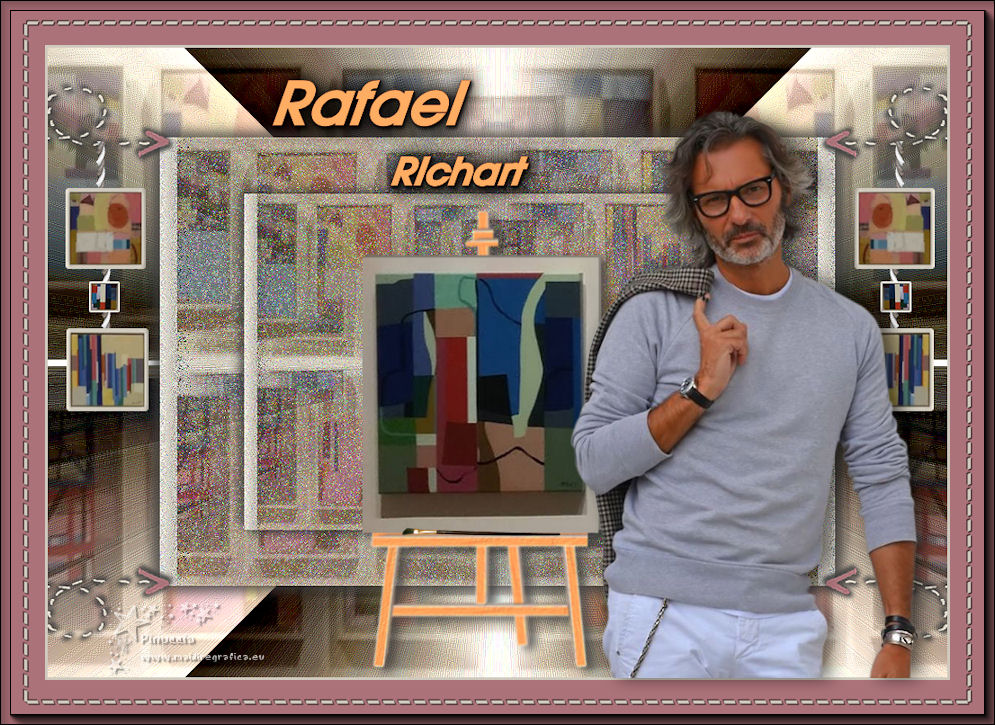
RAFAEL RICHART

Thanks Emilieta for your invite to translate your tutorials into english.
This tutorial has been translated with PSPX7, but it can also be made using other versions of PSP.
Since version PSP X4, Image>Mirror was replaced with Image>Flip Horizontal,
and Image>Flip with Image>Flip Vertical, there are some variables.
In versions X5 and X6, the functions have been improved by making available the Objects menu.
In the latest version X7 command Image>Mirror and Image>Flip returned, but with new differences.
See my schedule here
french translation here
your versions here
Material here
Author of the pictures: RAFAEL RICHART BERNABEU
Tube Rafael-Amaya de LB Tubes
The rest of the material is by Emilieta
(The links of the tubemakers here).
Plugins
consult, if necessary, my filter section here
Filters Unlimited 2.0 here
Two Moon - PaperFold here
FM Tile Tools - Saturation Emboss here
AAA Frames - Foto Frame here
Filters Two Moon can be used alone or imported into Filters Unlimited.
(How do, you see here)
If a plugin supplied appears with this icon  it must necessarily be imported into Unlimited it must necessarily be imported into Unlimited

You can change Blend Modes according to your colors.
1. Open a new transparent image 1000 x 700 pixels.
Selections>Select All.
Open the image Pinturas Rafael Richart and go to Edit>Copy.
Go back to your work and go to Edit>Paste into Selection.
Selections>Select None.
2. Effects>Image Effects>Seamless Tiling, default settings.

3. Layers>Duplicate.
Adjust>Blur>Radial Blur.
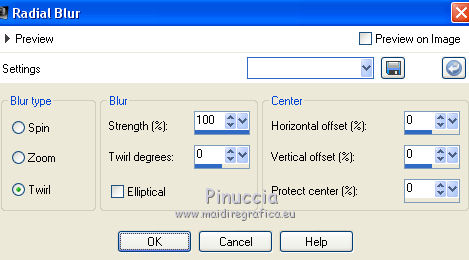
Reduce the opacity of this layer to 50%.
Effects>Edge Effects>Enhance More - 2 times.
4. Effects>Image Effects>Seamless Tiling, default settings.

5. Effects>Plugins>FM Tile Tools - Saturation Emboss, default settings

6. Layers>Merge>Merge visible.
7. Layers>Duplicate.
Image>Resize, to 75%, resize all layers not checked.
8. Edit>Copy.
Edit>Paste as new image, and work on this new image.
Image>Add borders, symmetric not checked, color #d0cabe.
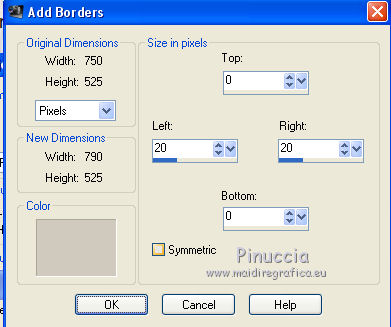
Activate your Magic Wand Tool 
and click on the two borders to select them.
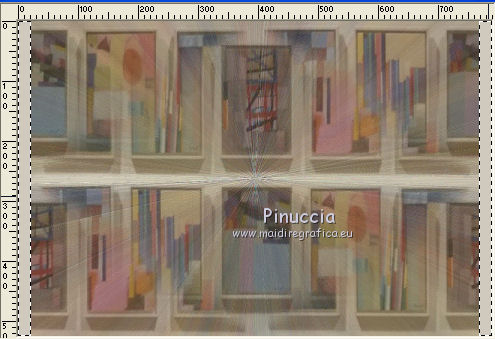
9. Set your foreground color to #d0cabe.
Layers>New Raster Layer.
Flood Fill  with color #d0cabe. with color #d0cabe.
10. Adjust>Add/Remove Noise>Add Noise.
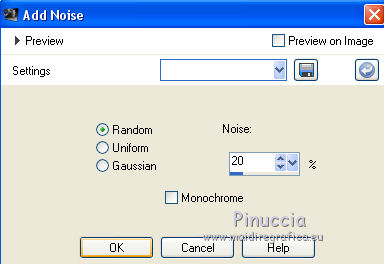
Selections>Select None.
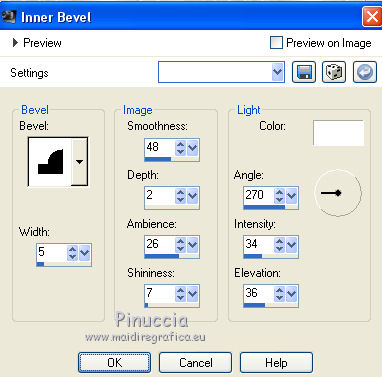
11. Effects>3D Effects>Inner Bevel.
12. Effects>3D Effects>Drop Shadow, color #404040.
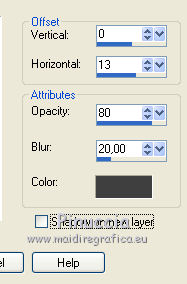
Repeat Drop Shadow, horizontal -13.

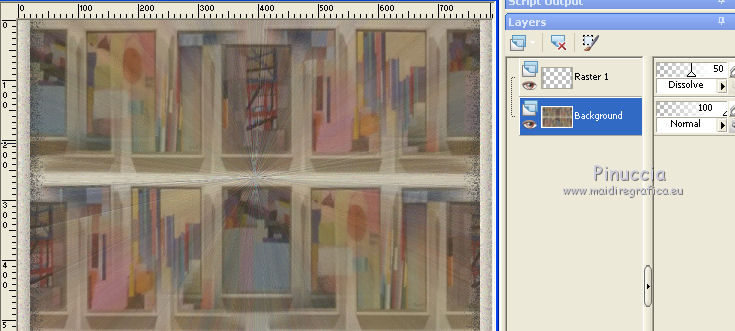
Change the Blend Mode of this layer to Dissolve and reduce the opacity to 50.
For my second version, I applied Adjust>Add/Remove Noise/Add Noise also on the background layer.
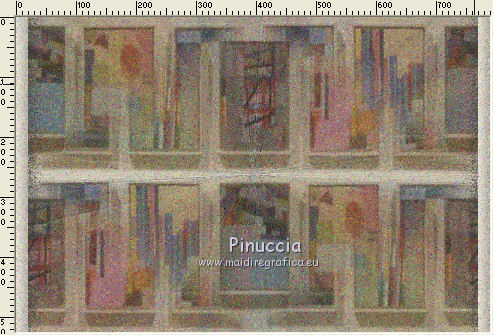
13. Layers>Merge>Merge visibles.
Edit>Copy.
14. Go back to your original work.
Delete the layer you copied for creating the second image.
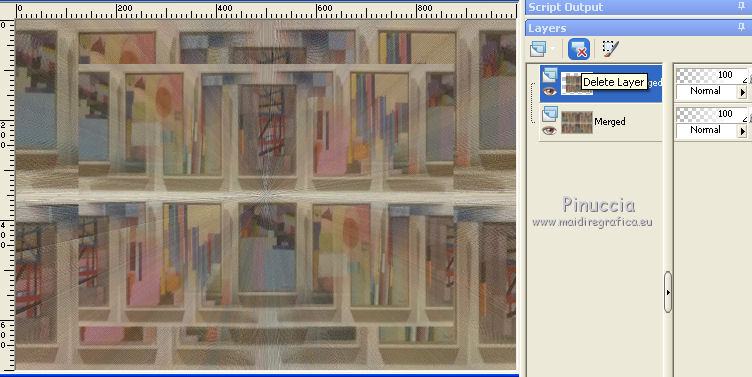
Edit>Paste as new layer.
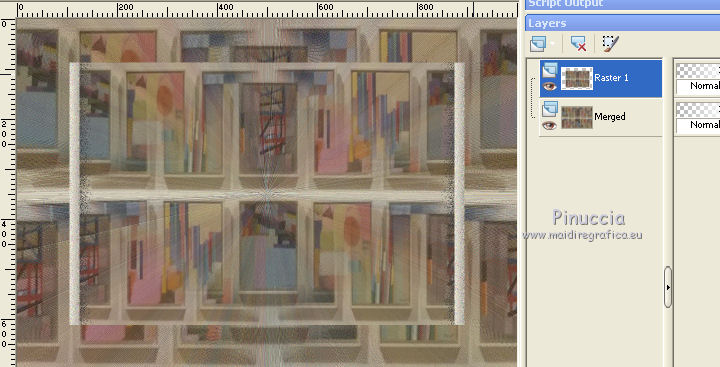
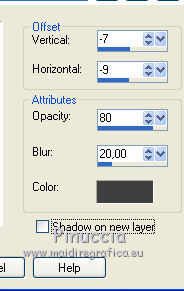
15. Effects>3D Effects>Drop Shadow.

Repeat Drop Shadow, vertical and horizontal -7/-9.
Layers>Duplicate.
Image>Resize, to 75%, resize all layers not checked.
Layers>Merge>Merge Down.
Adjust>Sharpness>Sharpen - 2 times.
16. Close this layer and activate the background layer.
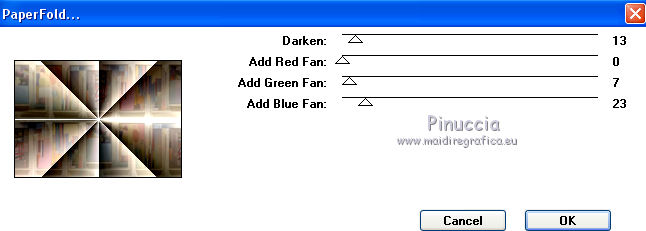
Effects>Plugins>Two Moon - PaperFold.
Image>Mirror.
Effects>Reflection Effects>Rotating Mirror, default settings.

17. Open again and activate the layer above.
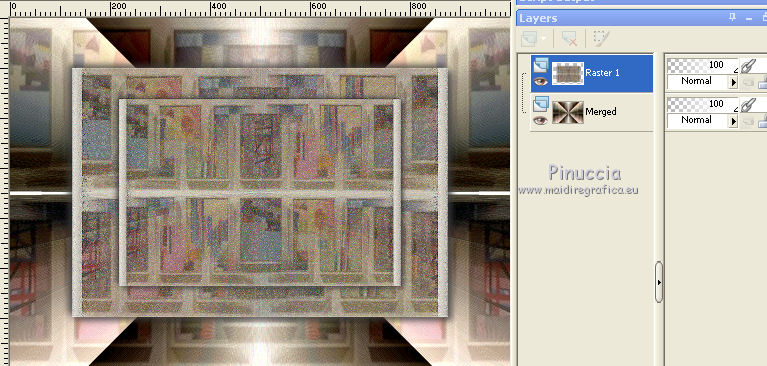
Image>Resize, to 95%, resize all layers not checked.
18. Open the tube Adorno flecha and go to Edit>Copy.
Go back to your work and go to Edit>Paste as new layer.
19. Open the tube cuadre en caballete and go to Edit>Copy.
Go back to your work and go to Edit>Paste as new layer.
Effects>Image Effects>Offset.
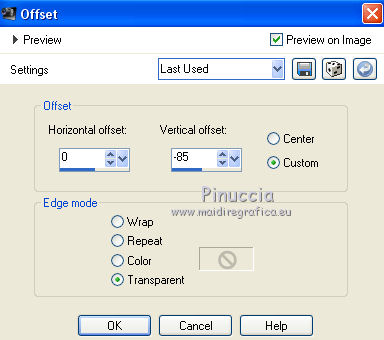
Effects>3D Effects>Drop Shadow.
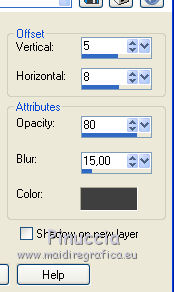
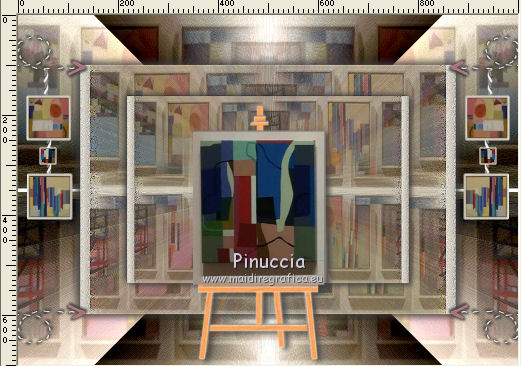
20. Open my "elaboration des cadres" and go to Edit>Copy.
Go back to your work and go to Edit>Paste as new layer.
Place  rightly the tube. rightly the tube.
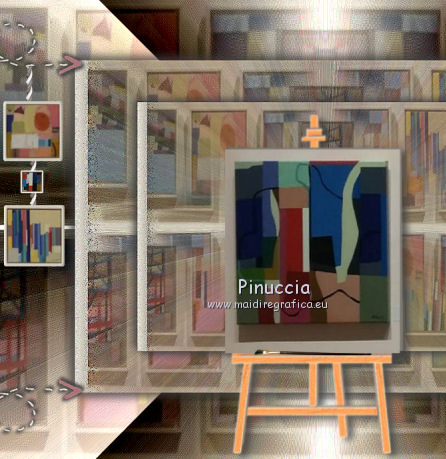
21. Open tube pincel pintor and go to Edit>Copy.
Go back to your work and go to Edit>Paste as new layer.
Place  the tube on the easel. the tube on the easel.
22. Open Tube Texto and go to Edit>Copy.
Go back to your work and go to Edit>Paste as new layer.
Mode  the tube at the top. the tube at the top.
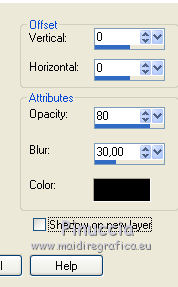
Effects>3D Effects>Drop Shadow
Layers>Duplicate.
23. Image>Add borders, 3 pixels, symmetric, color #d0cabe.
Image>Add borders, 50 pixels, symmetric, color #ab7279.
24. Open the tube adorno marco and go to Edit>Copy.
Go back to your work and go to Edit>Paste as new layer.
Effects>3D Effects>Drop Shadow.
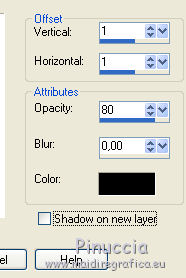
Repeat Drop Shadow, vertical and horizontal -1.
25. Layers>Merge>Merge visible.
26. Image>Resize, to 90%, resize all layers checked.
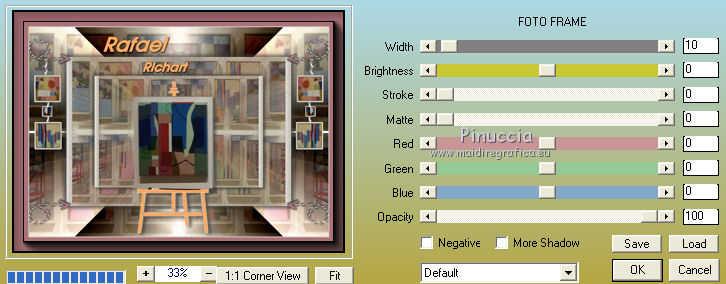
27. Effects>Plugins>AAA Frames - Foto Frame.
28. Open the man tube and go to Edit>Copy.
Go back to your work and go to Edit>Paste as new layer.
Image>Resize, to 85%, resize all layers not checked.
Adjust>Sharpness>Sharpen - 2 times.
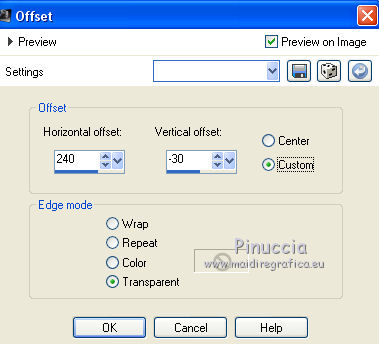
Effects>Image Effects>Offset.
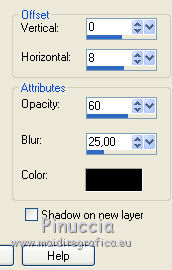
29. Effects>3D Effects>Drop Shadow, color black.
29. Sign your work on a new layer.
Layers>Merge>Merge All.
Adjust>Sharpness>Sharpen.
Save as jpg.
The tube of this version is by Beatriz

If you have problems or doubts, or you find a not worked link, or only for tell me that you enjoyed this tutorial, write to me.
28 April 2019
|