|
EN ORACIÒN


Thanks Emilieta for your invite to translate your tutorials into english.

This tutorial has been translated with PSPX7, but it can also be made using other versions of PSP.
Since version PSP X4, Image>Mirror was replaced with Image>Flip Horizontal,
and Image>Flip with Image>Flip Vertical, there are some variables.
In versions X5 and X6, the functions have been improved by making available the Objects menu.
In the latest version X7 command Image>Mirror and Image>Flip returned, but with new differences.
See my schedule here
french translation here
your versions here
Material here
All the material is by Emilieta
(The links of the tubemakers here).
Plugins
consult, if necessary, my filter section here
AAA Frames - Foto Frame here

You can change Blend Modes according to your colors.
Copy the gradient GOLDGRAD in the Gradients Folder.
Open the texture t044 in PSP and minimize it with the rest of the material.
Don't forget to erase the watermark before copying the tubes.
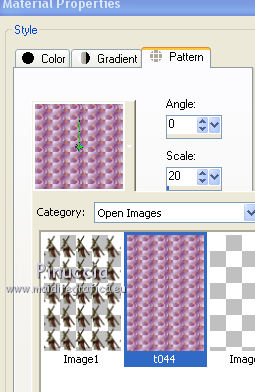
1. Set your foreground color to Gradient and select the gradient GOLDGRAD.

Set your background color to Pattern
under the Opened Images Category, look for and select the texture t044.

2. Open a new transparent image 1000 x 700.
Selections>Selectionner tout.
Open the jpg image of the sky and go to Edit>Copy.
Go back to your work and go to Edit>Paste into Selection.
3. Effects>Reflection Effects>Rotating Mirror.

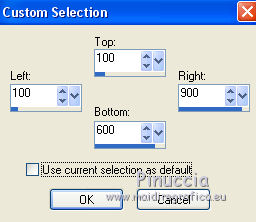
4. Selection Tool 
(no matter the type of selection, because with the custom selection your always get a rectangle)
clic on the Custom Selection 
and set the following settings.
Layers>New Raster Layer.
Edit>Paste into Selection (the ipg image of the sky is still in memory).
5. Layers>New Raster Layer.
Flood Fill  with you foreground Gold Gradient. with you foreground Gold Gradient.
Selections>Modify>Contract - 3 pixels.
Press CANC on the keyboard 
Layers>Merge>Merge Down.
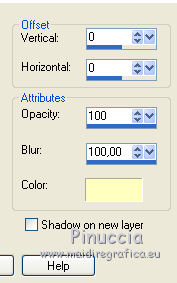
6. Effects>3D Effects>Drop Shadow, color #ffffc0.
Selections>Select None.
7. Open SPARKLE and go to Edit>Copy.
Go back to your work and go to Edit>Paste as new layer.
Reduce the opacity of this layer to 80%.
8. Open the tube of the cross and go to Edit>Copy.
Go back to your work and go to Edit>Paste as new layer.
Place  the tube in the middle, over the horizontal line of the star. the tube in the middle, over the horizontal line of the star.

Layers>Duplicate.
Layers>Merge>Merge Down - 2 times.
9. Image>Resize, to 70%, resize all layers not checked.
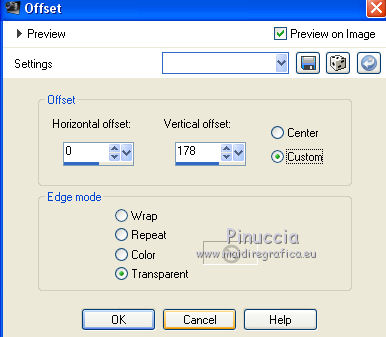
Effects>Image Effects>Offset.
Change the Blend Mode of this layer to Hard Light.
10. Activate the layer above, Raster 2 (the rectangle of the sky).
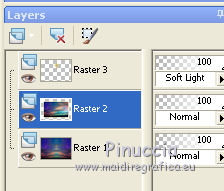
Open the tube Palmeral and go to Edit>Copy.
Go back to your work and go to Edit>Paste as new layer.
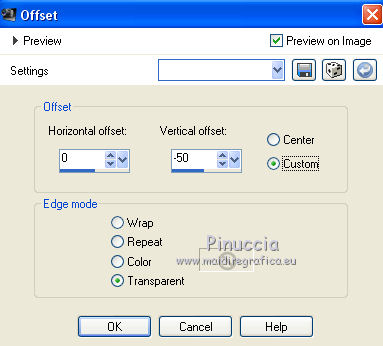
Effects>Image Effects>Offset.
Adjust>Sharpness>Sharpen - 2 times.
11. Activate again the top layer.
Open the woman tube and go to Edit>Copy.
Go back to your work and go to Edit>Paste as new layer.
Image>Resize, to 85%, resize all layers not checked.
Place  the tube over the inner golden border. the tube over the inner golden border.

11. Layers>Duplicate.
Change the Blend Mode of this layer to Multiply.
Layers>Merge>Merge Down.
Effects>3D Effects>Drop Shadow, same settings.
12. Open the tube of Christ and go to Edit>Copy.
Go back to your work and go to Paste as new layer.
Image>Resize, to 90%, resize all layers not checked.
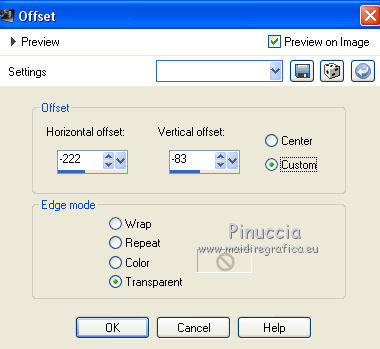
Effects>Image Effects>Offset.
Effects>3D Effects>Drop Shadow, same settings.
13. Layers>New Raster Layer.
Flood Fill  with your foreground golden Gradient. with your foreground golden Gradient.
Selections>Select All.
Selections>Modify>Contract - 3 pixels.
Press CANC on the keyboard.
Selections>Invert.
Effects>3D Effects>Drop Shadow, same settings - 2 times.
Selections>Select None.
14. Layers>Merge>Merge visible.
15. Open the tube Cruzces laterales and go to Edit>Copy.
Go back to your work and go to Edit>Paste as new layer.
Effects>Edge Effects>Enhance.
Effects>3D Effects>Drop Shadow, same settings.
16. Layers>Merge>Merge visible.
Image>Resize, to 90%, resize all layers checked.
17. Image>Add borders, 10 pixels, symmetric, color black.
Activate your Magic Wand Tool 
and click on the border to select it.
Flood Fill  the selection with your background Pattern. the selection with your background Pattern.
18. Effects>Reflection Effects>Rotating Mirror, same setting.
Effects>Edge Effects>Enhance.
Selections>Select None.
19. Image>Add borders, 3 pixels, symmetric, color black.
Select this border with your Magic Wand Tool 
Flood Fill  the selection with your foreground golden Gradient. the selection with your foreground golden Gradient.
Selections>Select None.
20. Image>Add borders, 50 pixels, symmetric, color black.
Select this border with your Magic Wand Tool 
Activate again the jpg image of the sky and go to Edit>Copy.
Go back to your work and go to Edit>Paste into Selection.
Effects>Reflection Effects>Rotating Mirror, same settings.
Selections>Select None.
21. Effects>Plugins>AAA Frame - Foto Frame.

Repeat Foto Frame, width 20

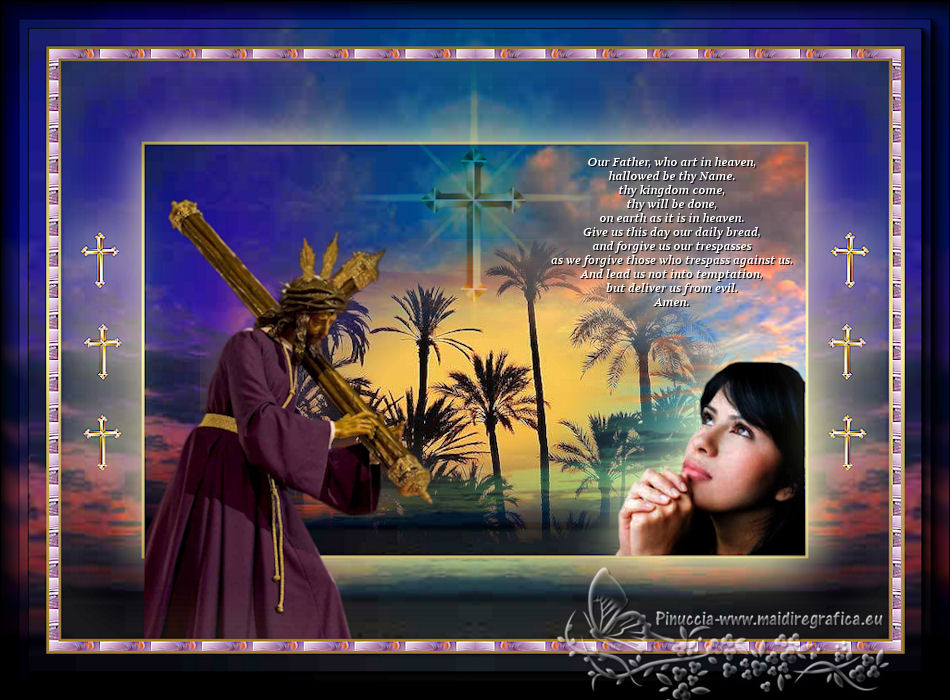
22. Open the text Pater Noster and go to Edit>Copy.
Go back to your work and go to Edit>Paste as new layer.
Place  rightly the text. rightly the text.
in the material, I added my texts in italian, french, english and latin.
23. Sign your work on a new layer.
optional: in the material I added my watermark in french and english
Layers>Merge>Merge All.
Adjust>Sharpness>Sharpen.
Save as jpg.
Version with unknown authors tubes


If you have problems or doubts, or you find a not worked link, or only for tell me that you enjoyed this tutorial, write to me.
19 April 2019
|