|
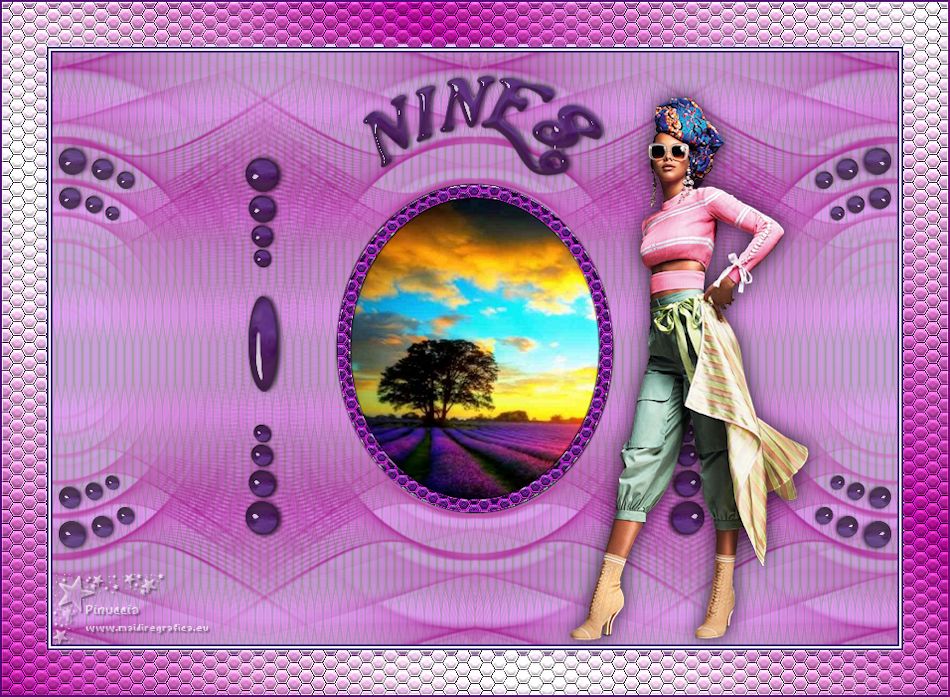
NINES

Thanks Emilieta for your invite to translate your tutorials into english.

This tutorial has been translated with PSPX7, but it can also be made using other versions of PSP.
Since version PSP X4, Image>Mirror was replaced with Image>Flip Horizontal,
and Image>Flip with Image>Flip Vertical, there are some variables.
In versions X5 and X6, the functions have been improved by making available the Objects menu.
In the latest version X7 command Image>Mirror and Image>Flip returned, but with new differences.
See my schedule here
french translation here
your versions here
Material here
Thanks for the tube Cady and for the mask Narah.
Landscape from the net.
The rest of the material is by Emilieta
(The links of the tubemakers here).
Plugins
consult, if necessary, my filter section here
Redfield - Lattice Composer here
FM Tile Tools - Saturation Emboss here

You can change Blend Modes according to your colors.
In the newest versions of PSP, you don't find the foreground/background gradient (Corel_06_029).
You can use the gradients of the older versions.
The Gradient of CorelX here
Copy the selection in the Selections Folder.
Open the mask in PSP and minimize it with the rest of the material.
1. Open a new transparent image 1000 x 700 pixels.
Set your foreground color to #9d0582,
and your background color to #ffffff.
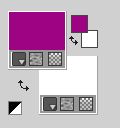
Set your Foreground color to a Foreground/Background Gradient, style Linear.
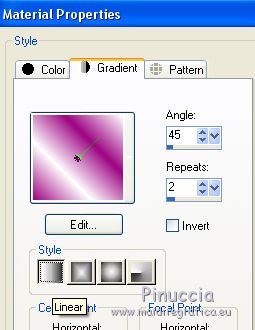
Flood Fill  the transparent image with your Gradient. the transparent image with your Gradient.
2. Layers>New Mask layer>From image
Open the menu under the source window and you'll see all the files open.
Select the mask Narah_mask_1367.
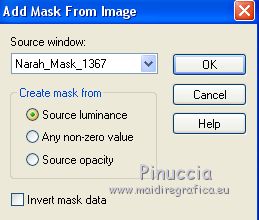
Layers>Merge>Merge Group.
3. Layers>Duplicate.
Image>Flip.
Layers>Merge>Merge visible.
4. Effects>Plugins>FM Tile Tools - Saturation Emboss, default settings.

5. Image>Mirror.
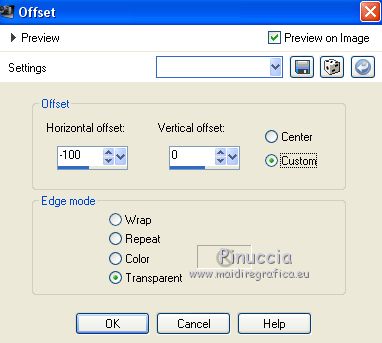
6. Effects>Image Effects>Offset.
7. Effects>Reflection Effects>Rotating Mirror.

8. Effects>Image Effects>Seamless Tiling.

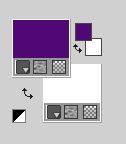
9. Set your foreground color to #500a75.
10. Layers>New Raster Layer.
Flood Fill  the layer with your foreground color #500a74. the layer with your foreground color #500a74.
Layers>Arrange>Send to Bottom.
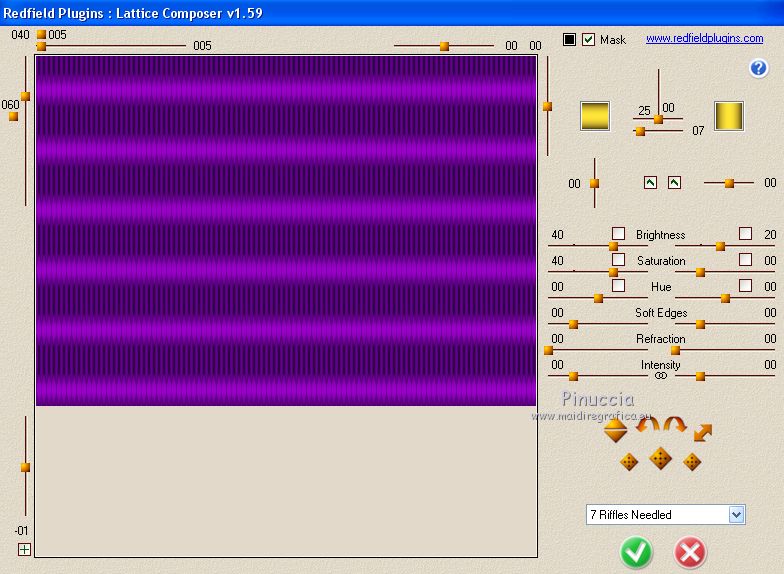
11. Effects>Plugins>Redfield - Lattice Composer - select the preset 7Riffles Needled and ok.
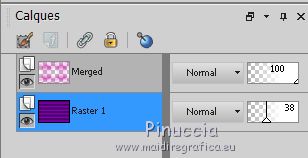
12. Reduce the opacity of this layer to 38%.
Effects>Edge Effects>Enhance More.
13. Layers>New Raster Layer.
Flood Fill  the layer with your white background color. the layer with your white background color.
Layers>Arrange>Send to Bottom.
14. Layers>Merge>Merge visible.
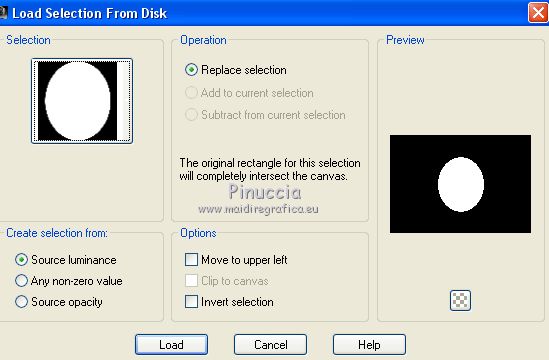
15. Selections>Load/Save Selection>Load Selection from Disk.
Look for and load the selection Nines.
16. Layers>New Raster Layer.
Open the landscape and go to Edit>Copy.
Go back to your work and go to Edit>Paste into Selection.
Adjust>Sharpness>Sharpen.
Keep selected.
17. Layers>New Raster Layer.
Flood Fill  the layer with your foreground color #500a75. the layer with your foreground color #500a75.
Selections>Modify>Contract - 15 pixels.
Press CANC on the keyboard 
Selections>Select None.
18. Selections>Select All.
Selections>Float.
Selections>Defloat.
Effects>Texture Effects>Tiles
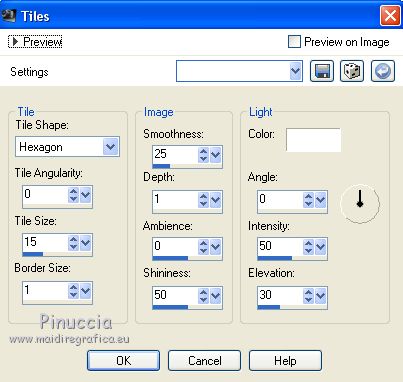
Effects>Edge Effects>Enhance - 2 times.
Selections>Select None.
19. Effects>3D Effects>Drop Shadow.
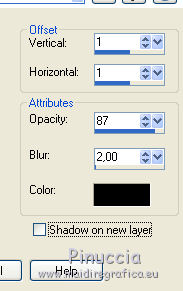
Repeat Drop Shadow, vertical and horizontal -1.
20. Layers>Merge>Merge visible.
21. Image>Resize, to 85%, resize all layers checked.
Adjust>One Step Photo Fix.
depending on your colors and your version of PSP,
the result may be unpleasant. For my first version, I skipped this step.
22. Open adorno-1 and go to Edit>Copy.
Go back to your work and go to Edit>Paste as new layer.
Move  the tube to the left side. the tube to the left side.
Layers>Duplicate.
Image>Mirror.
22. Open Adorno lateral and go to Edit>Copy.
Go back to your work and go to Edit>Paste as new layer.
Move  the tube to the left side. the tube to the left side.
Layers>Duplicate.
Image>Mirror.
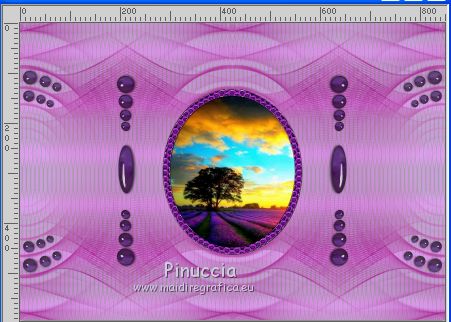
23. Open the tube of the woman and go to Edit>Copy.
Go back to your work and go to Edit>Paste as new layer.
Image>Resize, to 70%, resize all layers not checked.
Adjust>Sharpness>Sharpen.
24. Effects>Image Effects>Offset.
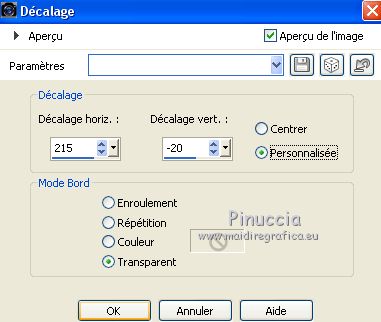
25. Effects>3D Effects>Drop Shadow.
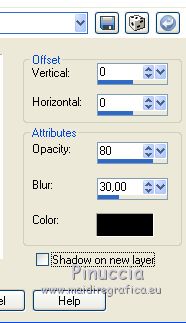
26. Image>Add borders, 2 pixels, symmetric, color #500a74.
Image>Add borders, 2 pixels, symmetric, color #ffffff.
Image>Add borders, 2 pixels, symmetric, color #500a74.
Image>Add borders, 45 pixels, symmetric, color #ffffff.
27. Activate your Magic Wand Tool 
and click on the 45 pixels white border to select it.
Set your foreground color to the initial color (#9d0582) and gradient.
 
Flood Fill  the selection with your Gradient. the selection with your Gradient.
28. Effects>Texture Effects>Tiles, same settings.
Effects>Edge Effects>Enhance.
Selections>Select None.
29. Open the texte Nines and go to Edit>Copy.
Go back to your work and go to Edit>Paste as new layer.
Move  the texte up. the texte up.
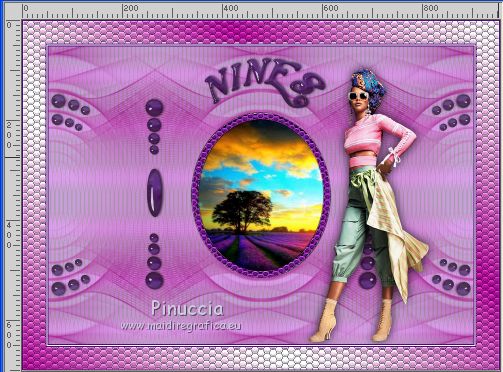
30. Sign your work on a new layer.
Layers>Merge>All.
Adjust>Sharpness>Sharpen.
Save as jpg.
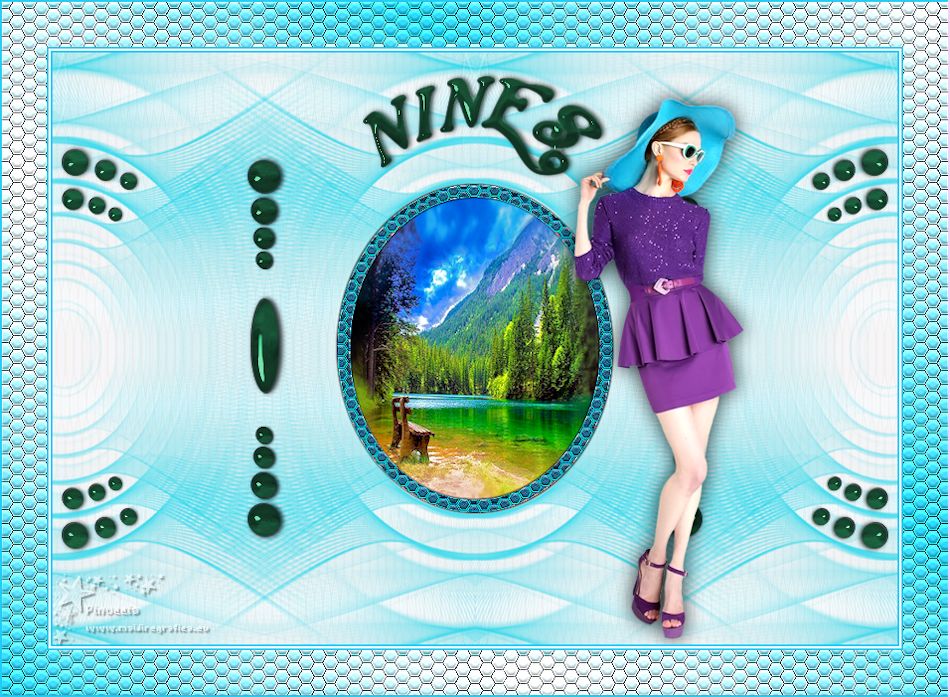
Version with tube by Valy

If you have problems or doubts, or you find a not worked link, or only for tell me that you enjoyed this tutorial, write to me.
16 July 2019
|