|
MACARENA

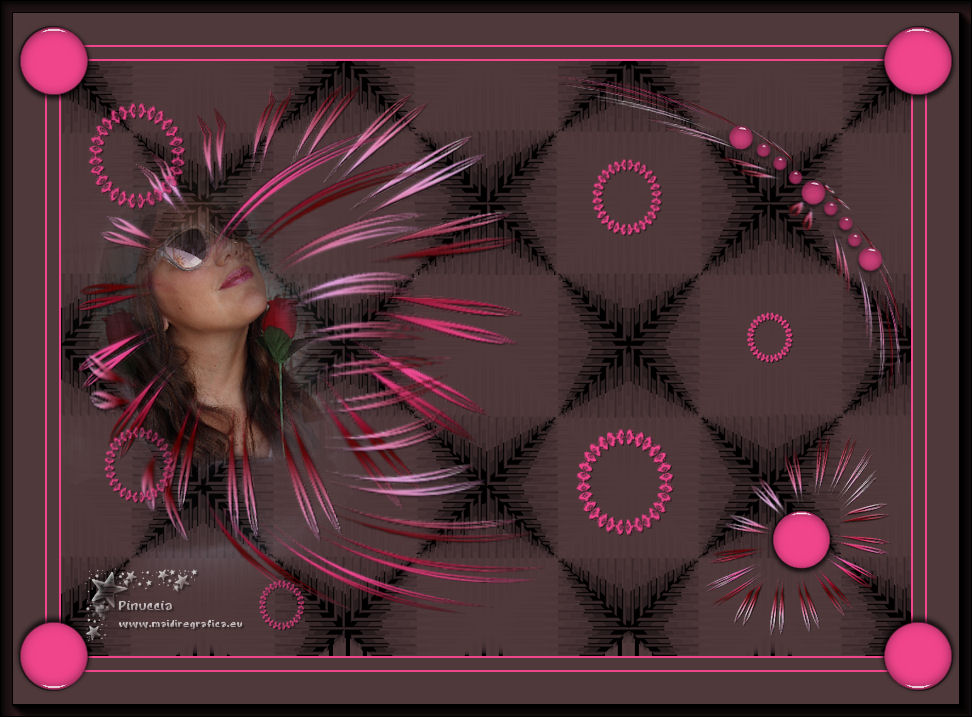
Thanks Emilieta for your invite to translate your tutorials into english.

This tutorial has been translated with PSPX7, but it can also be made using other versions of PSP.
Since version PSP X4, Image>Mirror was replaced with Image>Flip Horizontal,
and Image>Flip with Image>Flip Vertical, there are some variables.
In versions X5 and X6, the functions have been improved by making available the Objects menu.
In the latest version X7 command Image>Mirror and Image>Flip returned, but with new differences.
See my schedule here
french translation here
your versions here
Material here
The material is by Emilieta
(The links of the tubemakers here).
Plugins
consult, if necessary, my filter section here
Mehdi - Sorting Tiles here
FM Tile Tools - Saturation Emboss here
AAA Frames - Foto Frame here

You can change Blend Modes according to your colors.
Place the brush in Brush folder. Attention, please, the brush is composed by two files, you must place both the files in the folder.
Copy the Gradient in the Gradients Folder.
1. Open a new transparent image 1000 x 700 pixels.
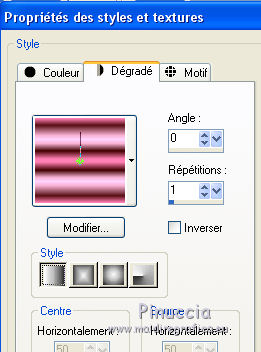
2. Set your foreground color to Gradient, and select the gradient Powers, style Linear.
3. Activate your Brush Tool  , ,
look for and select the brush Circulo-3, size 500 pixels

Apply the brush clicking 2 times with your left mouse button, to use your foreground gradient.
Move  the brush at the upper left, the brush at the upper left,
leaving two squares on the left and two square on the top.
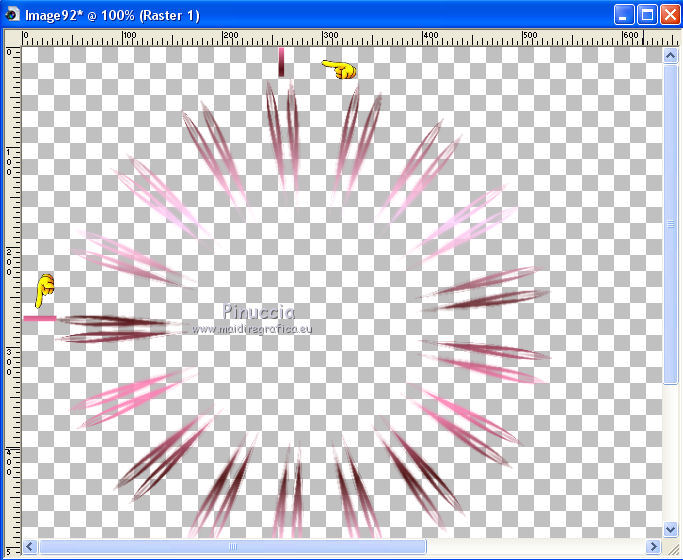
4. Layers>Duplicate.
Image>Resize, to 50%, resize all layers not checked.
Adjust>Sharpness>Sharpen.
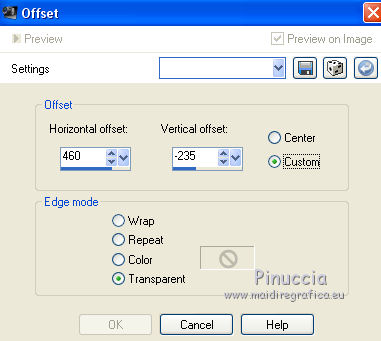
5. Effects>Image Effects>Offset.
6. Layers>Merge>Merge visible.
7. Effects>3D Effects>Drop Shadow, color black.
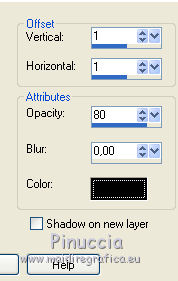
8. Effects>Plugins>FM Tile Tools - Saturation Emboss, default settings.

9. Layers>Duplicate.
Effects>Distortion Effects>Polar Coordinates.
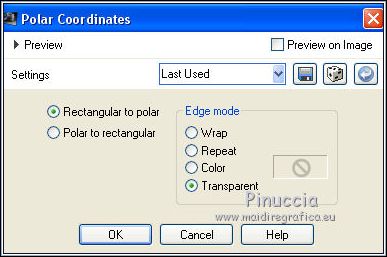
10. Effects>Geometric Effects>Spherize.
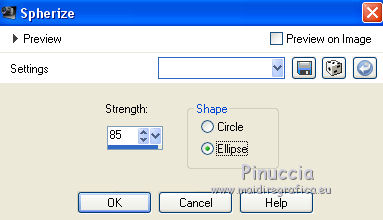
11. Close the bottom layer of the original.
Keep the copy layer selected.
12. Activate your Freehand Selection 
and select the lines as below.
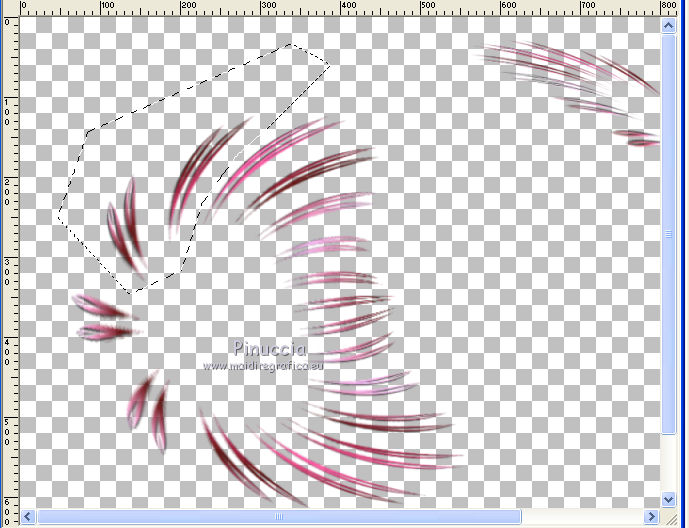
Press CANC on the keyboard 
Selections>Select None.
13. Open again the bottom layer.
Layers>Merge>Merge visible.
Again Effects>Geometric Effects>Spherize, same settings.
14. Set your foreground color to #f1458c,
and your background color to #4f393b.
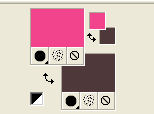
15. Layers>New Raster Layer.
Flood Fill  the layer with your background layer. the layer with your background layer.
Layers>Arrange>Send to Bottom.
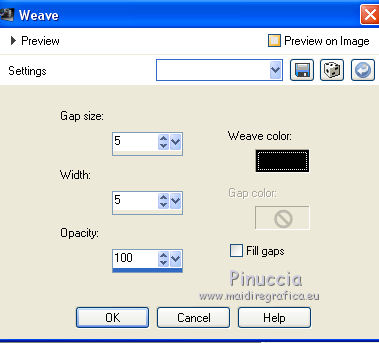
16. Effects>Texture Effects>Weave - color black.
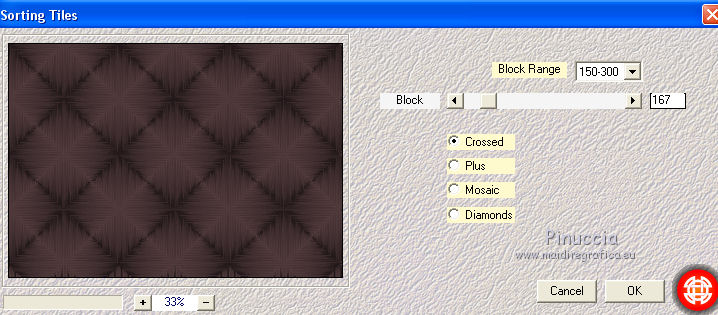
17. Effects>Plugins>Mehdi - Sorting Tiles.
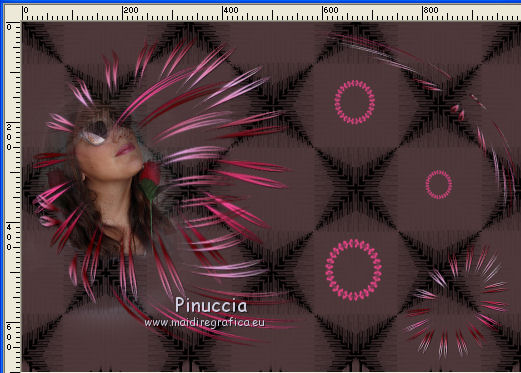
18. Open the tube Macarena and go to Edit>Copy.
Go back to your work and go to Edit>Paste as new layer.
Adjust>Sharpness>Sharpen.
Move  the tube at the upper left. the tube at the upper left.
19. Open the tube adorno circulos and go to Edit>Copy.
Go back to your work and go to Edit>Paste as new layer.
Move  the tube to the right side. the tube to the right side.
20. Layers>Duplicate.
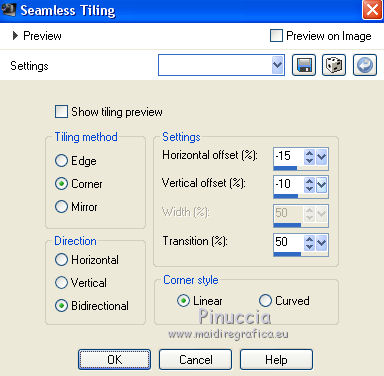
Effects>Image Effects>Seamless Tiling.
21. Layers>Merge>Merge Down.
Layers>Arrange>Bring to Top.
Effects>3D Effects>Drop Shadow, same settings.

22. Layers>Merge>Merge All.
23. Image>Resize, to 85%, resize all layers checked.
24. Image>Add borders, 2 pixels, symmetric, foreground color #f1458c.
Image>Add borders, 12 pixels, symmetric, background color #4f393b.
Image>Add borders, 2 pixels, symmetric, foreground color.
Image>Add borders, 45 pixels, symmetric, background color.
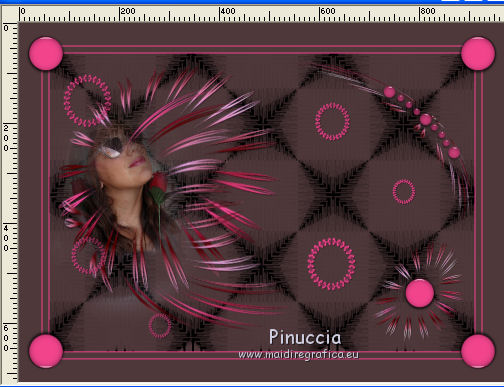
25. Open the tube Esquinero and go to Edit>Copy.
Go back to your work and go to Edit>Paste as new layer.
26. Open the tube Adorno and go to Edit>Copy.
Go back to your work and go to Edit>Paste as new layer.
Move  the tube to the right side. the tube to the right side.
27. Sign your work on a new layer.
Layers>Merge>Merge All.
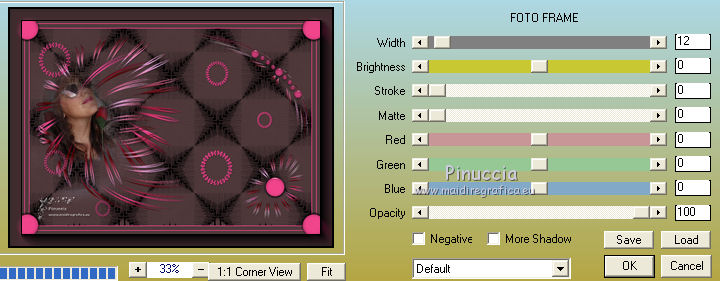
28. Effects>Plugins>AAA Frames - Foto Frame - 2 times with these settings.
Save as jpg.
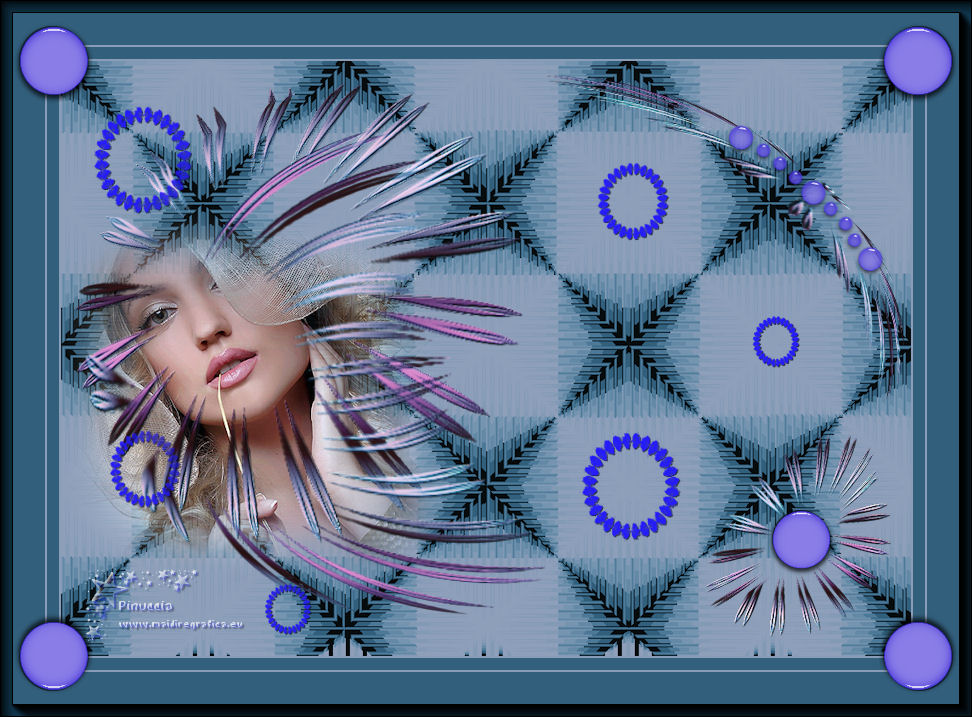
Version with tube by Luz Cristina

If you have problems or doubts, or you find a not worked link, or only for tell me that you enjoyed this tutorial, write to me.
23 July 2019
|