|
ILUSION

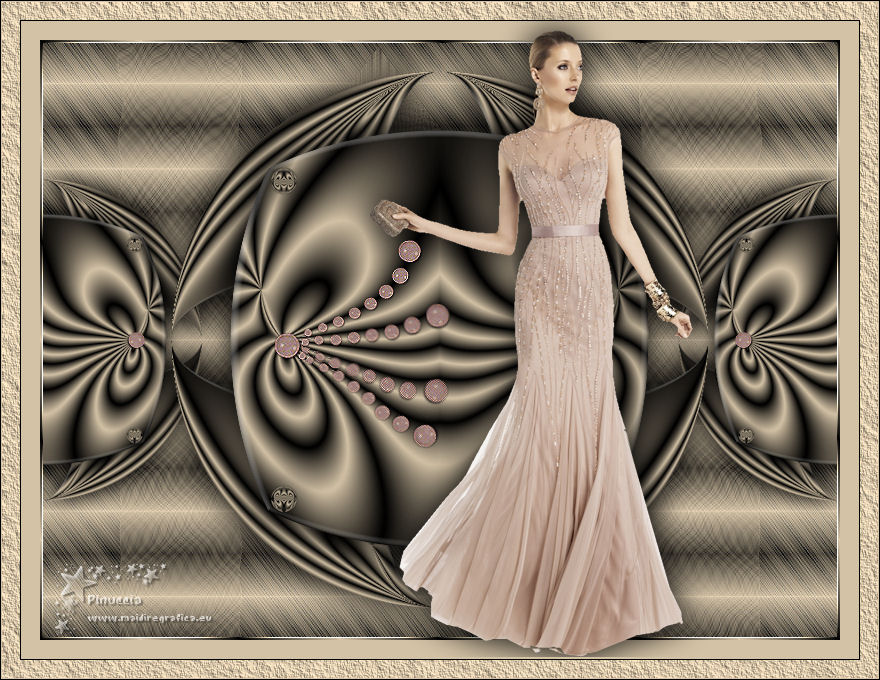
Thanks Emilieta for your invite to translate your tutorials into english.

This tutorial has been translated with PSPX7, but it can also be made using other versions of PSP.
Since version PSP X4, Image>Mirror was replaced with Image>Flip Horizontal,
and Image>Flip with Image>Flip Vertical, there are some variables.
In versions X5 and X6, the functions have been improved by making available the Objects menu.
In the latest version X7 command Image>Mirror and Image>Flip returned, but with new differences.
See my schedule here
french translation here
your versions here
Material here
All the material is by Emilieta
(The links of the tubemakers here).
Plugins
consult, if necessary, my filter section here
AAA Frames - Foto Frame here

You can change Blend Modes according to your colors.
In the newest versions of PSP, you don't find the foreground/background gradient (Corel_06_029).
You can use the gradients of the older versions.
The Gradient of CorelX here
Open the mask in PSP and minimize it with the rest of the material.
1. Open a new transparente image 800 x 600 pixels.
Set your foreground color to #000000,
and your background color to #d3c2a6.
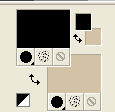
Set your foreground color to a Foreground/Background Gradient, style Sunburst.

don't worry if you see a different gradient; it can happen

It will change in the materials palette...
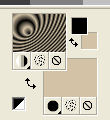
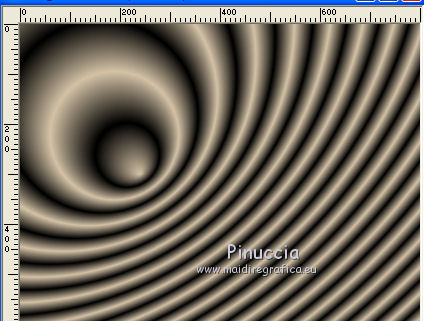
Flood Fill  the transparent image with your Gradient. the transparent image with your Gradient.
... and you should have this .
2. Effects>Plugins>Flaming Pear - Flexify 2.
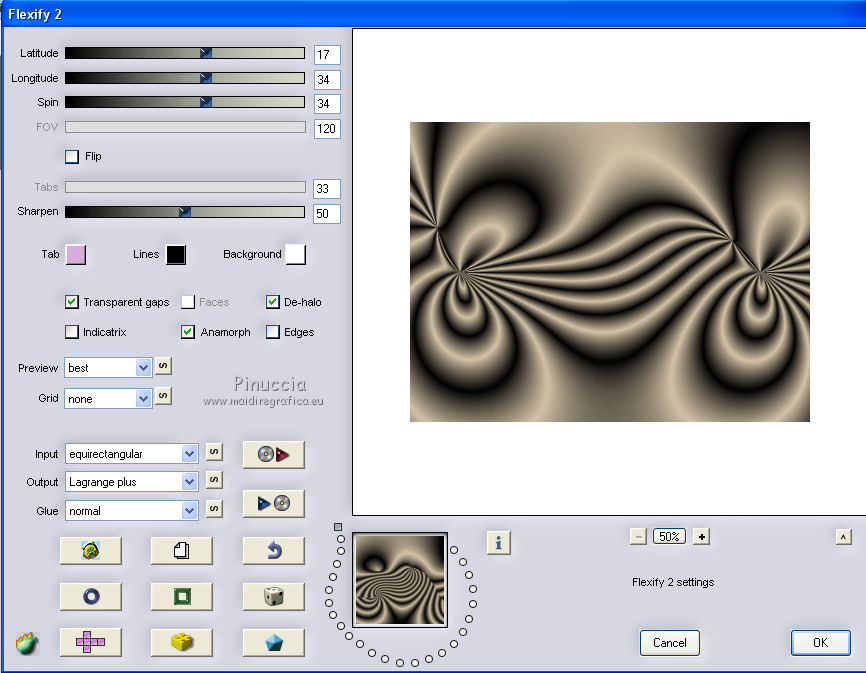
3. Effects>Reflection Effects>Rotating Mirror.

4. Effects>3D Effects>Buttonize.

5. Image>Resize, to 70%, resize all layers not checked.
Layers>Duplicate.
Layers>Arrange>Send to Bottom.
6. Effects>Image Effects>Seamless Tiling, default settings.

7. Effects>Geometric Effects>Circle.

8. Activate the layer above.
Repeat Effects>Geometric Effects>Circle, same settings.
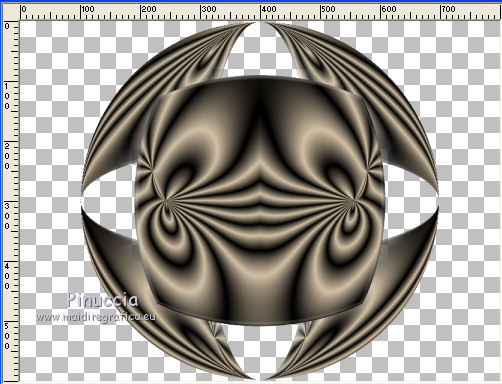
You should have this
9. Change your gradient in Style Linear, same settings.

Layers>New Raster Layer.
Flood Fill  the layer with your gradient. the layer with your gradient.
Layers>Arrange>Send to Bottom.
Effects>Edge Effects>Enhance More.
10. Layers>New Raster Layer.
Flood Fill  the layer with your light background color. the layer with your light background color.
Layers>New Mask layer>From image
Open the menu under the source window and you'll see all the files open.
Select the mask Emimask.rallada

Layers>Merge>Merge Group.
Reduce the opacity of this layer to 50%.
Adjust>Sharpness>Sharpen - 2 times.
11. Activate the layer Raster 1.
Effects>3D Effects>Drop Shadow.

12. Activate the layer Copy of Raster 1.
Image>Resize, to 90%, resize all layers not checked.
Effects>3D Effects>Drop Shadow, same settings.
13. Activate again the layer Raster 1.
Layers>Merge>Merge Down.
14. Layers>Duplicate.
Image>Resize, to 5%, resize all layers not checked.
Move  the image in the top left angle. the image in the top left angle.
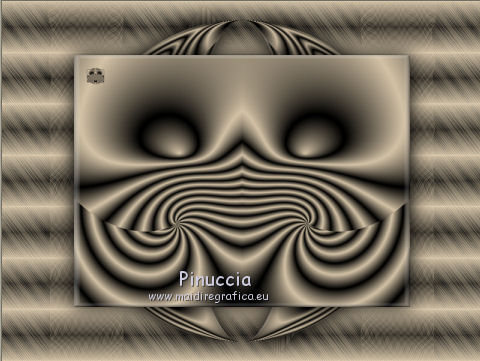
Effects>3D Effects>Drop Shadow, same settings.
15. Layers>Duplicate.
Image>Mirror.
Layers>Merge>Merge Down.
Layers>Duplicate.
Image>Flip.
Layers>Merge>Merge Down - 2 times.
16. Layers>Duplicate.
Image>Resize, to 60%, resize all layers not checked.
17. Effects>Image Effects>Seamless Tiling.

Layers>Arrange>Move Down.
18. Change the Gradient settings.

Activate the top layer.
Layers>New Raster Layer.
Flood Fill  the layer with your Gradient. the layer with your Gradient.
19. Selections>Select All.
Selections>Modify>Contract - 3 pixels.
Press CANC on the keyboard 
Selections>Invert.
Effects>Edge Effects>Enhance More.
Selections>Select None.
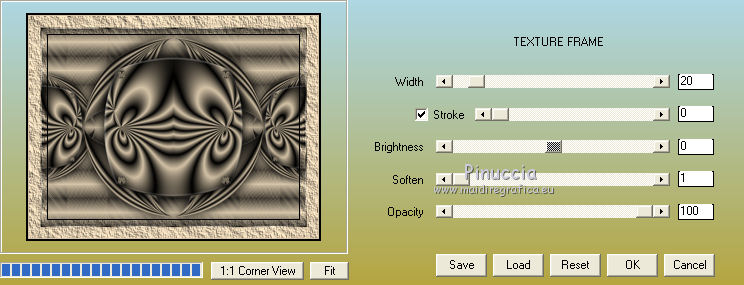
20. Image>Add borders, 40 pixels, symmetric, light background color.
Effects>Plugins>AAA Frames - Texture Frame.
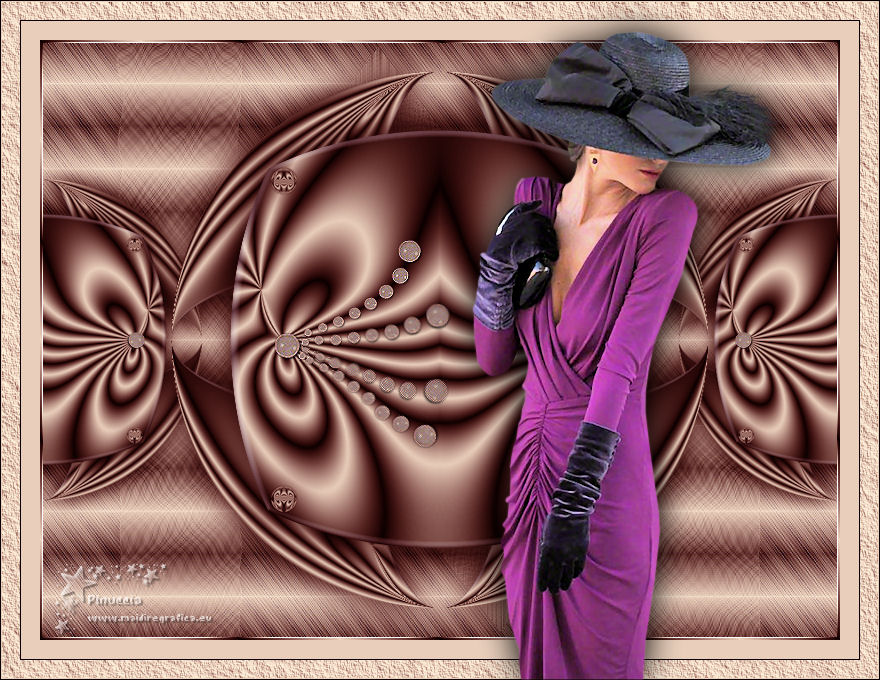
22. Open the tube Lia-22 and go to Edit>Copy.
Go back to your work and go to Edit>Paste as new layer.
Image>Resize, to 70%, resize all layers not checked.
Effects>3D Effects>DRop Shadow.

23. Open the pearls tube and go to Edit>Copy.
Go back to your work and go to Edit>Paste as new layer.
Adjust>Sharpness>Sharpen - 2 times.
Place  rightly the tube. rightly the tube.
24. Open the little pearl tube and go to Edit>Copy.
Go back to your work and go to Edit>Paste as new layer.
Move  the tube to the left side. the tube to the left side.
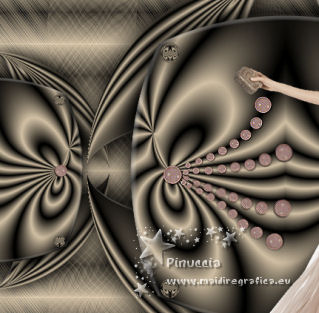
Layers>Duplicate.
Image>Mirror.
Layers>Merge>Merge Down.
Adjust>Sharpness>Sharpen - 2 times.
25. Sign your work on a new layer.
Layers>Merge>Merge All and save as jpg.
The tube of this version is by Syl

If you have problems or doubts, or you find a not worked link, or only for tell me that you enjoyed this tutorial, write to me.
25 April 2019
|