|
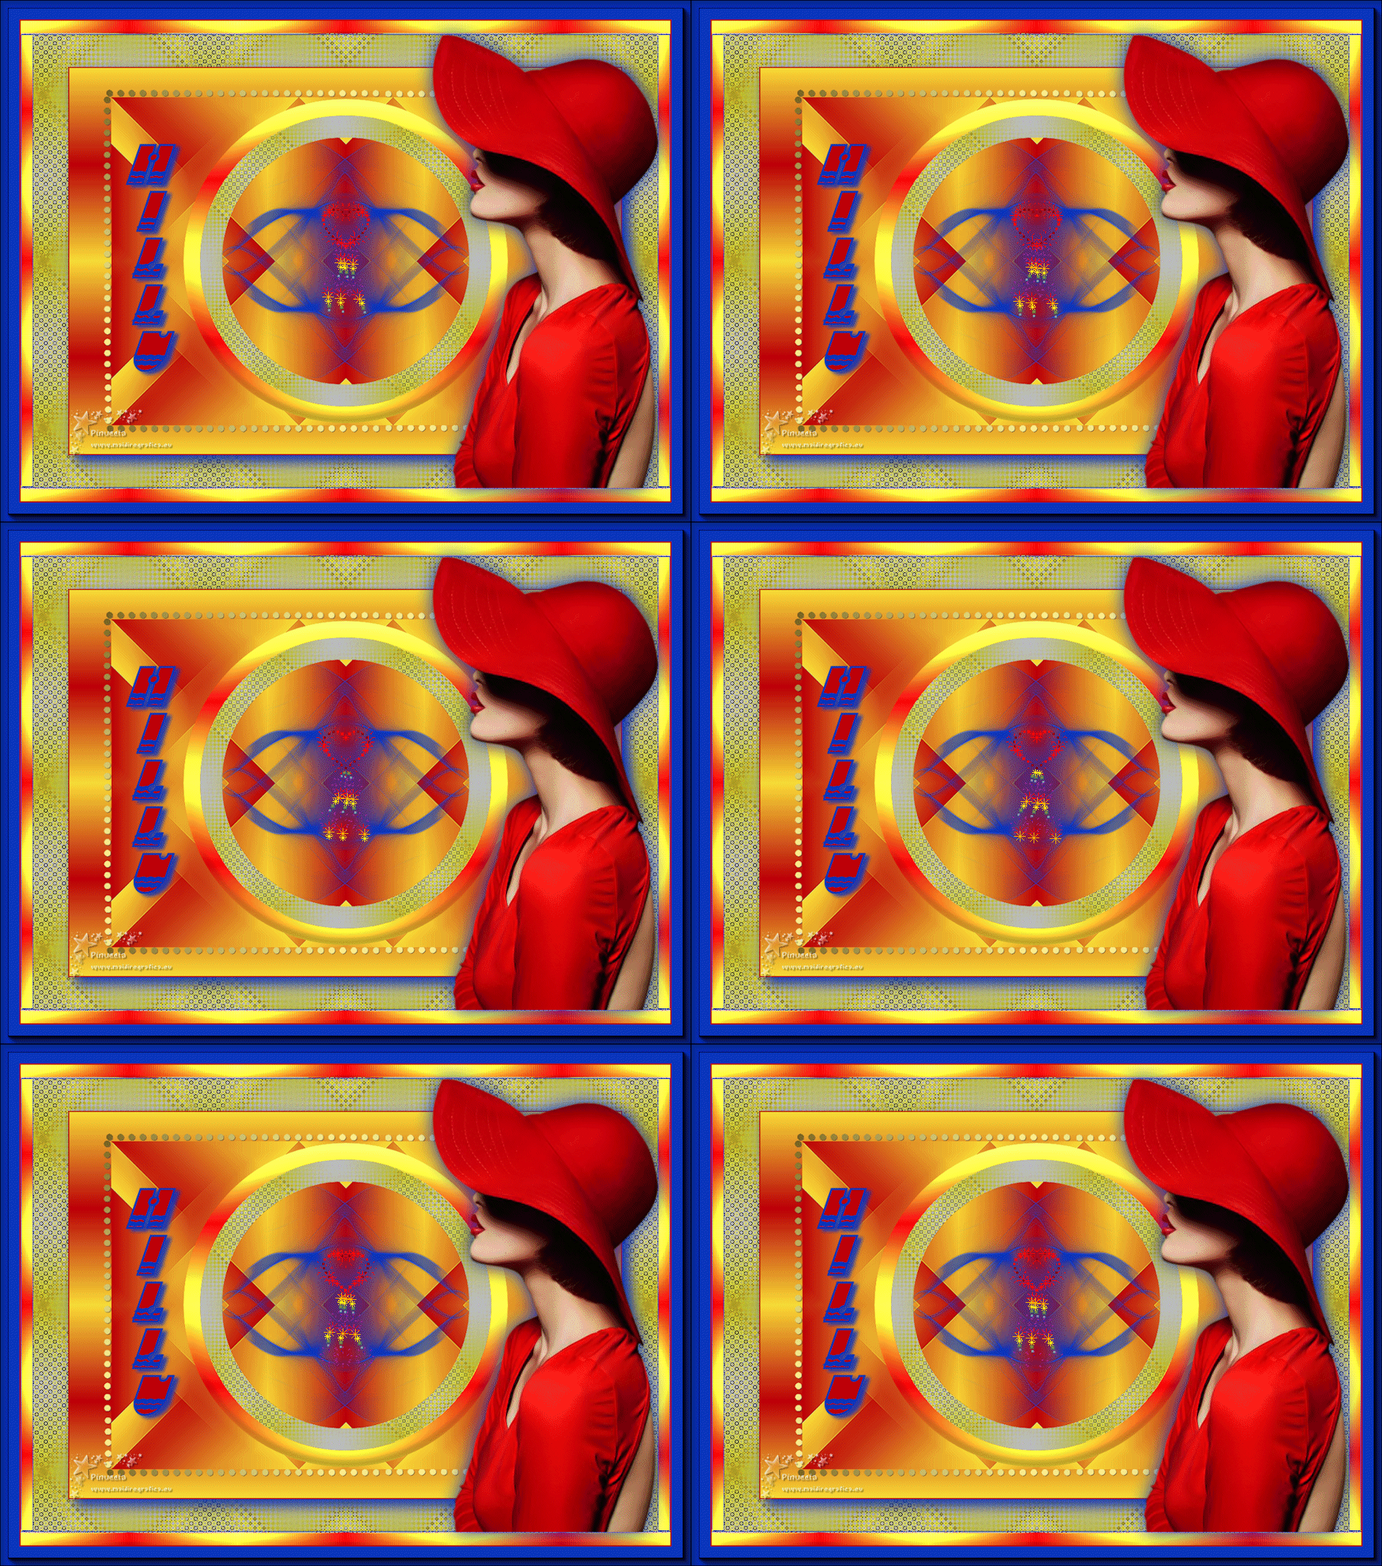
HILLU

Thanks Emilieta for your invite to translate your tutorials into english.
This tutorial has been translated with PSPX7, but it can also be made using other versions of PSP.
Since version PSP X4, Image>Mirror was replaced with Image>Flip Horizontal,
and Image>Flip with Image>Flip Vertical, there are some variables.
In versions X5 and X6, the functions have been improved by making available the Objects menu.
In the latest version X7 command Image>Mirror and Image>Flip returned, but with new differences.
See my schedule here
french translation here
your versions here
Material here
Thanks for the tube Beatriz and for the mask Narah.
The gif is by Mamija.
The rest of the material is by Emilieta
(The links of the tubemakers here).
Plugins
consult, if necessary, my filter section here
Mehdi - Sorting Tiles here
AAA Frames - Foto Frame here
L&K's - L&K's Palmyre here
Animation Shop here

You can change Blend Modes according to your colors.
In the newest versions of PSP, you don't find the foreground/background gradient (Corel_06_029).
You can use the gradients of the older versions.
The Gradient of CorelX here
Copy the selection in the Selections Folder.
Open the mask in PSP and minimize it with the rest of the material (except the gif that you'll use in Animation Shop).
1. Open a new transparent image 1000 x 700 pixels.
Set your foreground color to #f5db36,
and your background color to #bb0009.
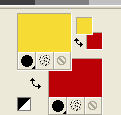
Set your Foreground color to a Foreground/Background Gradient, style Linear.

Flood Fill  the transparent image with your Gradient. the transparent image with your Gradient.
Effects>Edge Effects>Enhance.
2. Effects>Plugins>Mehdi - Sorting Tiles.
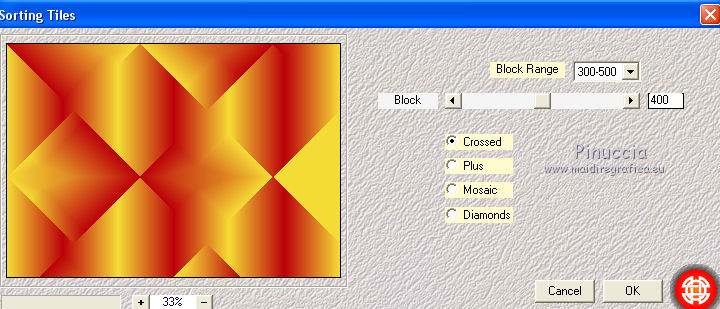
3. Effects>Image Effects>Seamless Tiling.

4. Effects>Reflection Effects>Rotating Mirror.

5. Image>Resize, to 85%, resize all layers not checked.
Image>Free Rotate - 90 degrees to left.

Effects>Reflection Effects>Rotating Mirror, same settings.
Image>Free Rotate - 90 degrees to right.

6. Change the settings of you gradient.

Layers>New Raster Layer.
Flood Fill  the layer with your gradient. the layer with your gradient.
Layers>Arrange>Send to Bottom.
7. Activate the top layer.
Open the tube Adorno circulos dorados, erase the watermark and go to Edit>Copy.
Go back to your work and go to Edit>Paste as new layer.
Effects>3D Effects>Drop Shadow.

8. Layers>New Raster Layer.
Activate your Selection Tool  , Circle. , Circle.
if you don't see the rulers go to View>Rulers.
Place your mouse in the middle to 500 x 350 pixels
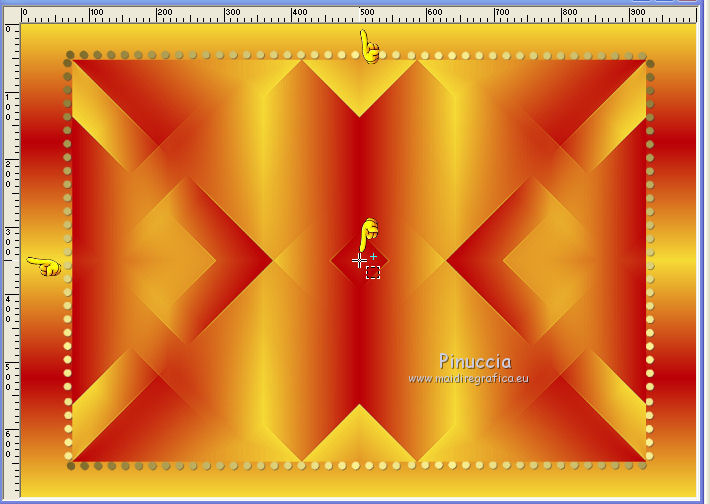
and draw a circle until the bords of the layer Raster 1.
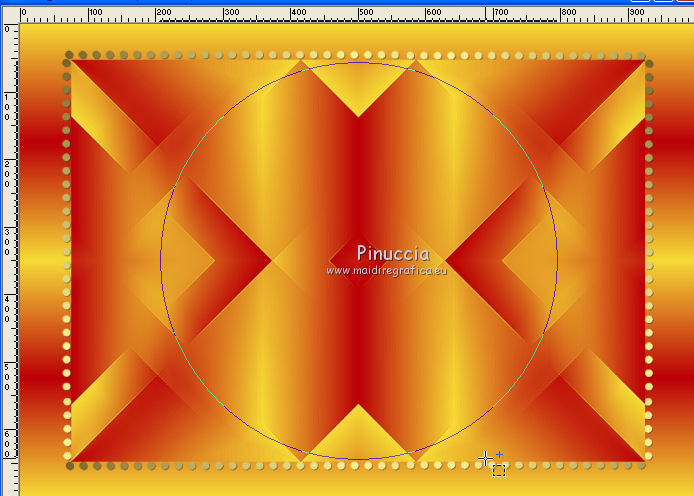
Flood Fill  the layer with the last gradient. the layer with the last gradient.
9. Effects>3D Effects>Inner Bevel.

10. Selections>Modify>Contract - 30 pixels.
Press CANC on the keyboard 
Keep selected.
Layers>New Raster Layer.
Set your foreground color to Color.
Flood Fill  with your foreground color. with your foreground color.
Selections>Modify>Contract - 40 pixels.
Press CANC on the keyboard.
Selections>Select None.
11. Activate your Magic Wand Tool 
and click on the last circle to select it.

12. Effects>Plugins>L&K's - L&K's Palmyra, default settings.
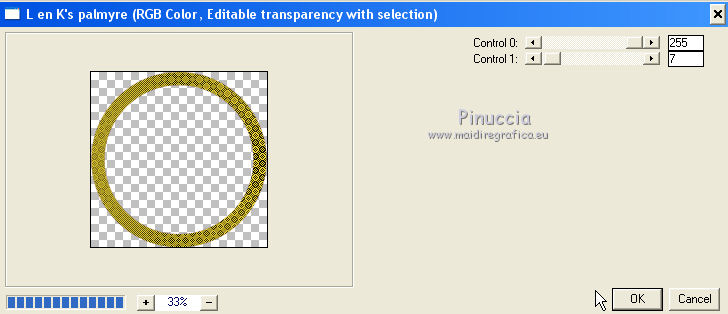
Effects>Edge Effects>Enhance.
Selections>Select None.
Layers>Merge>Merge Down.
13. Layers>New Raster Layer.
Set your foreground color to #0d36bd.
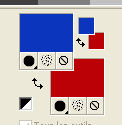
Flood Fill  the layer with your foreground color. the layer with your foreground color.
Layers>New Mask layer>From image
Open the menu under the source window and you'll see all the files open.
Select the mask Narah_mask_1417.

Layers>Merge>Merge Group.
Layers>Duplicate.
Image>Mirror.
Layers>Merge>Merge Down.
14. Effects>Geometric Effects>Circle.

Layers>Duplicate.
Image>Flip.
Layers>Merge>Merge Down.
15. Image>Resize, to 65%, resize all layer not checked.
Effects>Edge Effects>Enhance.
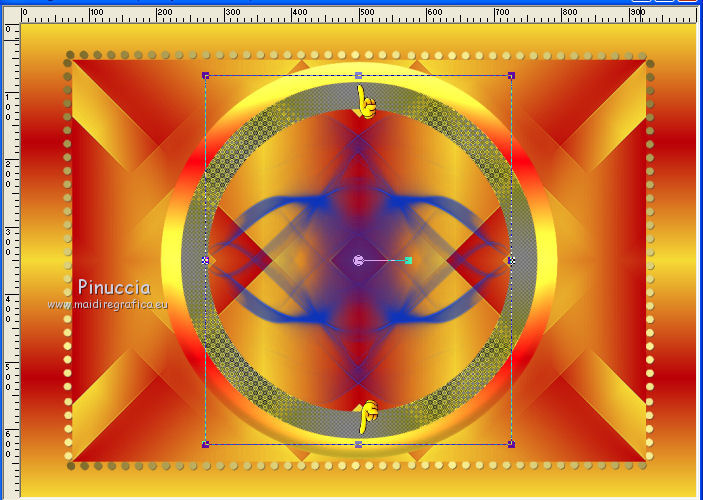
16. Activate your Pick Tool 
and pull the top and bottom nodes until the borders of the circle.
17. Layers>Merge>Merge visible.
18. Set again your foreground color to #f5db36.

19. Image>Add borders, 2 pixels, symmetric, background color.
Image>Resize, to 85%, resize all layers checked.
Edit>Copy.
20. Open a new transparent image 1000 x 700 pixels.
Flood Fill  the transparent image with your foreground color. the transparent image with your foreground color.
21. Effects>Plugins>L&K's - L&K's Palmyra, same settings.
Effects>Edge Effects>Enhance.
Effects>Reflection Effects>Rotating Mirror, same settings.
22. Edit>Paste as new image (the first work in memory).
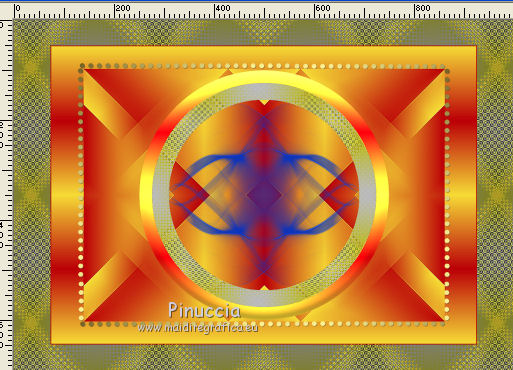
Effects>3D Effects>Drop Shadow, color #0d36bd (the mask color).

24. Set your foreground color to the first Gradient.

Image>Add borders, symmetric not checked, color white.

25. Activate your Magic Wand Tool 
and click on the top and bottom borders to select them.
Flood Fill  the layer with your Gradient. the layer with your Gradient.
Effects>Edge Effects>Enhance - 2 times.
Effects>3D Effects>Inner Bevel, same settings.

Effects>3D Effects>Drop Shadow, mask color.

Repet Drop Shadow, vertical and horizontal -1.
Selections>Select None.
26. Image>Add borders, 2 pixels, symmetric, red background color.
27. Selections>Load/Save Selection>Load Selection from Disk.
Look for and load the Selection Hillu

Layers>New Raster Layer.
Change the settings of your Gradient.

Flood Fill  the selection with your gradient. the selection with your gradient.
Effects>Edge Effects>Enhance - 2 times.
28. Effects>3D Effects>Inner Bevel.

Effects>3D Effects>Drop Shadow, same settings.
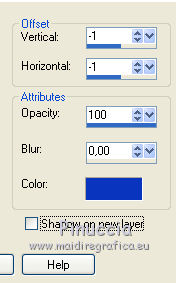
Repeat Drop Shadow, vertical and horizontal 1.

Selections>Select None.
29. Effects>Image Effects>Offset.

30. Layers>Duplicate.
Image>Mirror.
Layers>Merge>Merge All.
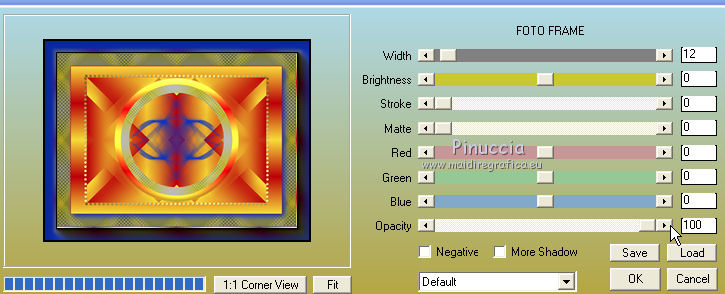
31. Image>Add borders, 30 pixels, symmetric, couleur #0d36bd.
Effects>Plugins>AAA Frames - Foto Frame.
32. Open the tube of the woman and go to Edit>Copy.
Go back to your work and go to Edit>Paste as new layer.
33. Effects>Image Effects>Offset.

Effects>3D Effects>Drop Shadow, color #0d36bd

34. Activate your Text Tool 
My settings: direction vertical.


Write your text.
Layers>Convert to Raster Layer.
Effects>3D Effects>Drop Shadow.

35. Sign your work on a new layer.
Layers>Merge>Merge visible.
Image>Resize, 950 pixels width, resize all layers checked.
If you don't want realize the animation:
copy a layer of the gif (you must open it in Animation Shop to copy the layer).
Paste as new layer on you work and place  the image in the middle. the image in the middle.
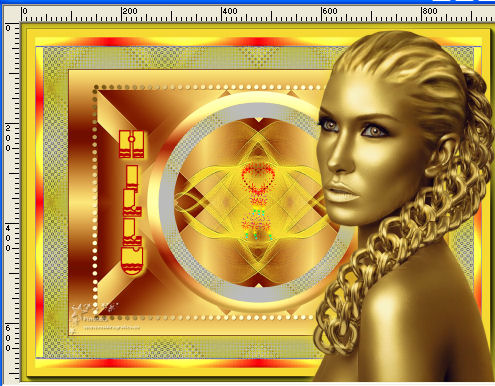
Layers>Merge>Merge All and save as jpg.
36. For the Animation
Edit>Copy.
Open Animation Shop and go to Edit>Paste>Paste as new image.
Edit>Duplicate - 7 times for a total of 8 frames.
Click on the first frame to select it.
Edit>Select All.
37. Open the gif, also composed by 8 frames.
Edit>Select All.
Edit>Copy.
Activate your work and go to Edit>Paste>Paste in the selected frame.
Place the gif in the middle of the image.
38. Animation>Frame Properties and set to 15.
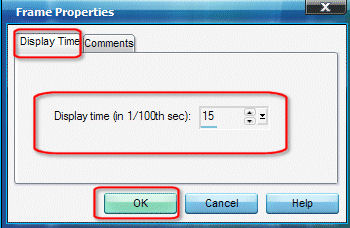
Check your result clicking on View animation 
and save as gif.
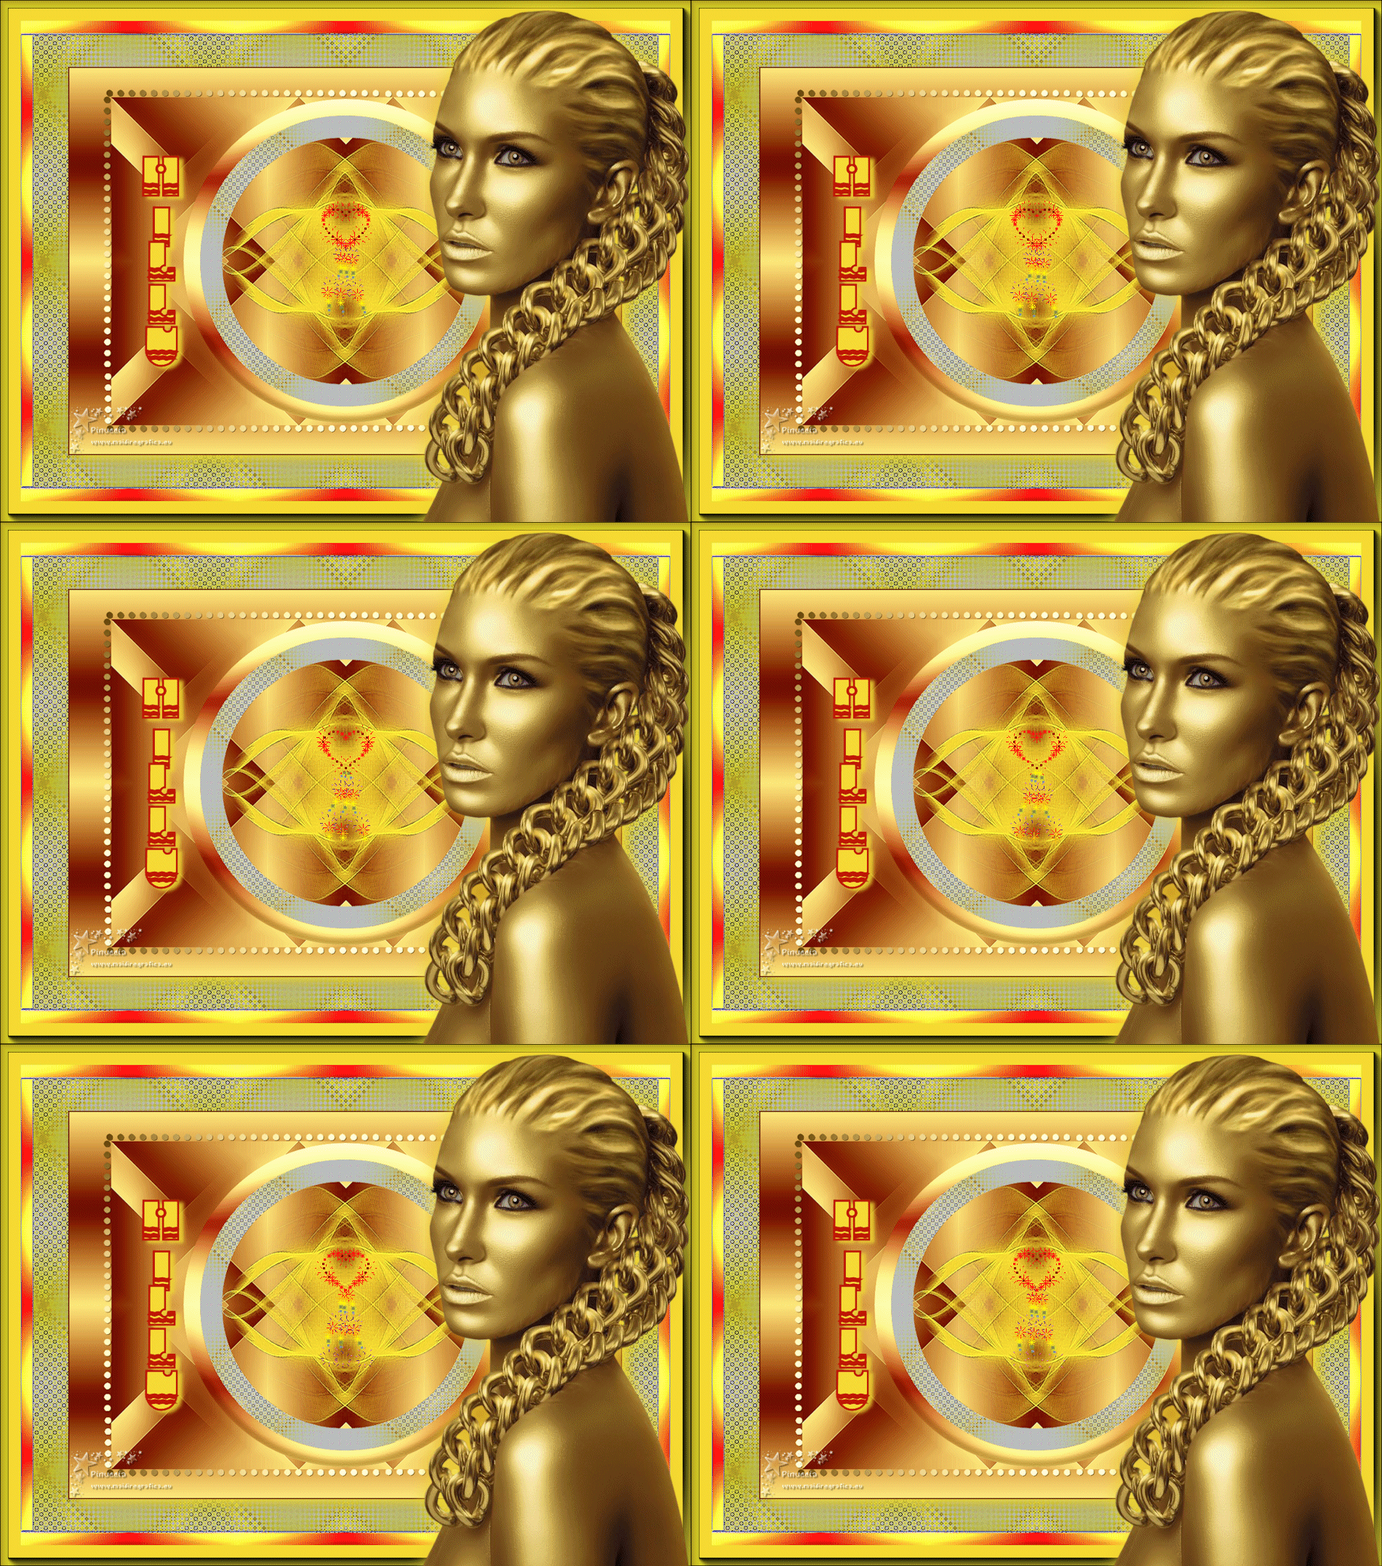
Version with tube by Karine

If you have problems or doubts, or you find a not worked link, or only for tell me that you enjoyed this tutorial, write to me.
12 July 2019
|