|
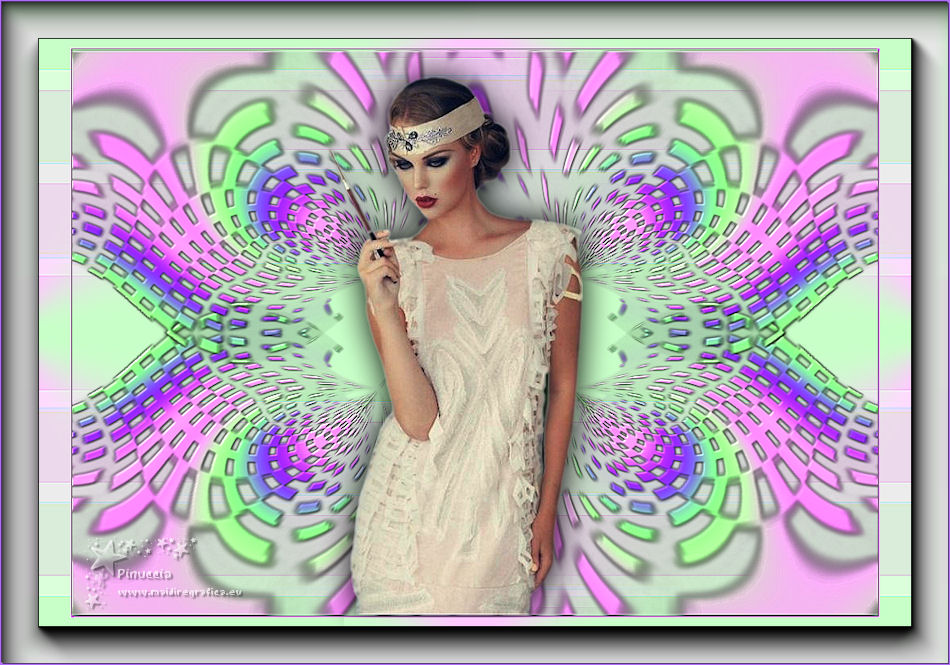
BELLE EPOQUE

Thanks Emilieta for your invite to translate your tutorials into english.
This tutorial has been translated with PSPX7, but it can also be made using other versions of PSP.
Since version PSP X4, Image>Mirror was replaced with Image>Flip Horizontal,
and Image>Flip with Image>Flip Vertical, there are some variables.
In versions X5 and X6, the functions have been improved by making available the Objects menu.
In the latest version X7 command Image>Mirror and Image>Flip returned, but with new differences.
See my schedule here
french translation here
your versions here
Material here
The mask by Internet.
The tube is by Emilieta.
(The links of the tubemakers here).
Plugins
consult, if necessary, my filter section here
Mehdi - Wavy Lab here
Flaming Pear - Flexify 2 here
AAA Frames - Foto Frame here

You can change Blend Modes according to your colors.
In the newest versions of PSP, you don't find the foreground/background gradient (Corel_06_029).
You can use the gradients of the older versions.
The Gradient of CorelX here
Open the mask in PSP and minimize it with the rest of the material.
1. Open a new transparent image 1000 x 700 pixels.
Set your foreground color to #fcc2fd,
and your background color to #c0ffc0.
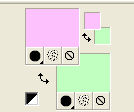
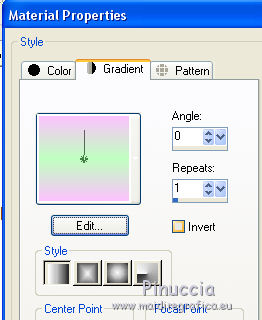
Set your foreground color to a Foreground/Background Gradient, style Linear.
Flood Fill  the transparent image with your gradient. the transparent image with your gradient.
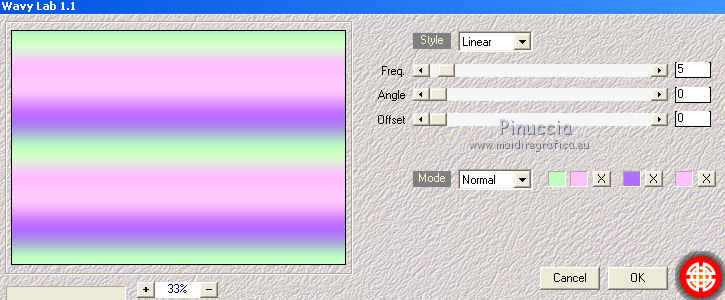
2. Effects>Plugins>Wavy Lab 1.1.
This filter creates gradients with the colors of your Materials palette:
the first is your background color, the second is your foreground color.
Change the last two colors created by the filter:
the third with dark color #b370fc, and the forth with your light color #fcc2fd.
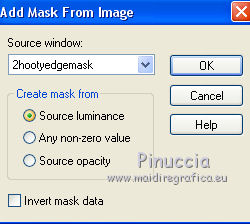
3. Layers>New Mask layer>From image
Open the menu under the source window and you'll see all the files open.
Select the mask 2hoolyedgemask.
Layers>Merge>Merge group.
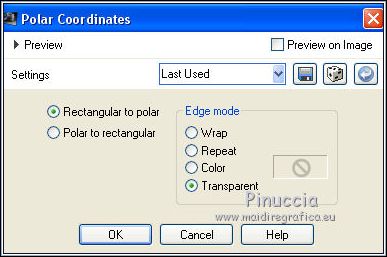
4. Effects>Distortion Effects>Polar Coordinates.
Image>Mirror.
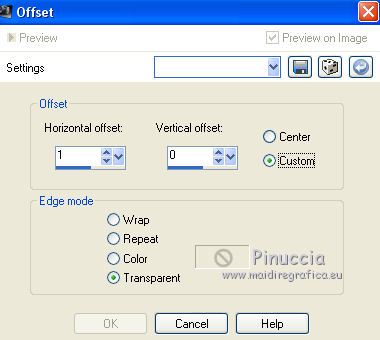
Effects>Image Effects>Offset.
Effects>Reflection Effects>Rotating Mirror.

5. Change the settings of the gradient, Invert checked.
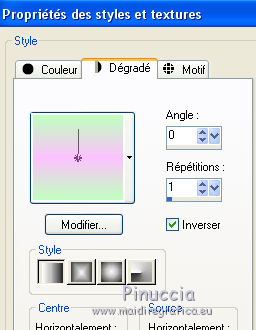
To keep the green line in the middle, I didn't change settings.
(to you to decide, according to your colors).
Layers>New Raster Layer.
Flood Fill  the layer with your Gradient. the layer with your Gradient.
Layers>Arrange>Send to Bottom.
Activate again the top layer, the mask.
Image>Resize, to 80%, resize all layers not checked.
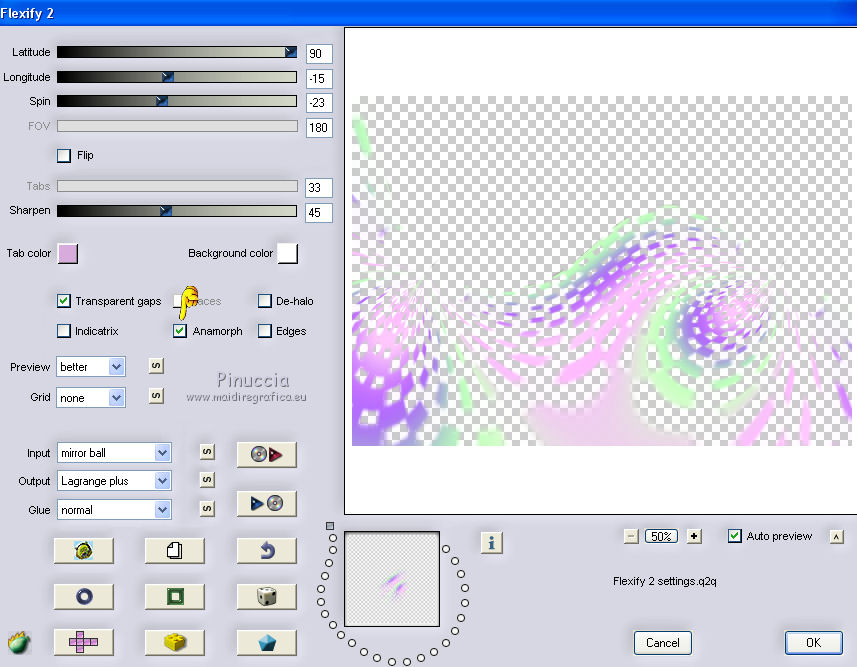
6. Effects>Plugins>Flaming Pear - Flexify 2.
Attention: Anamorphe is checked.
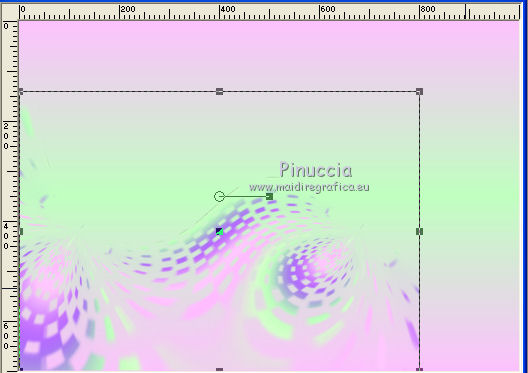
Again Image>Resize, to 80%, resize all layers not checked.
Move  the image at the bottom left. the image at the bottom left.
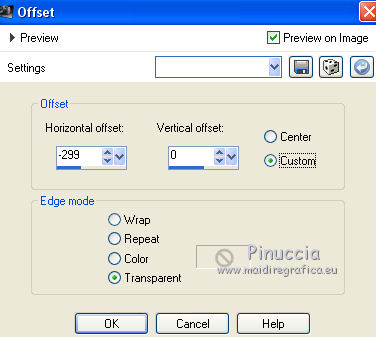
7. Effects>Image Effects>Offset.
Effects>Reflection Effects>Rotating Mirror, same settings.

8. Effects>3D Effects>Drop Shadow, color black.
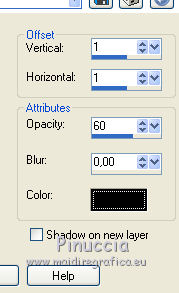
Repeat Drop Shadow, vertical and horizontal -1.
9. Layers>Duplicate.
Image>Flip.
Layers>Merge>Merge Down.
Image>Resize, to 85%, resize all layers not checked.
Effects>Reflection Effects>Rotating Mirror, same settings.

10. Selection Tool 
(no matter the type of selection, because with the custom selection your always get a rectangle)
clic on the Custom Selection 
and set the following settings.
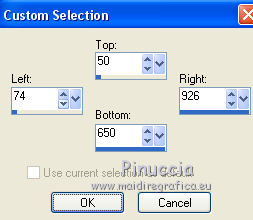
11. Layers>New Raster Layer.
Set your foreground color to the dark color #b370fc.
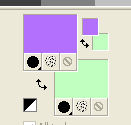
Flood Fill  the selection with the dark foreground color #b370fc. the selection with the dark foreground color #b370fc.
12. Selections>Modify>Contract - 2 pixels.
Press CANC on the keyboard 
Effects>3D Effects>Drop Shadow, last settings in memory
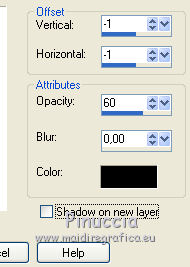
Repeat Drop Shadow in positive.

Selections>Select None.
Layers>Merge>Merge Down.
Adjust>Sharpness>Sharpen.
13. Effects>Plugins>FM Tile Tools - Saturation Emboss, default settings

14. Layers>Duplicate.
Change the Blend Mode of this layer to Multiply and reduce the opacity to 50%.
Layers>Merge>Merge Down.
15. Activate the layer Raster 1.
Effects>Artistique Effects>Posterize.
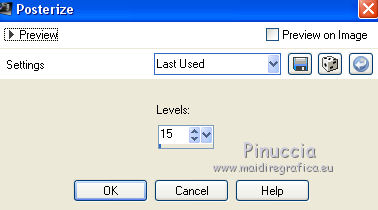
Effects>Edge Effects>Enhance More.
Effects>Image Effects>Seamless Tiling, default settings.

16. Effects>Plugins>AAA Frames - Foto Frame.
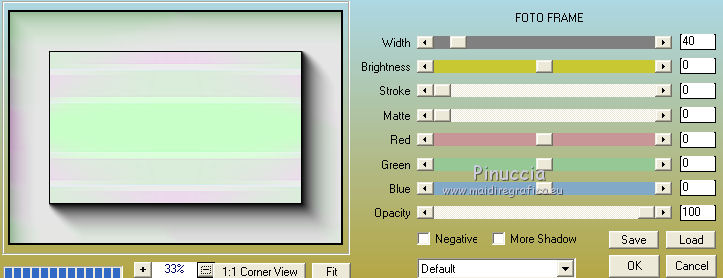
Image>Mirror.
Repeat Effects>Plugins>AAA Frames - Foto Frame, same settings.
17. Layers>Merge>Merge visible.
18. Layers>New Raster Layer.
Flood Fill  with your dark foreground color #b370fc. with your dark foreground color #b370fc.
Selections>Select All.
Selections>Modify>Contract - 2 pixels.
Press CANC on the keyboard.
Effects>3D Effects>Drop Shadow, same settings.

Repeat Drop Shadow, vertical and horizontal -1.
Selections>Select None.
19. Open the tube Dama-Lia and go to Edit>Copy.
Go back to your work and go to Edit>Paste as new layer.
Effects>Image Effects>Offset.
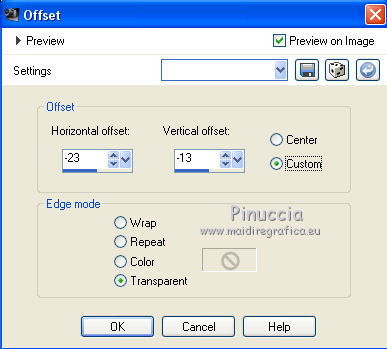
Layers>Duplicate.
Change the Blend Mode of this layer to Multiply and reduce the opacity to 50%.
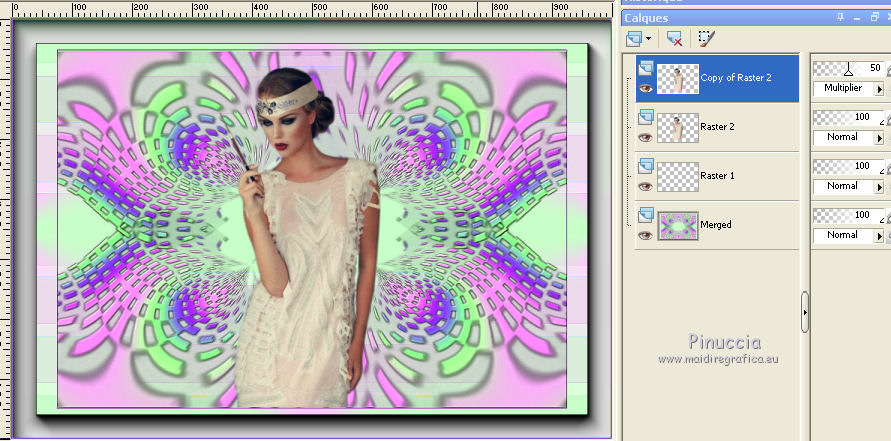
Layers>Merge>Merge Down.
Adjust>Sharpness>Sharpen - 2 times.
Effects>3D Effects>Drop Shadow.
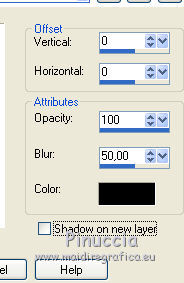
to erase the shadow under the border,
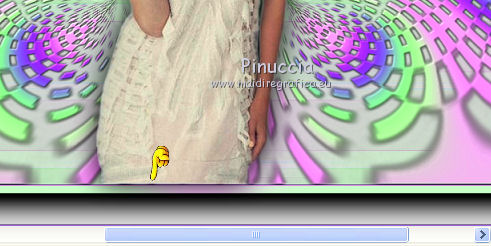
draw a selection under the bord and click CANC on the keyboard.

Selections>Select None
20. Sign your work on a new layer.
Layers>Merge>Merge All and save as jpg.
Version with tube by Alies
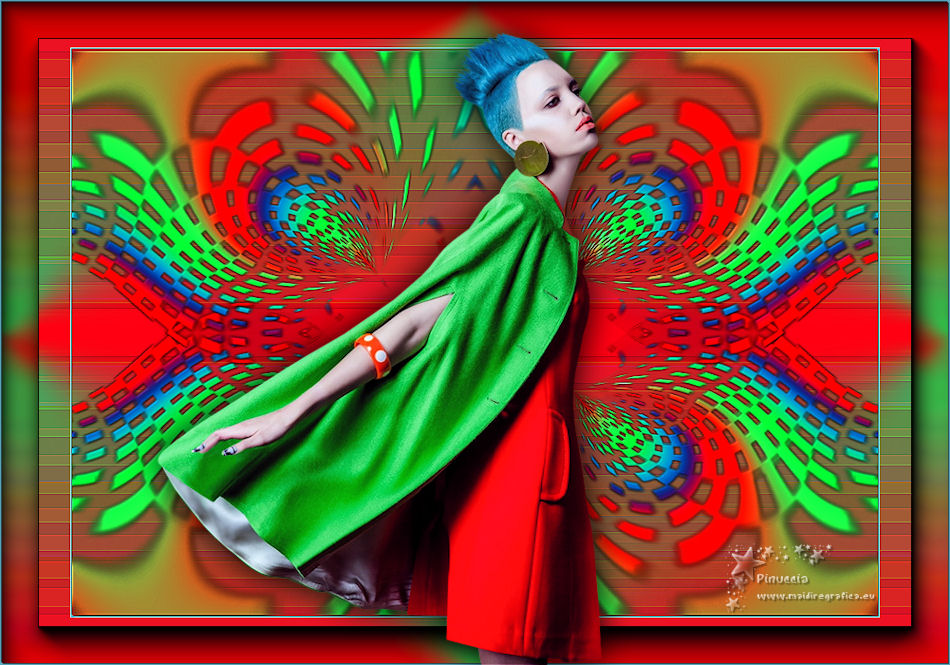

If you have problems or doubts, or you find a not worked link, or only for tell me that you enjoyed this tutorial, write to me.
20 August 2019
|