|
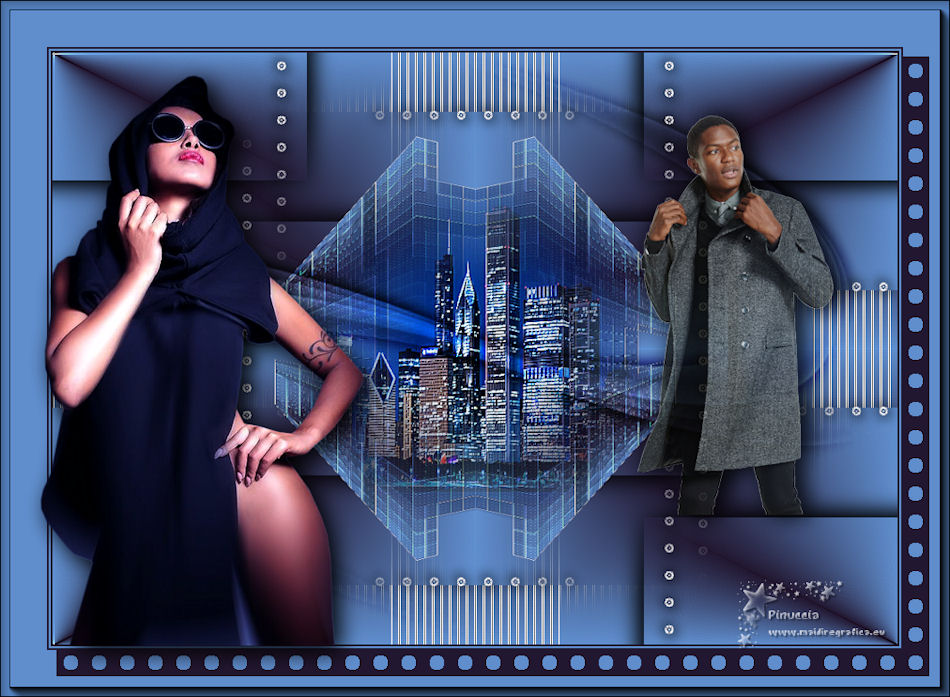
CHICAGO CITY

Thanks Emilieta for your invite to translate your tutorials into english.
Here you can find the original tutorial.
This tutorial has been translated with PSPX2, but it can also be made using other versions of PSP.
Since version PSP X4, Image>Mirror was replaced with Image>Flip Horizontal,
and Image>Flip with Image>Flip Vertical, there are some variables.
In versions X5 and X6, the functions have been improved by making available the Objects menu.
In the latest version X7 command Image>Mirror and Image>Flip returned, but with new differences.
See my schedule here
french translation here
your versions here
Material here
Thanks: for the woman tube Eugenia Clo, for the man tube Jasmin.
The mask from Internet.
The rest of the material is by Emilieta.
(The links of the tubemakers here).
Plugins
consult, if necessary, my filter section here
Filters Unlimited 2.0 here
Carolaine and Sensibility - CS-LDots here
L&K's - L&K's Jeffrey here
FM Tile Tools - Saturation Emboss, Blend Emboss here
AP Lines - Lines SilverLining here
Neology - Vasarely Mosaic here
AAA Frames - Foto Frame here
Filters Neology can be used alone or imported into Filters Unlimited.
(How do, you see here)
If a plugin supplied appears with this icon  it must necessarily be imported into Unlimited it must necessarily be imported into Unlimited

You can change Blend Modes according to your colors.
In the newest versions of PSP, you don't find the foreground/background gradient (Corel_06_029).
You can use the gradients of the older versions.
The Gradient of CorelX here
Copy the Selection in the Selections Folder.
Open the mask in PSP and minimize it with the rest of the material.
1. Open a new transparent image 1000 x 700 pixels.
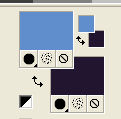
Set your foreground color to #608ecd,
and your background color to #221730.
Set your Foreground color to a Foreground/Background Gradient, style Radial.
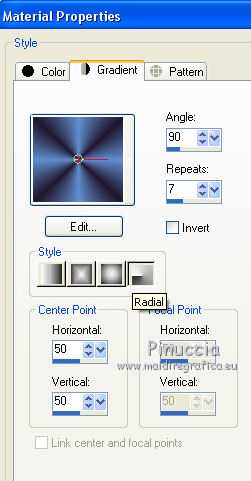
Flood Fill  the transparent image with your Gradient. the transparent image with your Gradient.
Effects>Edge Effects>Enhance More.
Image>Resize, to 80%, resize all layers not checked.
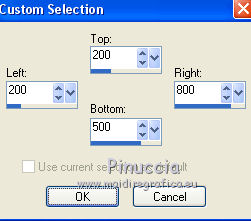
2. Selection Tool 
(no matter the type of selection, because with the custom selection your always get a rectangle)
clic on the Custom Selection 
and set the following settings.

Layers>New Raster Layer.
Flood Fill  the layer with your Gradient. the layer with your Gradient.
Effects>Edge Effects>Enhance More.
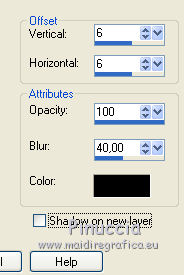
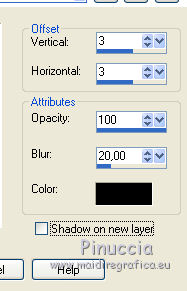
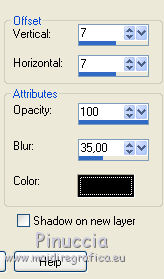
3. Effects>3D Effects>Drop Shadow.

Repeat Drop Shadow, but vertical and horizontal -6.
Selections>Select None.
4. Layers>Merge>Merge visible.
5. Effects>Image Effects>Seamless Tiling, default settings.

6. Layers>Duplicate.
Image>Resize, to 80%, resize all layers not checked.
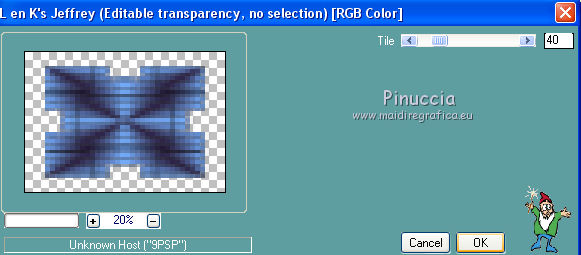
7. Effects>Plugins>L&K's - L&K's Jeffrey.

Effects>Edge Effects>Enhance More.
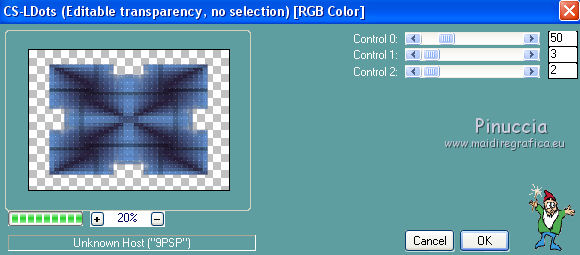
8. Effects>Plugins>Carolaine and Sensibility - CS-Ldots.

9. Effects>Plugins>FM Tile Tools - Blend Emboss.

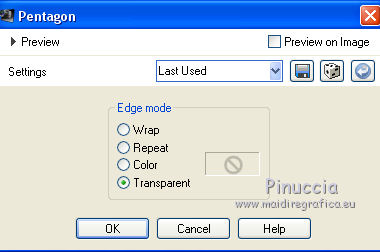
10. Effects>Geometric Effects>Pentagon.

Image>Free Rotate - 90 degrees to left.

11. Effects>Reflection Effects>Rotating Mirror.

Image>Resize, to 85%, resize all layers not checked.
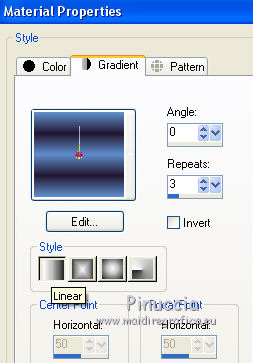
12. Change the Gradient settings, style Linear.

13. Layers>New Raster Layer.
Flood Fill  the layer with your Gradient. the layer with your Gradient.
14. Effects>Plugins>AP Lines - Lines SilverLining.

Effects>Edge Effects>Enhance More.
Layers>Arrange>Send to Bottom.
15. Open the tube circulos - Edit>Copy.
Go back to your work and go to Edit>Paste as new layer.
Layers>Arrange>Bring to Top.
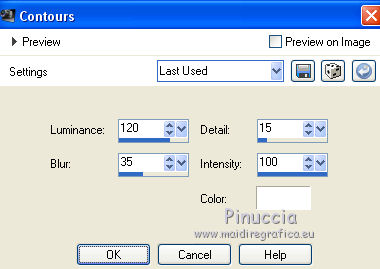
16. Effects>Artistic Effects>Contours.

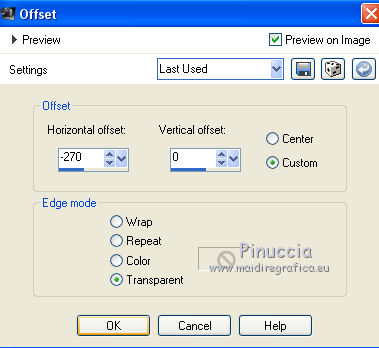
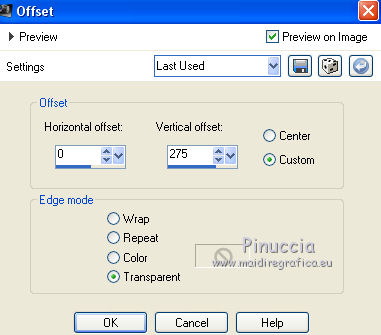
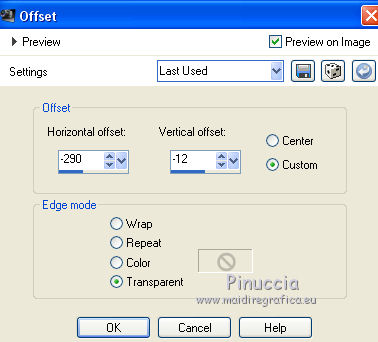
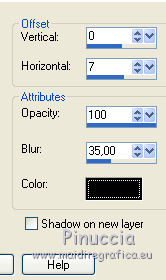
17. Effects>Image Effects>Offset.

18. Layers>Duplicate.
Image>Mirror.
Layers>Merge>Merge Down.
Effects>3D Effects>Drop Shadow.

Repeat Drop Shadow, but vertical and horizontal -3.
19. Effects>Image Effects>Seamless Tiling, default settings.

20. Open the tube circulos 2 - Edit>Copy.
Go back to your work and go to Edit>Paste as new layer.
Effects>Artistic Effects>Contours, same settings.
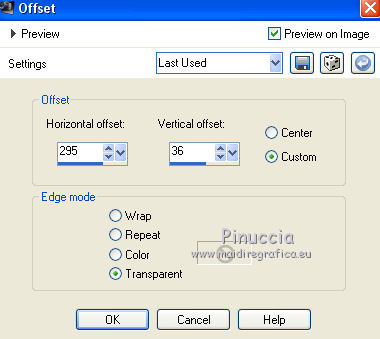
21. Effects>Image Effects>Offset.

22. Layers>Duplicate.
Image>Flip.
Layers>Merge>Merge Down.
23. Effects>Image Effects>Seamless Tiling, default settings.

Effects>3D Effects>Drop Shadow.

Repeat Drop Shadow, but vertical and horizontal -3.
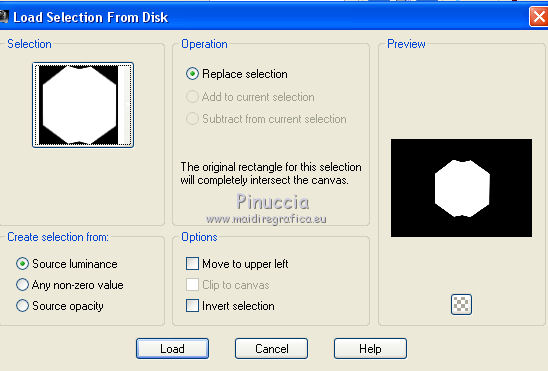
24. Selection>Load/Save Selection>Load Selection from Disk.
Look for and load the selection Chicago city.

Layers>New Raster Layer.
Open the paysage - Edit>Copy.
Go back to your work and go to Edit>Paste into Selection.
Adjust>Sharpness>Sharpen More.
25. Effects>Plugins>FM Tile Tools - Saturation Emboss, default settings.

Selections>Select None.
26. Layers>Merge>Merge visible.
27. Set your foreground color to white #ffffff.
Layers>New Raster Layer.
Flood Fill  the layer with color white #ffffff. the layer with color white #ffffff.
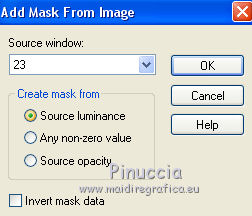
Layers>New Mask layer>From image
Open the menu under the source window and you'll see all the files open.
Select the mask 23.

Layers>Merge>Merge Group.
Change the Blend Mode of this layer to Overlay.
Effects>3D Effects>Drop Shadow, same settings.
28. Layers>Merge>Merge visibles.
29. Image>Resize, to 90%, resize all layers checked.
30. For the borders, set again your foreground color to #608ecd.

31. Image>Add borders, 2 pixels, symmetric, background color.
Image>Add borders, 2 pixels, symmetric, foreground color.
Image>Add borders, 2 pixels, symmetric, background color.
Image>Add borders, 50 pixels, symmetric, foreground color.
Activate the Magic Wand Tool 
and click on the 50 pixels borders to select it.
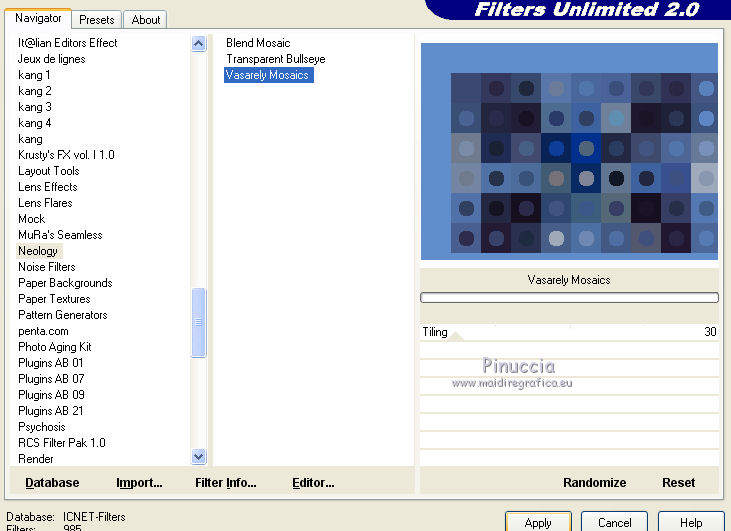
Effects>Plugins>Filters Unlimited 2.0 - Neology - Vasarely Mosaics

Selections>Select None.
32. Open the woman tube - Edit>Copy.
Go back to your work and go to Edit>Paste as new layer.
Image>Resize, to 80%, resize all layers not checked.
Layers>Duplicate.
Change the Blend Mode of this layer to Multiply and reduce the opacity to 65%.
Layers>Merge>Merge Down.
33. Effects>Image Effects>Offset.

Effects>3D Effects>Drop Shadow.

34. Open the man tube and go to Edit>Copy.
Go back to your work and go to Edit>Paste as new layer.
Image>Resize, 1 time to 40% and 1 time to 90%, resize all layers not checked.
Effects>Image Effects>Offset.

Effects>3D Effects>Drop Shadow.

Reduce the opacity of this layer to 60%.
Layers>Duplicate.
Layers>Merge>Merge Down.
35. Sign your work on a new layer.
Layers>Merge>Merge All.
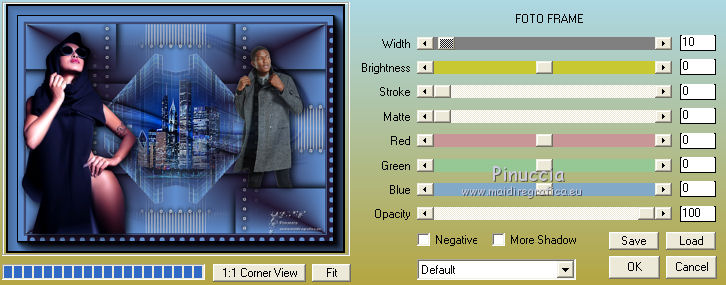
Effects>Plugins>AAA Frames - Foto Frame.

Save as jpg.
The tubes of this version are by Nikita


If you have problems or doubts, or you find a not worked link, or only for tell me that you enjoyed this tutorial, write to me.
1 September 2018
|


 the transparent image with your Gradient.

