|
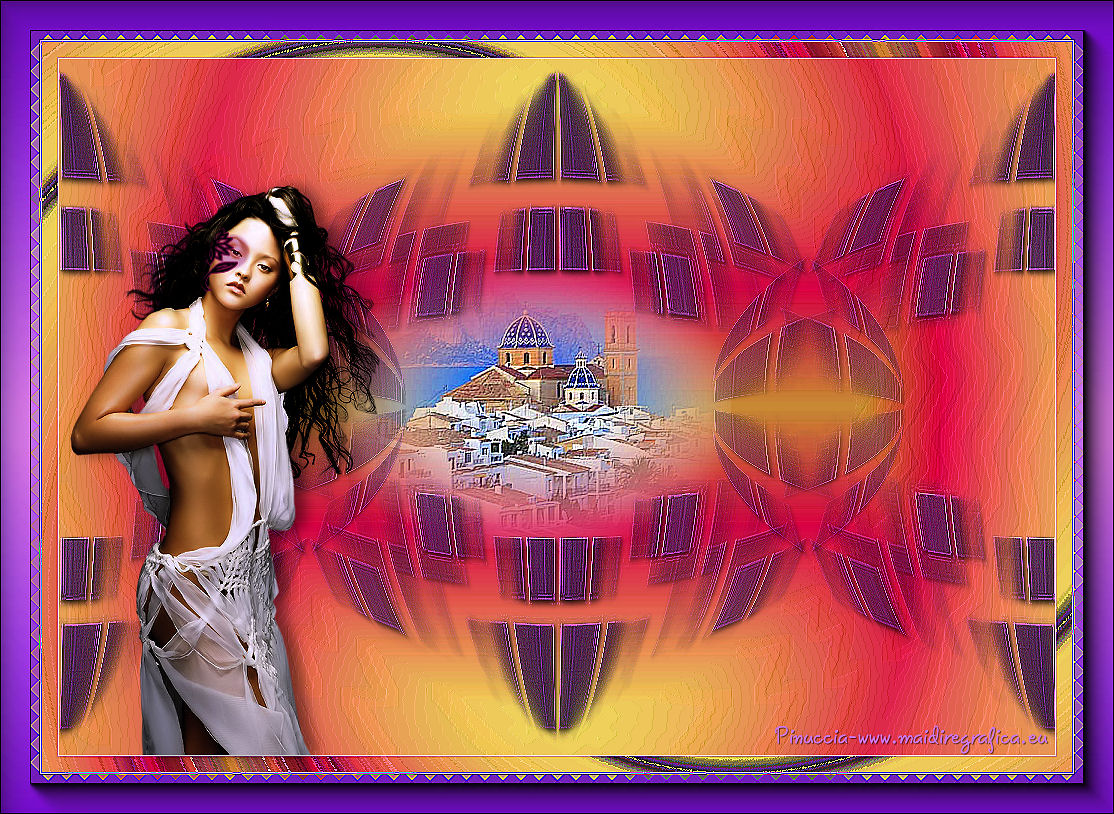
ALTEA


Thanks Emilieta for your invite to translate your tutorials into english.
Here you can find the original tutorial.

This tutorial has been translated with PSPX2, but it can also be made using other versions of PSP.
Since version PSP X4, Image>Mirror was replaced with Image>Flip Horizontal,
and Image>Flip with Image>Flip Vertical, there are some variables.
In versions X5 and X6, the functions have been improved by making available the Objects menu.
In the latest version X7 command Image>Mirror and Image>Flip returned, but with new differences.
See my schedule here
french translation here
Your versions here
Material here
The tube is by Colombe.
The landscape and the mask are by Emilieta
Plugins
consult, if necessary, my filter section here
Filters Unlimited 2.0 here
VM Extravaganza - James Bondage here
Frischluft - Mosaic plane here
FM Tile Tools - Saturation Emboss here
AAA Frames - Foto Frame here
Filters VM Extravaganza can be used alone or imported into Filters Unlimited.
(How do, you see here)
If a plugin supplied appears with this icon  it must necessarily be imported into Unlimited it must necessarily be imported into Unlimited

You can change Blend Modes according to your colors.
In the newest versions of PSP, you don't find the foreground/background gradient (Corel_06_029).
You can use the gradients of the older versions.
The Gradient of CorelX here
Open the mask in PSP and minimize it with the rest of the material.
1. Open a new transparent image 1000 x 700 pixels.
Set your foreground color to #c0c0ff,
and your background color to #c875f7.
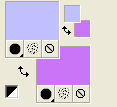
Set your foreground color to a Foreground/Background Gradient, style Linear.

Flood Fill  the transparent image with your Gradient. the transparent image with your Gradient.
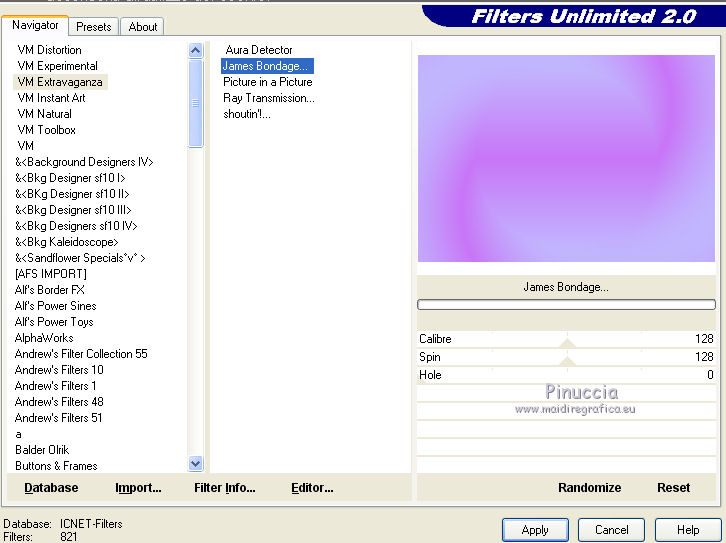
Effects>Plugins>Filters Unlimited 2.0 - VM Extravaganza - James Bondage, default settings.
Layers>Duplicate.
Image>Mirror.
Reduce the opacity of this layer to 50%.
Layers>Merge>Merge visible.
Effects>Edge Effects>Enhance More.
2. Effects>Artistic Effects>Colored Foil.
background color #c875f7
(if you change color, also the result changes)

3. Layers>New Raster Layer.
Set your foreground color to #6a13b3,
keep your background color to #c875f7.
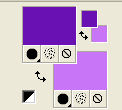
Set your foreground color to Gradient, same settings.
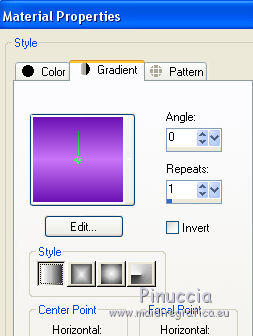
Flood Fill  the layers with your Gradient. the layers with your Gradient.
4. Layers>New Mask layer>From image
Open the menu under the source window and you'll see all the files open.
Select the mask Lia-mask-cuadrado04.

Layers>Merge>Merge Group.
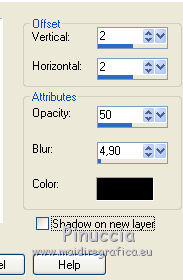
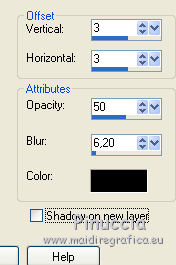
We'll apply 4 several Drop Shadow.
Effects>3D Effects>Drop Shadow.

Shadow 2

Shadow 3
Shadow 4
Adjust>Sharpness>Sharpen More.
5. Effects>Geometric Effects>Circle

Effects>Image Effects>Seamless Tiling.

Adjust>Sharpness>Sharpen More.
Effects>Edge Effects>Enhance.
Layers>Duplicate.
6. Open the landscape tube and go to Edit>Copy.
Go back to your work and go to Edit>Paste as new layer.
Image>Resize, to 65%, resize all layers not checked.
Arrange>Move Down - 2 times.
Adjust>Sharpness>Sharpen More.
Effects>Plugins>FM Tile Tools - Saturation Emboss, default settings.

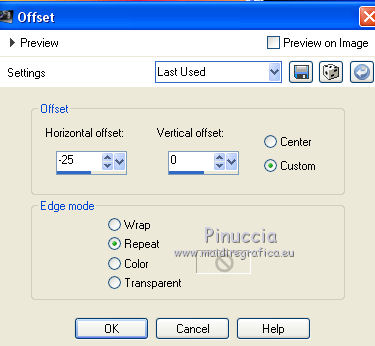
Effects>Image Effects>Offset.
7. Layers>New Raster Layer.
Flood Fill  the layer with your background color. the layer with your background color.
Layers>Arrange>Bring to Top.
Selections>Select All.
Selections>Modify>Contract - 2 pixels.
Press CANC on the keyboard 
Selections>Invert.
Effects>Edge Effects>Enhance More.
Selections>Select None.
8. Image>Add borders, 15 pixels, symmetric, color white.
Activate the Magic Wand Tool 
and click in the bord to select it.
Flood Fill  the selection with your Gradient. the selection with your Gradient.
Effects>Plugins>Filters Unlimited 2.0 - VM Extravaganza, same settings.
Adjust>Sharpness>Sharpen More.
Selections>Select None.
9. Image>Add borders, 2 pixels, symmetric, background color.
Select this border with your Magic Wand Tool 
Effects>Edge Effects>Enhance More - 2 times.
Selections>Select None.
10. Image>Add borders, 40 pixels, symmetric, color white.
Select this border with your Magic Wand Tool 
Flood Fill  the selection with your Gradient. the selection with your Gradient.
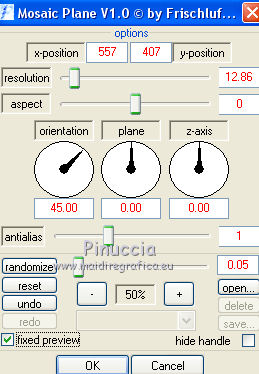
Effects>Plugins>Frischluft - Mosaic Plane.
Effects>Edge Effects>Enhance More.
Selections>Select None.
11. Sign your work on a new layer.
12. Open the woman tube and go to Edit>Copy.
Go back to your work and go to Edit>Paste as new layer.
Move  the tube at the bottom left. the tube at the bottom left.
Layers>Duplicate.
Change the Blend Mode of this layer to Multiply and reduce the opacity to 70%.
Effects>3D Effects>Drop Shadow.

13. Layers>Merge>Merge visible.
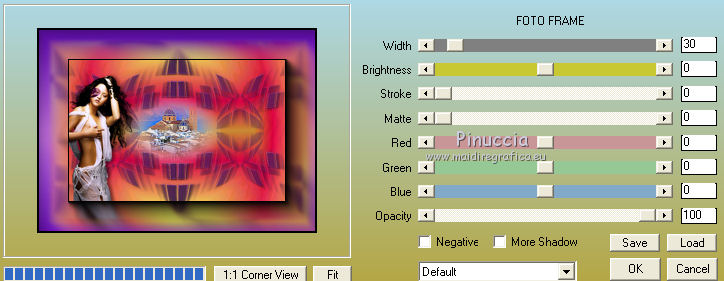
Effects>Plugins>AAA Frames - Foto Frame.
Adjust>Sharpness>Sharpen.
Save as jpg

If you have problems or doubts, or you find a not worked link, or only for tell me that you enjoyed this tutorial, write to me.
28 February 2018
|

