|
ABSTRACT

Thanks Emilieta for your invite to translate your tutorials into english.
Here you can find the original tutorial.
This tutorial has been translated with PSPX2, but it can also be made using other versions of PSP.
Since version PSP X4, Image>Mirror was replaced with Image>Flip Horizontal,
and Image>Flip with Image>Flip Vertical, there are some variables.
In versions X5 and X6, the functions have been improved by making available the Objects menu.
In the latest version X7 command Image>Mirror and Image>Flip returned, but with new differences.
See my schedule here
french translation here
your versions here
Material here
For the tube thanks Animabelle.
(The links of the tubemakers here).
Plugins
consult, if necessary, my filter section here
Alien Skin Eye Candy 6 Text Selection - Glass here
notes about the installation here
Filters Unlimited 2.0 here
FM Tile Tools - Saturation Emboss here
L&K's - L&K Pia here
Simple - Blintz here
Filters Simple can be used alone or imported into Filters Unlimited.
(How do, you see here)
If a plugin supplied appears with this icon  it must necessarily be imported into Unlimited it must necessarily be imported into Unlimited

You can change Blend Modes according to your colors.
In the newest versions of PSP, you don't find the foreground/background gradient (Corel_06_029).
You can use the gradients of the older versions.
The Gradient of CorelX here
Copy the Selection in the Selections Folder.
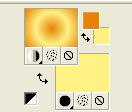
Set your foreground color to #e53943,
and your background color to #af9a42.
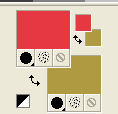
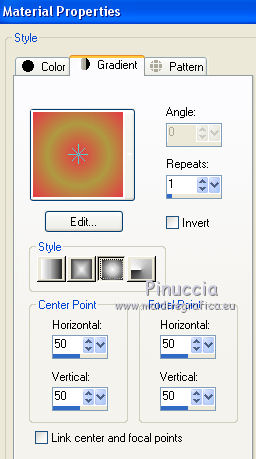
Set your foreground color to a Foreground/Background Gradient, style Sunburst.
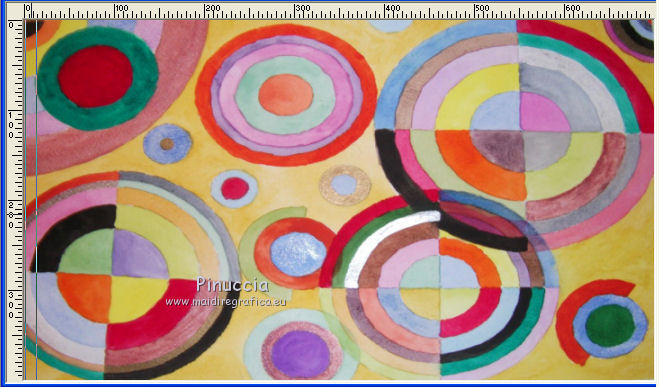
1. Open a new transparent image 700 x 400 pixels.
Selections>Select All.
Open the paper Abstract11 - Edit>Copy.
Go back to your work and go to Edit>Paste into Selection.
2. Activate the Eraser Tool  with these settings. with these settings.

Place the mouse button about as below
move the mouse, without moving it, from left to right
if you don't like the result, Edit>Undo Eraser Brush and repeat
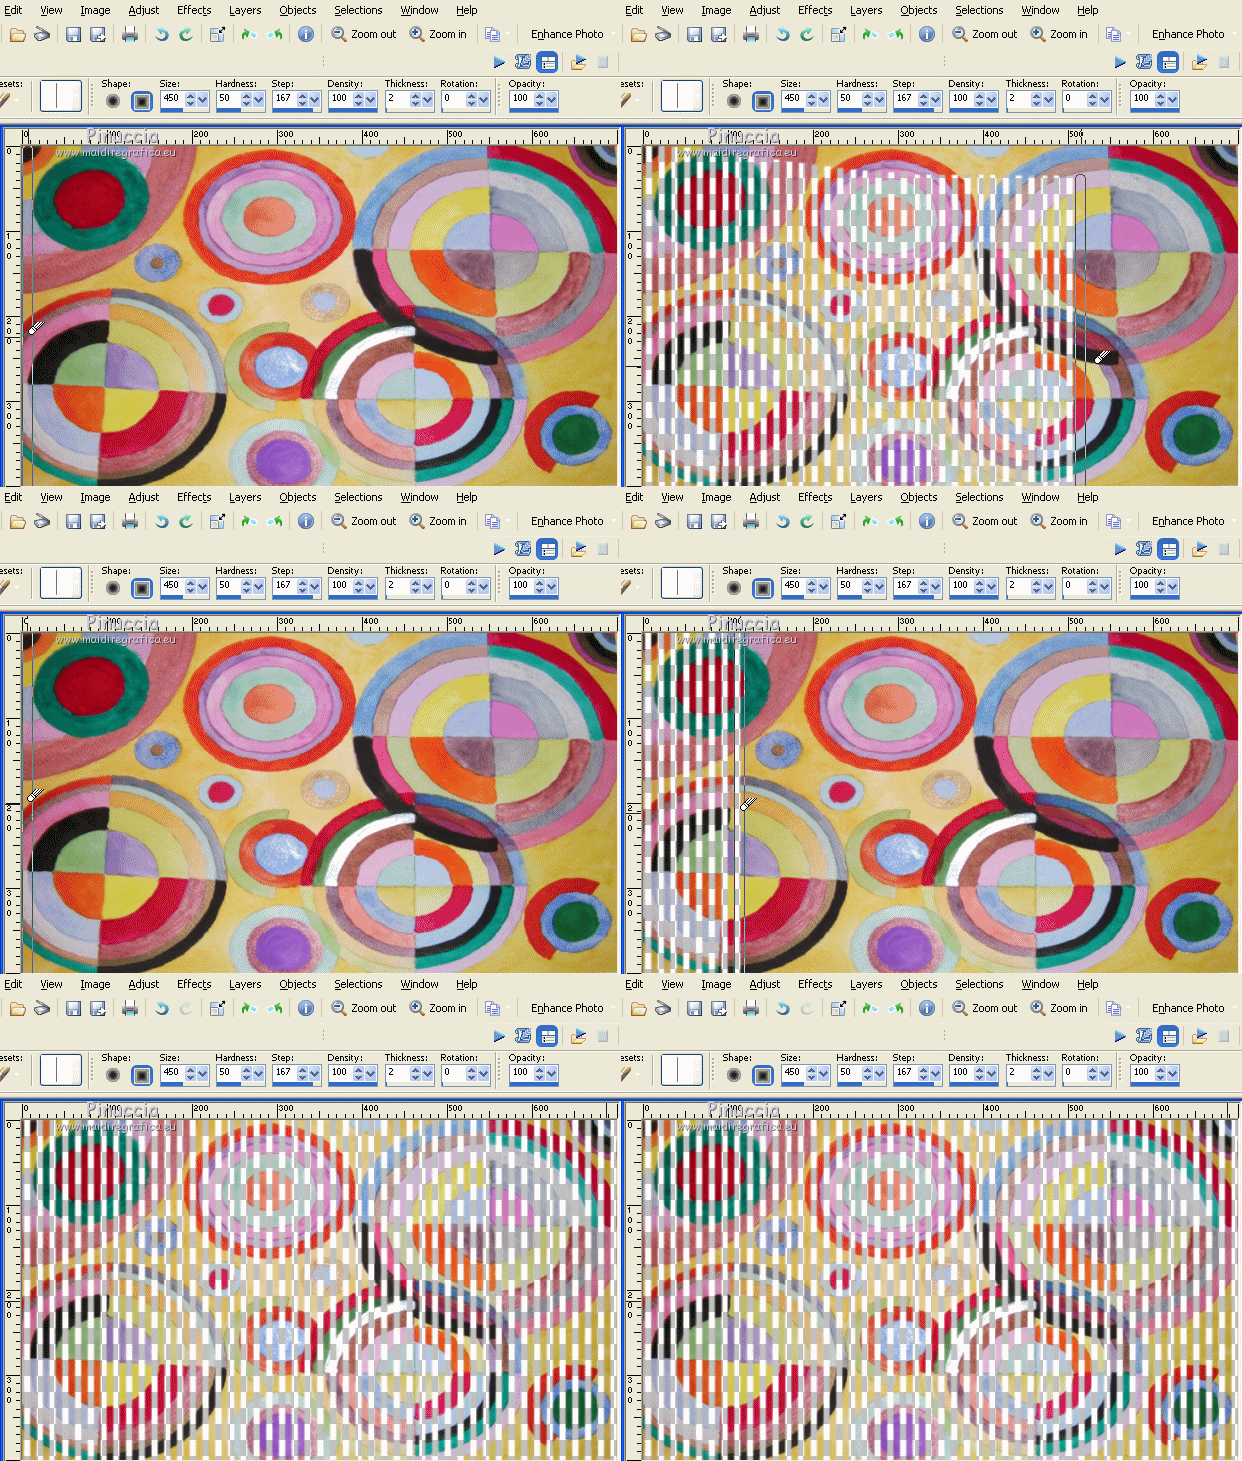
You should have this
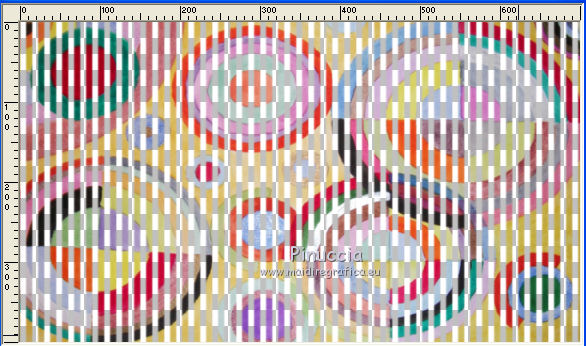
3. Selections>Load/Save Selection>Load Selection from Disk
Look for and load the selection tuto Abstract.
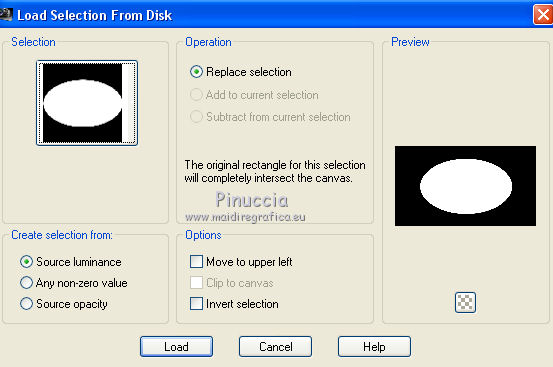
Press CANC on the keyboard 
Selections>Select None.
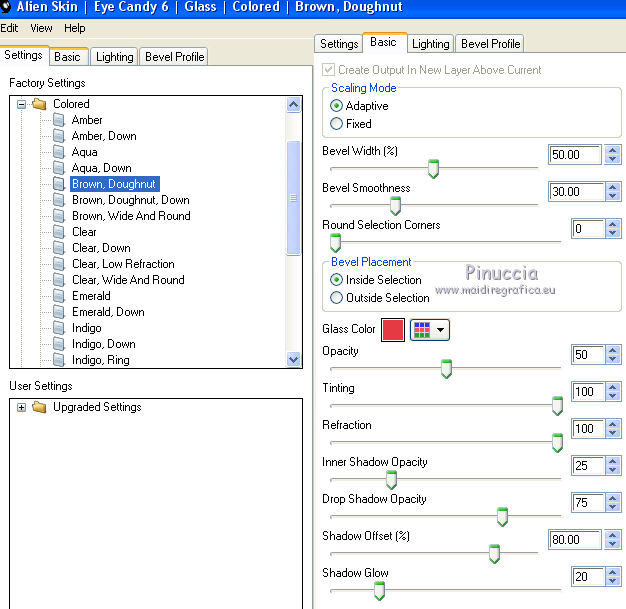
4. Effects>Plugins>Alien Skin Eye Candy 6 Text Selection - Glass
Settings: Brown, Doughnut
Basic: Glass Color foreground color #e53943
Edit>Copy and minimize your work
5. Open a new transparent image 900 x 600 pixels.
Flood Fill  the transparent image with your Gradient. the transparent image with your Gradient.
Effects>Edge Effects>Enhance More.
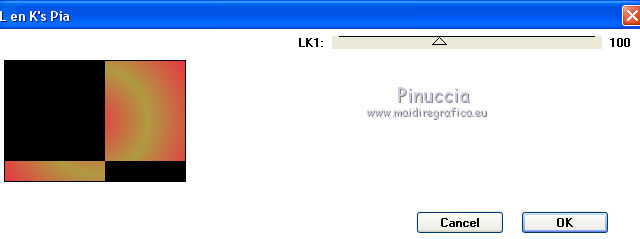
6. Effects>Plugins>L&K's - L&K Pia

7. Effects>Plugins>Simple - Blintz
9. Layers>Duplicate.
Image>Flip.
Reduce the opacity of this layer to 50%.
Layers>Merge>Merge Down.
Effects>Edge Effects>Enhance.
10. Effects>Reflection Effects>Rotating Mirror.

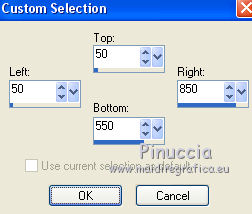
11. Selection Tool 
(no matter the type of selection, because with the custom selection your always get a rectangle)
clic on the Custom Selection 
and set the following settings.

12. Layers>New Raster Layer.
Edit>Paste into Selection (the image you made before)
13. Effects>Geometric Effects>Circle.

14. Effects>Image Effects>Seamless Tiling, default settings.

15. Effects>Image Effects>Seamless Tiling, horizontal checked.

Adjust>Sharpness>Sharpen.
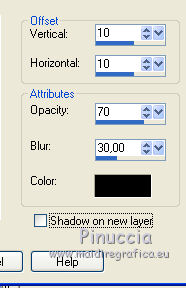
16. Effects>3D Effects>Drop Shadow, color black.

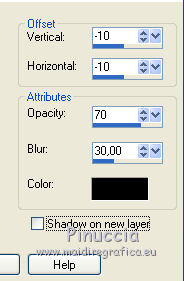
Repeat Drop Shadow, vertical and horizontal -10.
17. Effects>Plugins>FM Tile Tools - Saturation Emboss, default settings

18. Open the tube Abstrac-center and go to Edit>Copy.
Go back to your work and go to Edit>Paste as new layer.
Image>Resize, to 60%, resize all layers not checked.
Adjust>Sharpness>Sharpen - 2 times.
19. Effects>Image Effects>Seamless Tiling, last settings.

Adjust>Sharpness>Sharpen.
20. Effects>3D Effects>Drop Shadow, last settings.

Repeat Drop Shadow, vertical and horizontal 10.

21. Image>Add borders, 2 pixels, symmetric, red foreground color.
22. Image>Resize, to 90%, resize all layers checked.
23. Image>Add borders, 5 pixels, symmetric, background color.
Image>Add borders, 2 pixels, symmetric, red foreground color.
24. Change your background color to #fef184

25. Image>Add borders, 43 pixels, symmetric, background color.
Select your Magic Wand Tool 
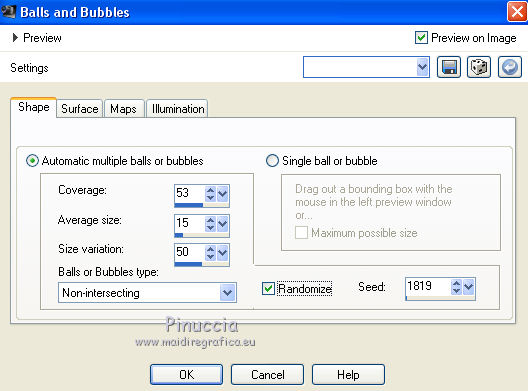
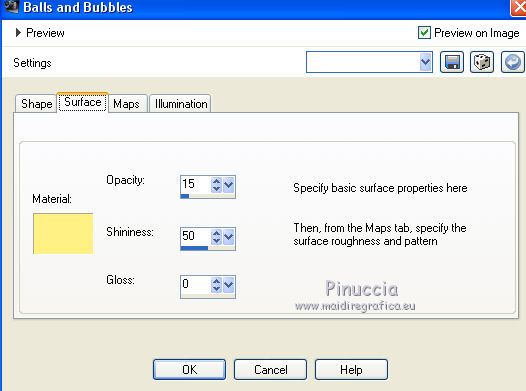
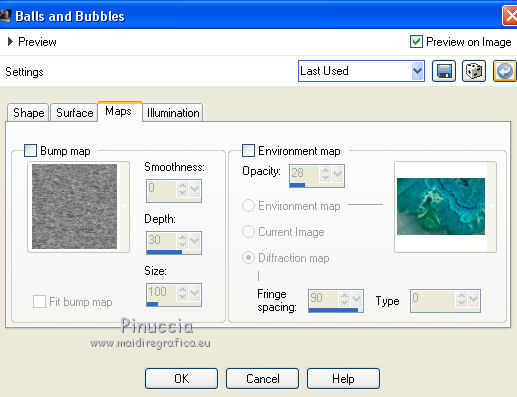
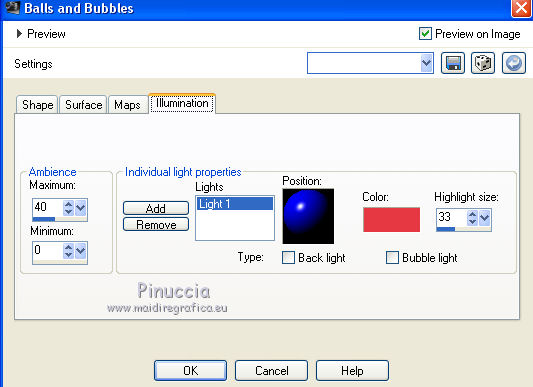
26. Effects>Artistic Effects>Balls and Bubbles.
Shape (after clicking on Randomize you cannot change the Seed setting)

Surface - yellow background color

Maps - nothing checked

Illumination - foreground color

27. Effects>Edge Effects>Enhance More - 2 times.
Selections>Select None.
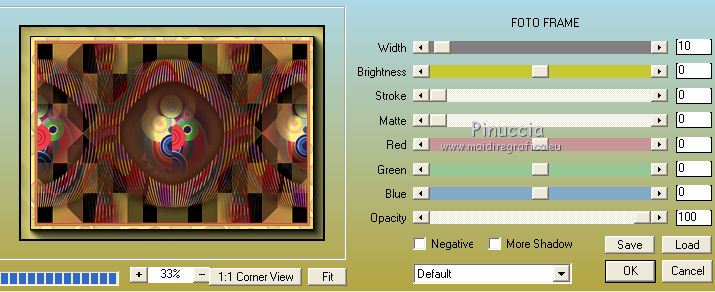
28. Effects>Plugins>AAA Frames - Foto Frame.

29. Open the tube of the woman and go to Edit>Copy.
Go back to your work and go to Edit>Paste as new layer.
Image>Resize, to 70%, resize all layers not checked.
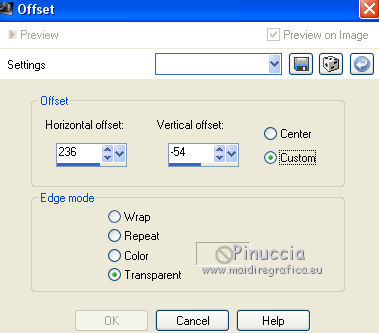
30. Effects>Image Effects>Offset.

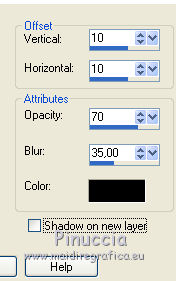
31. Effects>3D Effects>Drop Shadow, color black.

Repeat Drop Shadow, vertical and horizontal -10.
32. Sign your work on a new layer.
Image>Add borders, 2 pixels, symmetric, yellow background color.
33. Save as jpg.
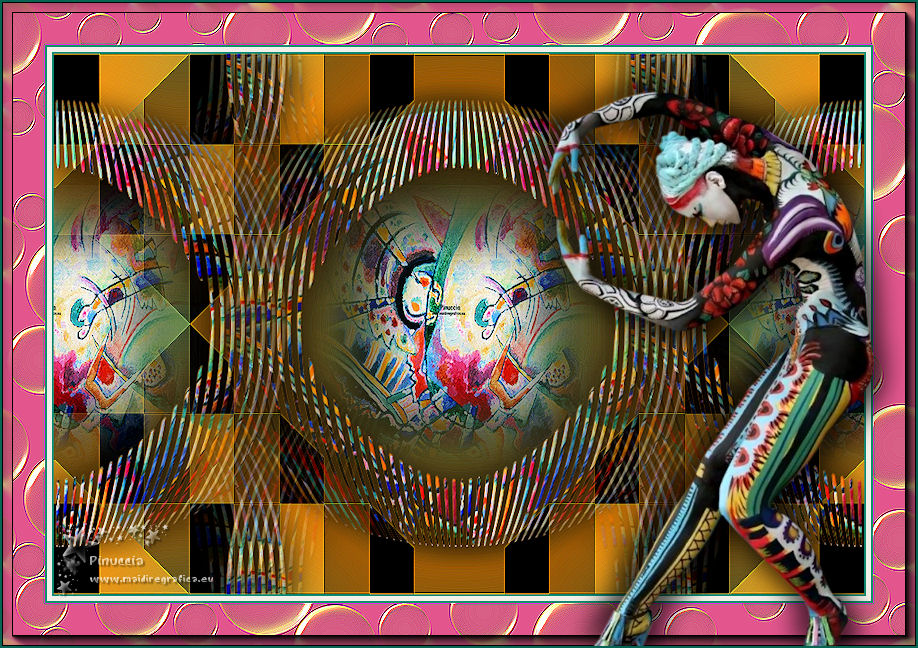
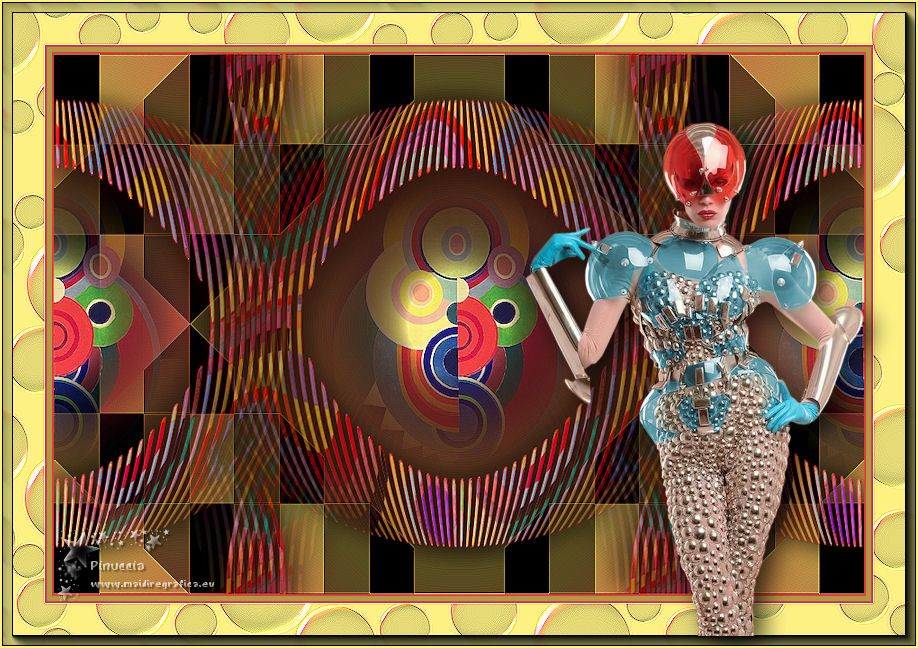
The tube of this version is by Thafs.

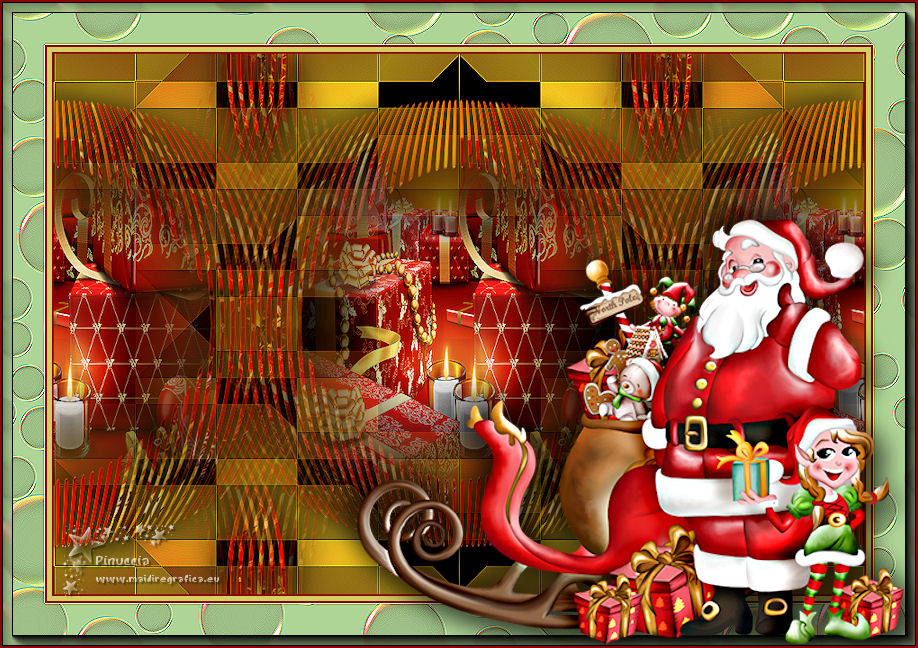
Christmas version with tube by Thafs


If you have problems or doubts, or you find a not worked link, or only for tell me that you enjoyed this tutorial, write to me.
2 December 2018
|


 with these settings.


 the transparent image with your Gradient.