NIADA

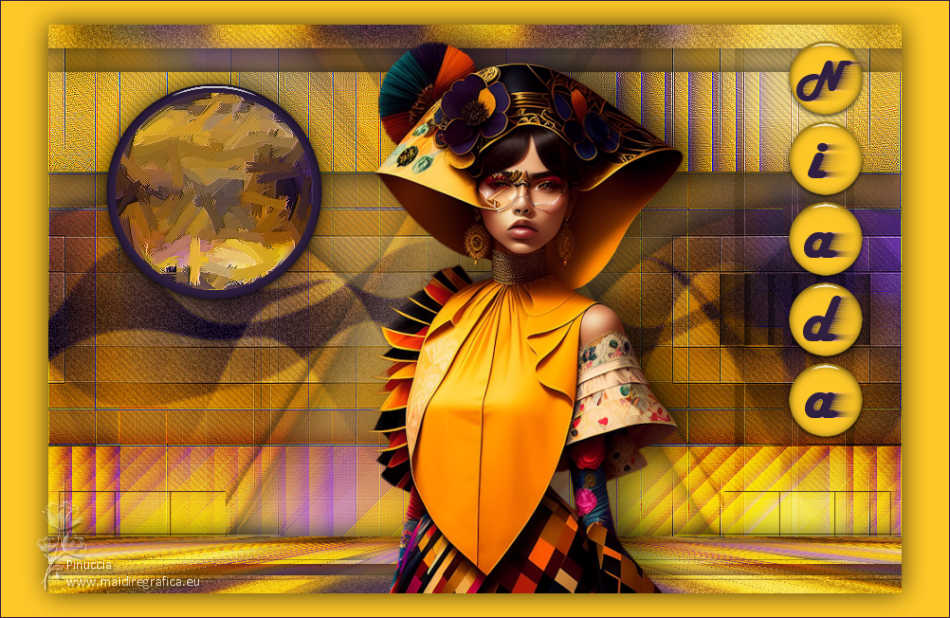
Thanks Annie for your invitation to translate

Clic and move the brush to follow the tutorial.

To print


|
This tutorial was translated with PSPX9 and PSP2020, but it can also be made using other versions of PSP.
Since version PSP X4, Image>Mirror was replaced with Image>Flip Horizontal,
and Image>Flip with Image>Flip Vertical, there are some variables.
In versions X5 and X6, the functions have been improved by making available the Objects menu.
In the latest version X7 command Image>Mirror and Image>Flip returned, but with new differences.
See my schedule here
 italian translation here italian translation here
 french translation here french translation here
 your versions here your versions here
Necessary

For the tube and the masks thanks Lady Valella and Narah.
(The links of the tubemakers here).

consult, if necessary, my filter section here
Filters Unlimited 2.0 here
&<Kaleidoscope> - Nomads Rug (da importare in Unlimited) qui
&<Bkg Designer sf10I> - Cruncher (da importare in Unlimited) qui
Alien Skin Eye Candy 5 Impact - Glass, Perspective Shadow qui
Mura's Meister - Perspective Tiling qui

You can change Blend Modes according to your colors.
Copy the preset  in the folder of the plugin Alien Skin Eye Candy 5 Impact>Settings>Glass. in the folder of the plugin Alien Skin Eye Candy 5 Impact>Settings>Glass.
One or two clic on the file (it depends by your settings), automatically the preset will be copied in the right folder.
why one or two clic see here

Copy the selections in the Selections Folder.
Open the masks in PSP and minimize them with the rest of the material.
1. Open a new transparent image 650 x 500 pixels.
2. Set your foreground color to the light color #ffc829
and your background color to the dark color #301f41.
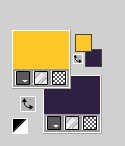
Flood Fill  the transparent image with your foreground color. the transparent image with your foreground color.
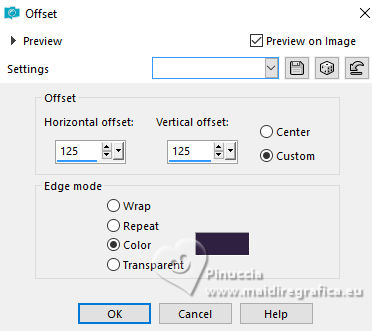
3. Effects>Image Effects>Offset - background color.
4. Effects>Image Effects>Seamless Tiling.

5. Effects>Edge Effects>Enhance More.
6. Layers>Duplicate.
Image>Mirror>Mirror Horizontal (Image>Mirror).
Image>Mirror>Mirror Vertical (Image>Flip).
Change the Blend Mode of this layer to Luminance (legacy).
Layers>Merge>Merge Down.
7. Effects>Plugins>Filters Unlimited 2.0 - &<Bkg Designer sf10I> - Cruncher.
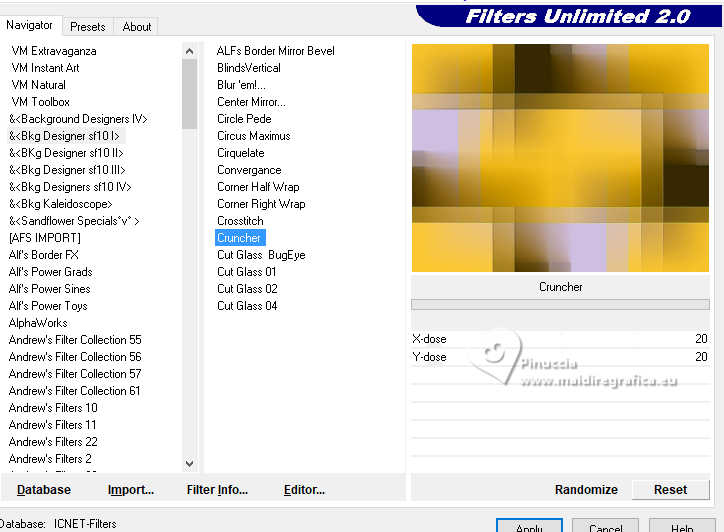
Effects>Edge Effects>Enhance.
8. Selection Tool 
(no matter the type of selection, because with the custom selection your always get a rectangle)
clic on the Custom Selection 
and set the following settings.
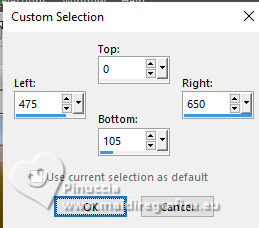
Selections>Promote Selection to Layer.
9. Effects>Texture Effects>Blinds - background color.
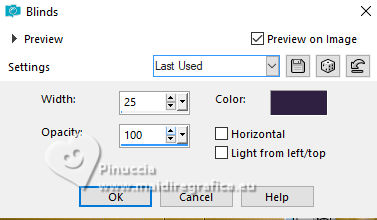
Selections>Select None.
10. Layers>Duplicate.
Image>Mirror>Mirror Horizontal (Image>Mirror).
Image>Mirror>Mirror Vertical (Image>Flip).
Layers>Merge>Merge Down.
11. Effects>3D Effects>Drop Shadow, color black.
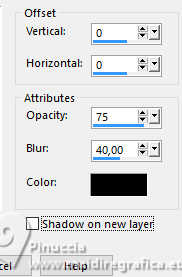
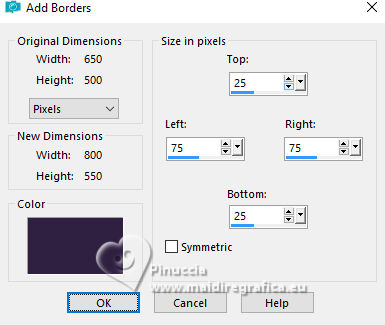
12. Selections>Select All.
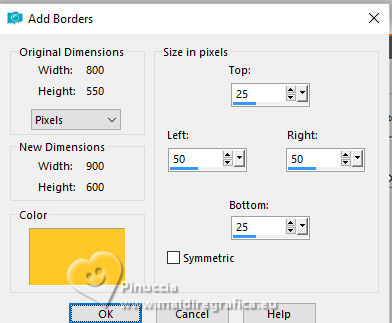
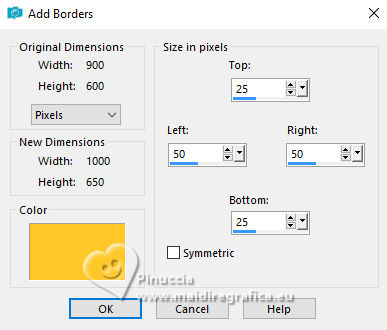
Image>Add borders, symmetric not checked, background color.
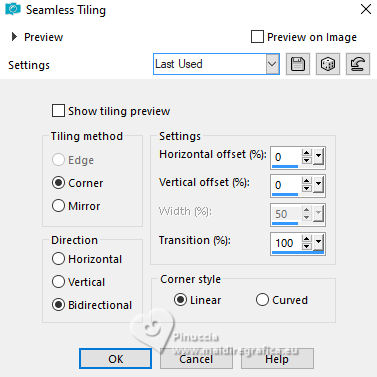
13. Effects>Image Effects>Seamless Tiling, same settings.
14. Selections>Invert.
Adjust>Blur>Gaussian Blur, radius 10.

15. Effects>3D Effects>Drop Shadow, same settings.
Selections>Select none.
16. Layers>Duplicate.
Effects>Plugins>Filters Unlimited 2.0 - &<Bkg Kaleidoscope> - Nomads rug
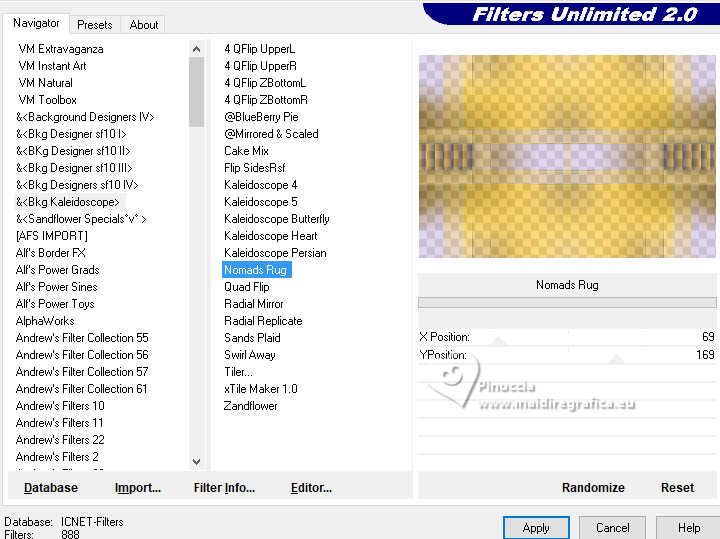
Change the Blend Mode of this layer to Luminance.
17. Selections>Select All.
Image>Add borders, symmetric not checked, foreground color.
18. Effects>Image Effects>Seamless Tiling, same settings.

19. Selections>Invert.
Adjust>Blur>Gaussian Blur - radius 10.

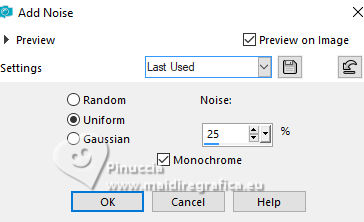
20. Adjust>Add/Remove Noise>Add Noise.
21. Effects>3D Effects>Drop Shadow, same settings.
Selections>Select None.
22. Effects>Image Effects>Seamless Tiling.
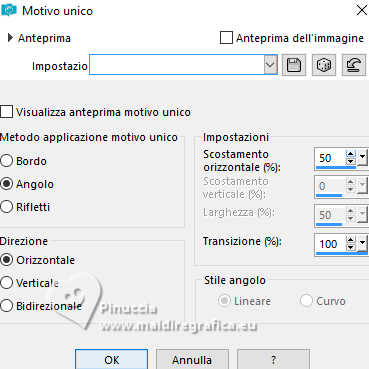
23. Custom Selection 
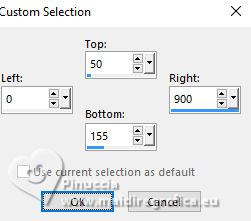
Selections>Promote Selection to Layer.
24. Effects>Edge Effects>Enhance.
Effects>3D Effects>Drop Shadow, same settings.
25. Activate your bottom layer.
Selections>Modify Selection, and the selected zone become red
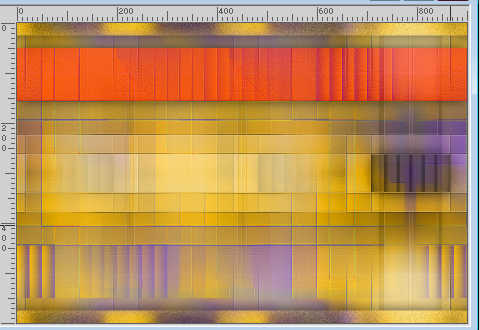
26. Image>Mirror>Mirror Vertical (Image>Flip).
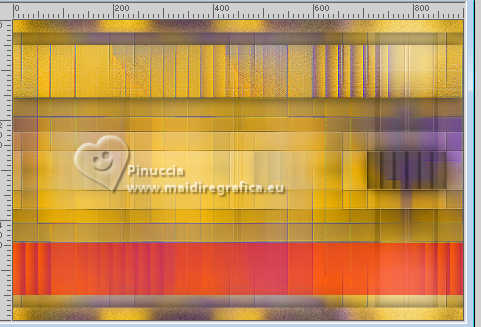
27. Selections>Modify Selection, and the selected zone will back normal.
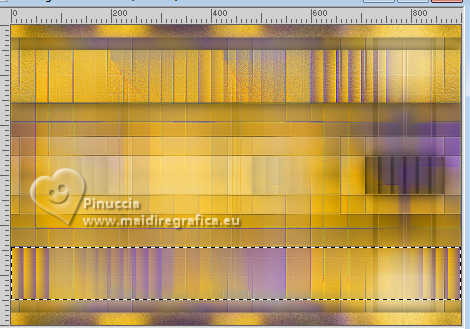
28. Selections>Promote Selection to Layer.
Change the Blend Mode of this layer to Overlay.
29. Effects>3D Effects>Drop Shadow, same settings.
Selections>Select None
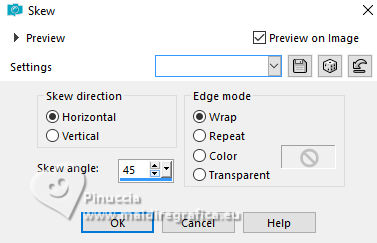
30. Effects>Geometric Effects>Skew.
You should have this
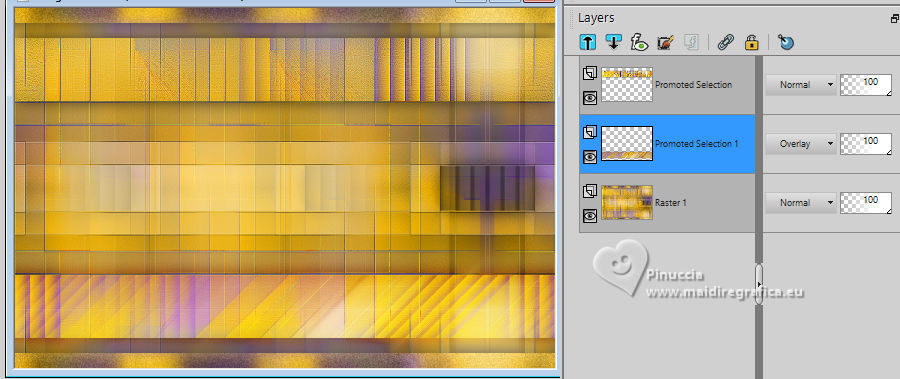
31. Layers>New Raster Layer.
Flood Fill  the layer with your background color. the layer with your background color.
32. Layers>New Mask Layers>From image
Open the menu under the source window and you'll see all the files open.
Select the mask Narah_Mask_1221
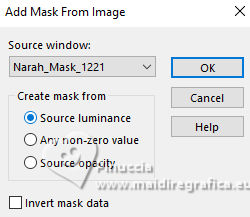
Layers>Merge>Merge group.
Effects>Edge Effects>Enhance More.
33. Adjust>Add/Remove Noise>Add Noise, same settings.

34. Layers>Merge>Merge visible.
35. Layers>Duplicate.
Layers>New Mask Layers>From image
Open the menu under the source window
and select the mask NarahsMasks_1726
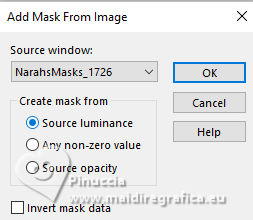
Layers>Merge>Merge Group.
36. Change the Blend Mode of this layer to Hard Light.
Effects>3D Effects>Drop Shadow, same settings.
Layers>Merge>Merge Down.
37. Layers>Duplicate.
Effetti>Plugins>Mura's Meister - Perspective Tiling.
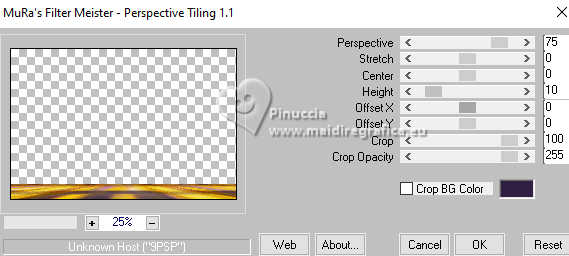
(if you have problems with the filter, you can use the file punt69 in the material)
38. Effects>3D Effects>Drop Shadow, same settings.

39. Activate your bottom layer.
Edit>Copy
40. Layers>New Raster Layer.
Selections>Load/Save Selection>Load Selection from Disk.
Look for and load the selection niada-1-cre&64;nnie
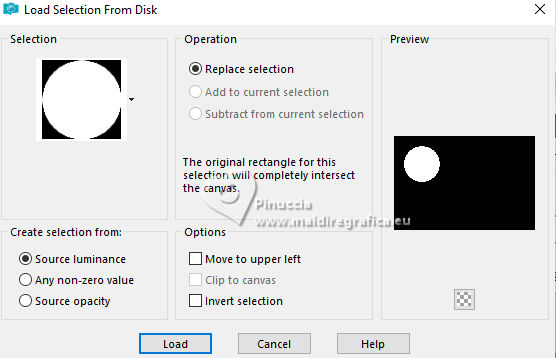
Flood Fill  the selection with your background color. the selection with your background color.
41. Selections>Modify>Contract - 10 pixels.
Edit>Paste into Selection
42. Effects>Art Media Effects>Brush Strokes - background color.
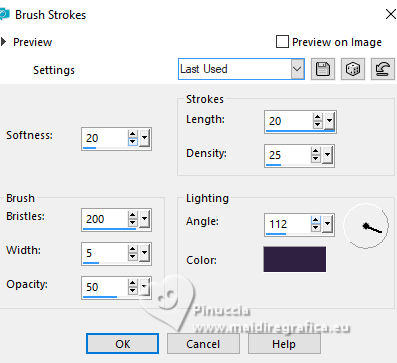
Selections>Select None.
43. Effects>Plugins>Alien Skin Eye Candy 5 Impact - Glass.
Select the preset Clear and ok.

44. Effects>3D Effects>Drop Shadow, same settings.

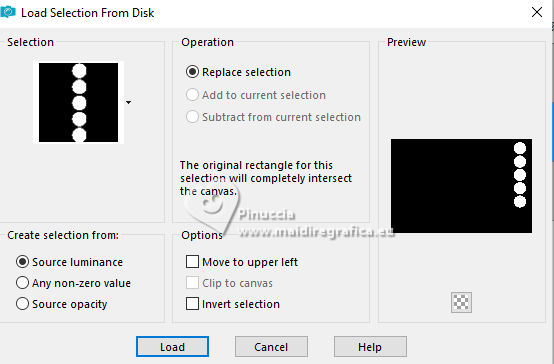
45. Selections>Load/Save Selection>Load Selection from Disk.
Look for and load the selection niada-2-cre@nnie
46. Layers>New Raster Layer.
Flood Fill  the layer with your foreground color. the layer with your foreground color.
47. Effects>Plugins>Alien Skin Eye Candy 5 Impact - Glass - Clear.
Selections>Select None.
48. Open the text niada-tekst 
Edit>Copy.
Go back to your work and go to Edit>Paste as new layer.
49. K key to activate your Pick Tool 
Position X: 789,00 - Position Y: 38,00

50. Layers>Duplicate.
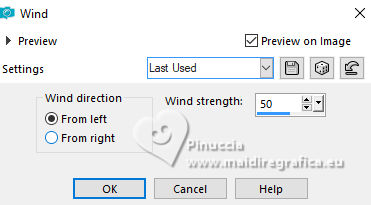
Effects>Distortion Effects>Wind, from left, strength 50
51. Effects>Edge Effects>Enhance.
Layers>Arrange>Move Down.
52. Open the tube LValellaTF2023-1251 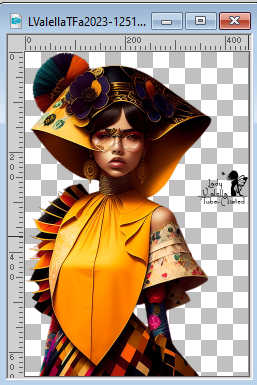
Erase the watermark and go to Edit>Copy.
Go back to your work and go to Edit>Paste as new layer.
Image>Resize, to 90%, resize all layers not checked.
Layers>Arrange>Bring to Top.
53. Position x: 334,00 - Position Y: 17,00.

M key to deselect the Tool.
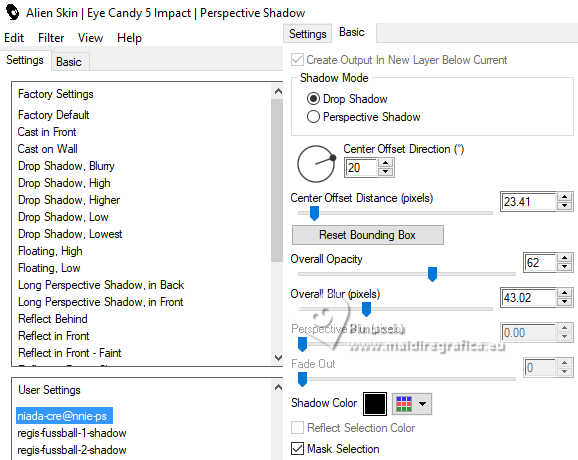
54. Effects>Plugins>Alien Skin Eye Candy 5 Impact - Perspective Shadow
Select the preset Niada-cre@nnie-ps
55. Selections>Select All.
Image>Add borders, same settings.
56. Effects>3D Effects>Drop Shadow, same settings.
Selections>Select None.
57. Sign your work on a new layer.
Image>Add borders, 1 pixel, symmetric, background color.
58. Image>Resize, 800 pixels width, resize all layers checked.
Save as jpg.
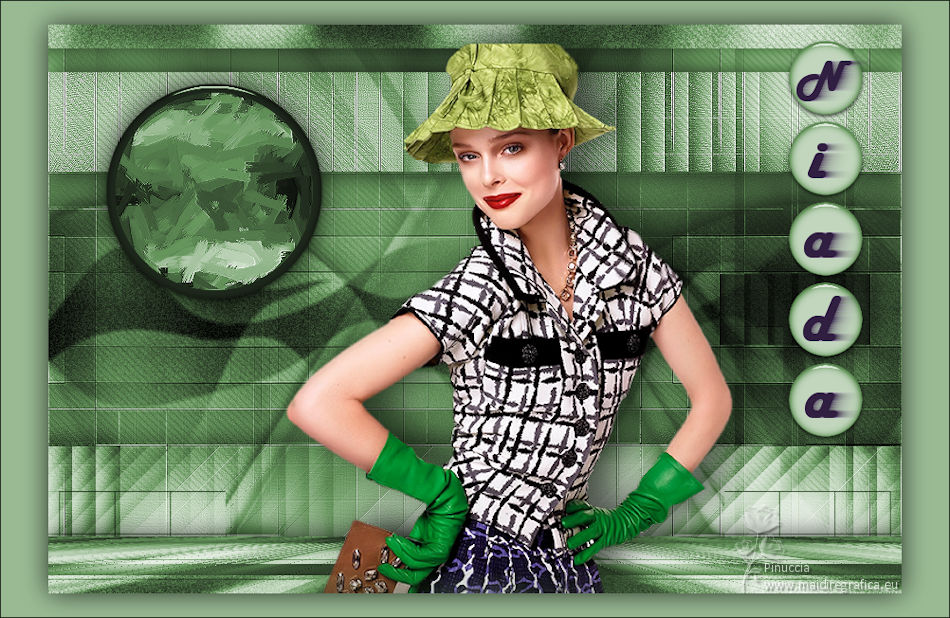
For the tube of this version thanks Luz Cristina

If you have problems or doubts, or you find a not worked link, or only for tell me that you enjoyed this tutorial, write to me.
19 July 2024

|

