VIOLINE

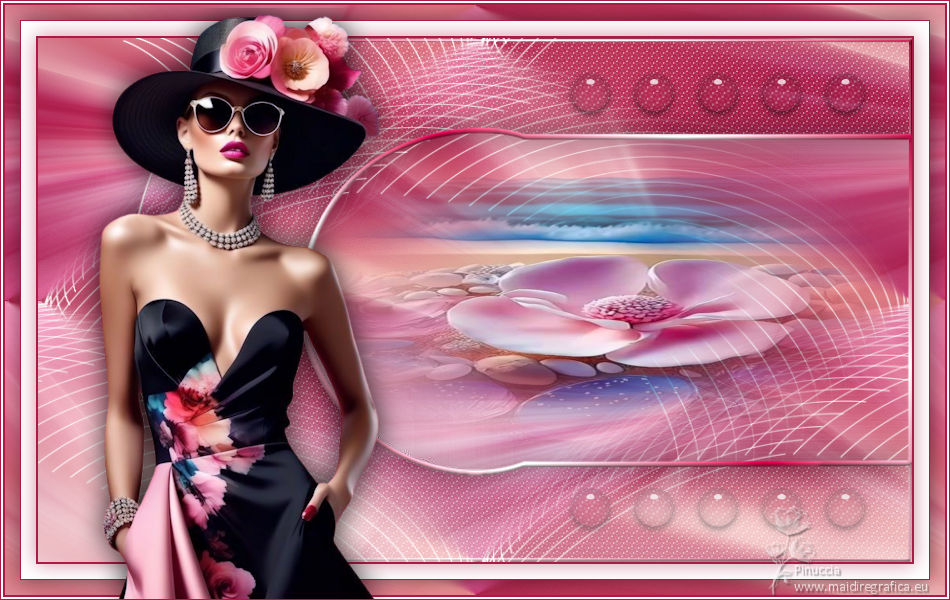
Thanks Colybrix for your invitation to translate

Clic and move the brush to follow the tutorial.

To print


|
This tutorial was translated with PSP09, but it can also be made using other versions of PSP.
Since version PSP X4, Image>Mirror was replaced with Image>Flip Horizontal,
and Image>Flip with Image>Flip Vertical, there are some variables.
In versions X5 and X6, the functions have been improved by making available the Objects menu.
In the latest version X7 command Image>Mirror and Image>Flip returned, but with new differences.
See my schedule here
 italian translation here italian translation here

Necessary

(The links of the tubemakers here).
consult, if necessary, my filter section here
Filters Unlimited 2.0 here
Graphics Plus - Cross Shadow here
Alien Skin Eye Candy 5 Impact - Glass here
Filters Grapphics Plus can be used alone or imported into Filters Unlimited.
(How do, you see here)
If a plugin supplied appears with this icon  it must necessarily be imported into Unlimited it must necessarily be imported into Unlimited

You can change Blend Modes according to your colors.
In the newest versions of PSP, you don't find the foreground/background gradient (Corel_06_029).
You can use the gradients of the older versions.
The Gradient of CorelX here

Open the masks in PSP and minimize them with the rest of the material.
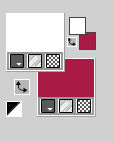
1. Set your foreground color to white #ffffff,
and your background color to #a91c45.
Open Alpha violine
Window>Duplicate or, on the keyboard, shift+D to make a copy.

Close the original.
The copy, that will be the basis of your work, is not empty,
but contains a selections saved to alpha channel.
Flood Fill  the transparent image with your background color. the transparent image with your background color.
Layers>New Raster Layer.
Selections>Selet all.
Open your main tube 458Tube232_deVioline_050624 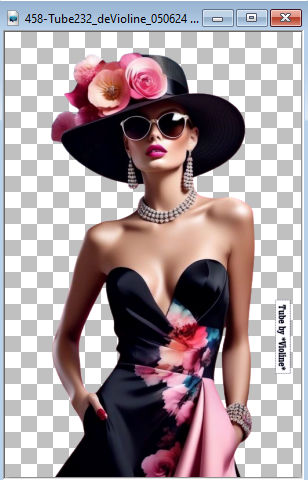
Erase the watermark and go to Edit>Copy.
Minimize the tube.
Go back to your work and go to Edit>Paste into Selection.
Selections>Select None.
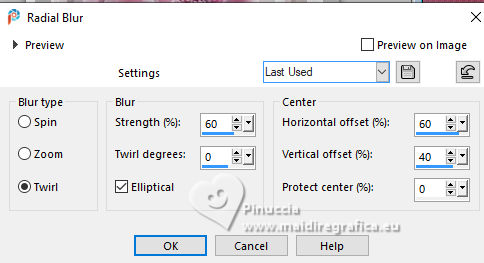
2. Adjust>Blur>Radial Blur.
3. Effects>Image Effects>Seamless Tiling, default settings.

Change the Blend Mode of this layer to Screen.
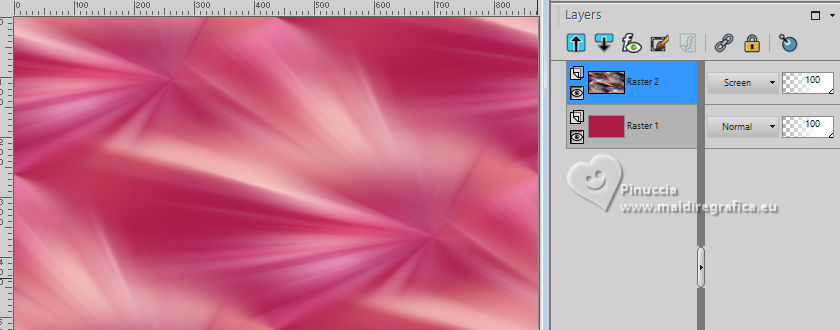
4. Effects>Plugins>Graphics Plus - Cross Shadow.
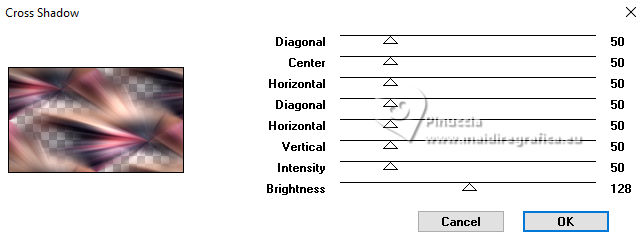
Effects>Edge Effects>Enhance.
Layers>Merge>Merge Down.
5. Layers>New Raster Layer.
Flood Fill  the layer with your white foreground color #ffffff. the layer with your white foreground color #ffffff.
Layers>New Mask layer>From image
Open the menu under the source window and you'll see all the files open.
Select the mask 280_Masque_ForumChezVioline
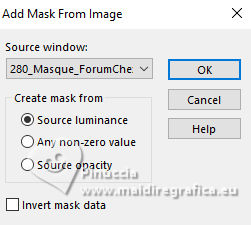
Effects>Edge Effects>Enhance.
Adjust>Brightness and Contrast>Brightness and Contrast.
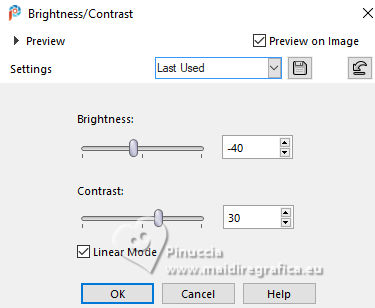
Layers>Merge>Merge Group.
6. Layers>New Raster Layer.
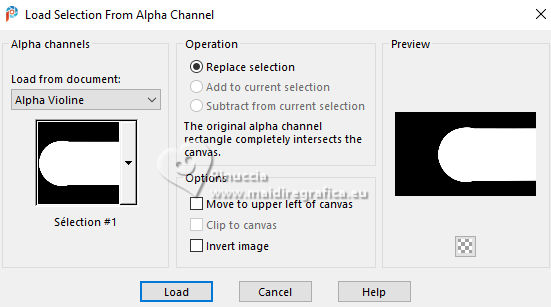
Selections>Load/Save Selection>Load Selection from Alpha Channel.
The selection Sélection #1 is immediately available.
You just have to click Load.
Open the flowers mist MerCreachouVioline_01 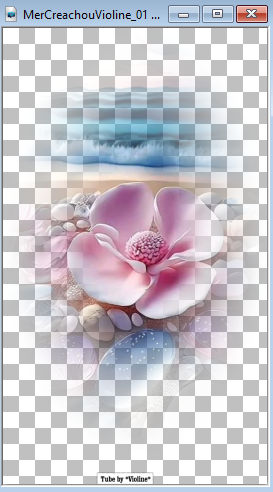
Erase the watermark and go to Edit>Copy.
Go back to your work and go to Edit>Paste into Selection.
Keep selected.
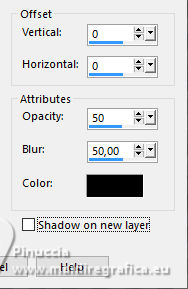
7. Effects>3D Effects>Drop shadow, color black.
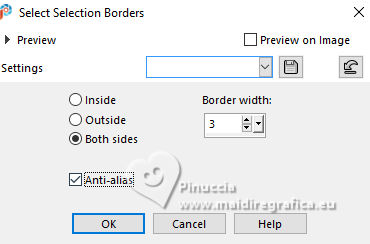
8. Selections>Modify>Select Selection Borders.
Set you foreground color to a Foreground/Background Gradiente, style Linear.
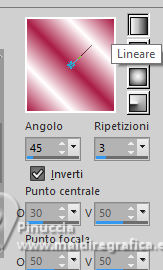
Flood Fill  the selection with your Gradient. the selection with your Gradient.
Effects>3D Effects>Inner Bevel.
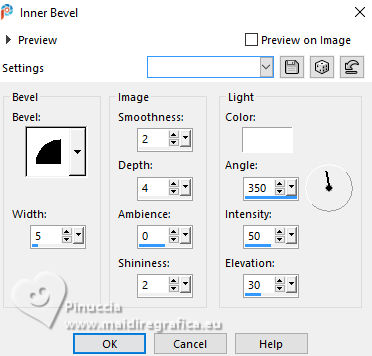
Selections>Select None.
9. Activate the layer Raster 1.
Selections>Load/Save Selection>Load Selection from Alpha Channel.
Open the selections menu and load the selection Sélection #2.
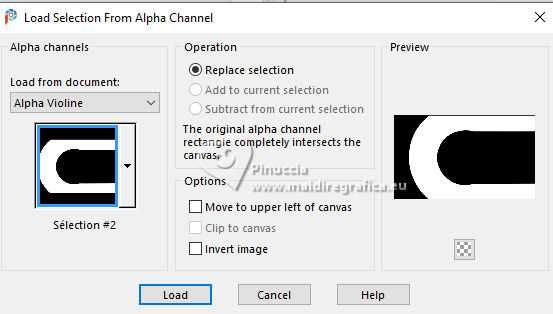
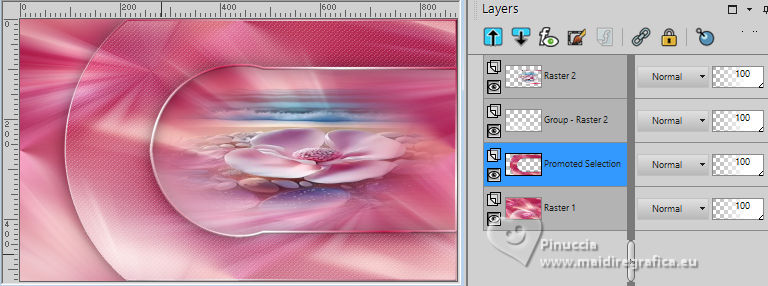
Selections>Promote Selection to Layer.
10. Effets>Effets de textures>Weave - weave color white.
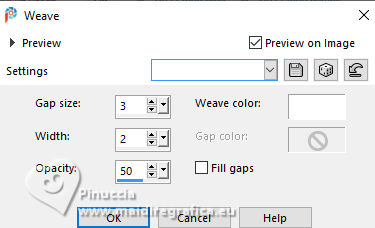
Effects>3D Effects>Drop Shadow, same settings.

11. Selections>Modify>Select Selection Borders, Inside checked.
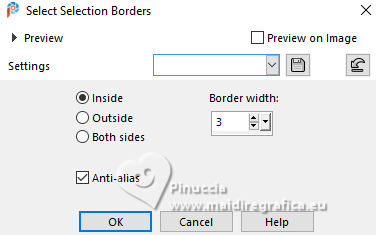
Flood Fill  the selection with your Gradient. the selection with your Gradient.
Effects>3D Effects>Inner Bevel, same settings.

Selections>Select none.
12. Stay on this layer (Promoted Selection).
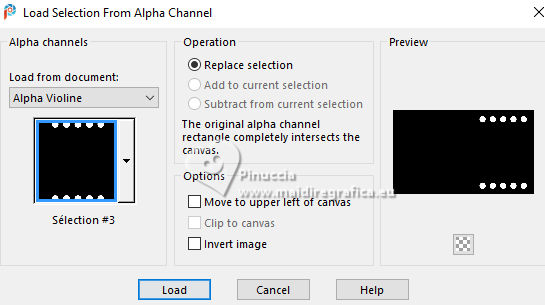
Selections>Load/Save Selection>Load Selection from Alpha Channel.
Open the selections menu and load the selection Sélection 3
Selections>Promote Selection to layer.
Effects>Plugins>Alien Skin Eye Candy 5 Impact - Glass.
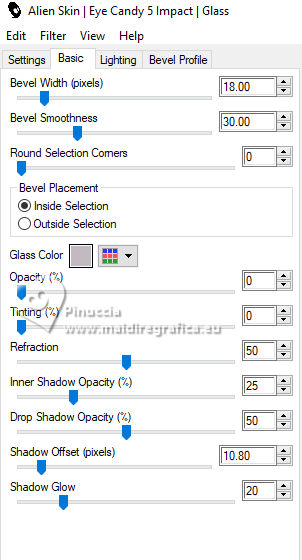
Selections>Select None.
13. Layers>New Raster Layer.
Set your foreground color to Color.
Flood Fill  the layer with your white foreground color #ffffff. the layer with your white foreground color #ffffff.
Layers>New Mask layer>From image
Open the menu under the source window
and select the mask Masque Violine
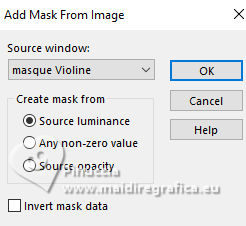
Layers>Merge>Merge Group.
14. Layers>Arrange Move Down.
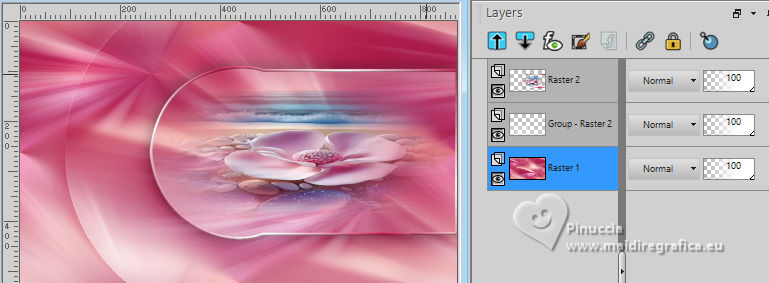
Your layers
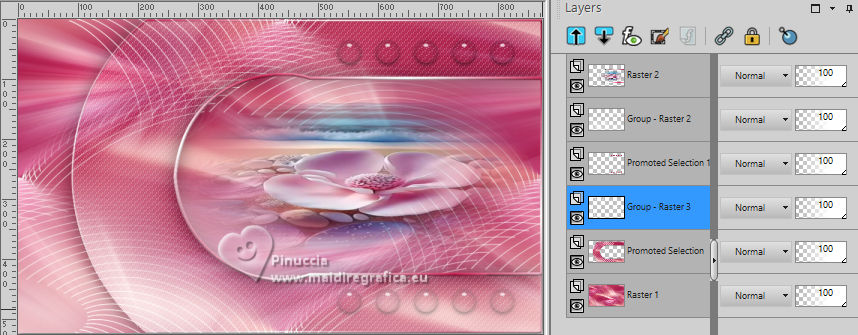
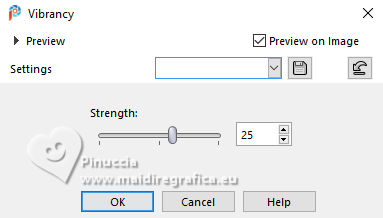
15. Optional: activate your top layer.
Adjust>Hue and Saturation>Vibrancy, to 25, or according to your image.
16. Activate the layer Raster 1.
Edit>Copy
17. Image>Add borders, 2 pixels, symmetric, background color.
18. Selections>Select All.
Iimage>Add borders, 15 pixels, symmetric, color white.
Effects>3D Effects>Drop Shadow, background color.
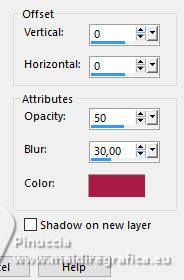
Selections>Select none.
19. Image>Add borders, 1 pixel, symmetric, background color.
Selections>Select All.
Image>Add borders, 15 pixels, symmetric, whatever colors.
Selections>Invert.
Edit>Paste into Selection.
Selections>Invert.
Effects>3D Effects>Drop Shadow, color black.

Selections>Select None.
20. Image>Add borders, 2 pixels, symmetric, background color.
Image>Add borders, 2 pixels, symmetric, color white.
21. Activate again your main tube 458Tube232_deVioline_050624 and go to Edit>Copy.
Go back to your work and go to Edit>Paste as new layer.
Image>Miroir>Miroir horizontal.
Image>Resize, to 80%, resize all layers not checked.
Move  the tube to the left side. the tube to the left side.
Effects>3D Effects>Drop Shadow, at your choice.
22. Sign your work.
Image>Add borders, 1 pixel, symmetric, background color.
Save as jpg.
For the tubes of this version thanks Luz Cristina and Suizabella
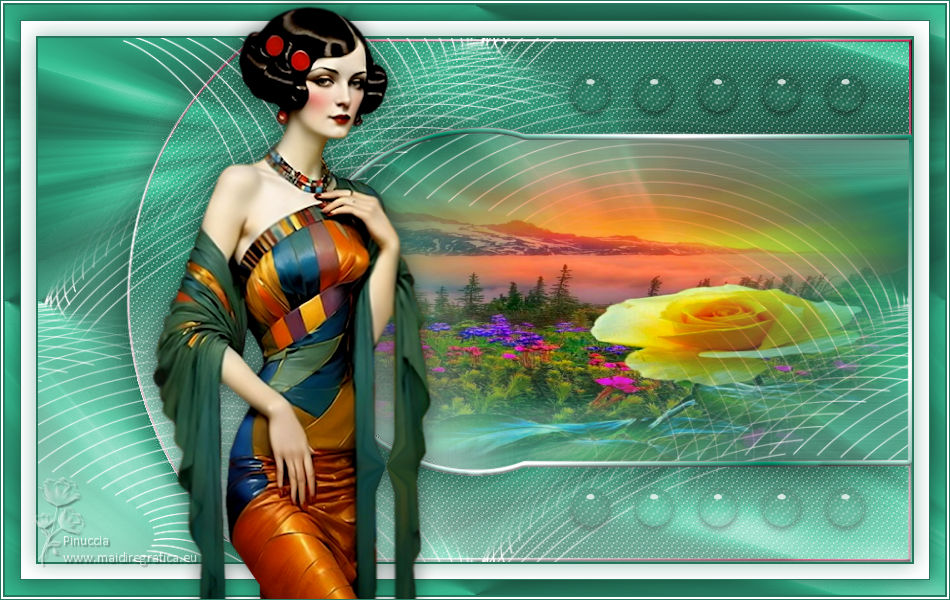

 Your versions. Thanks Your versions. Thanks

Sissy
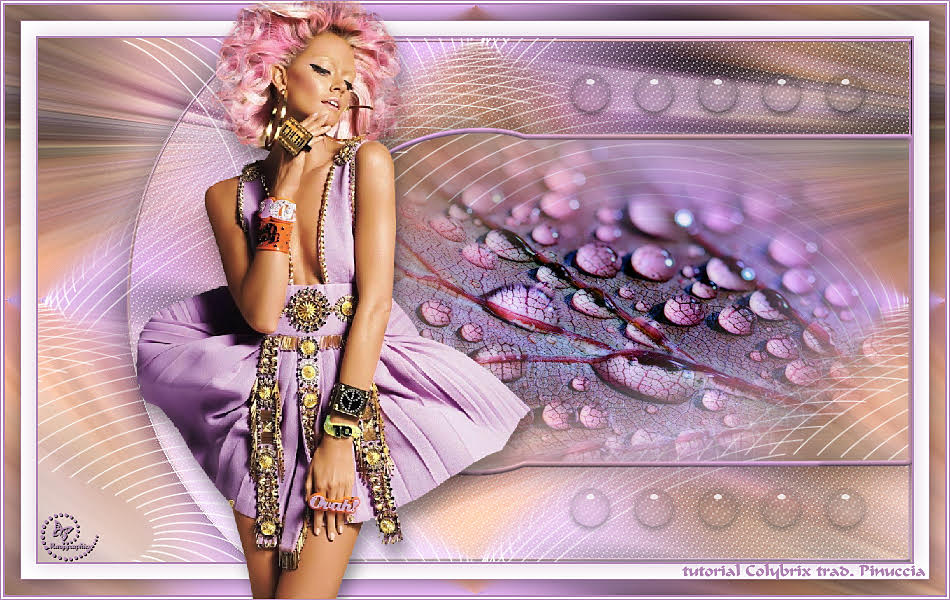
Marygraphics
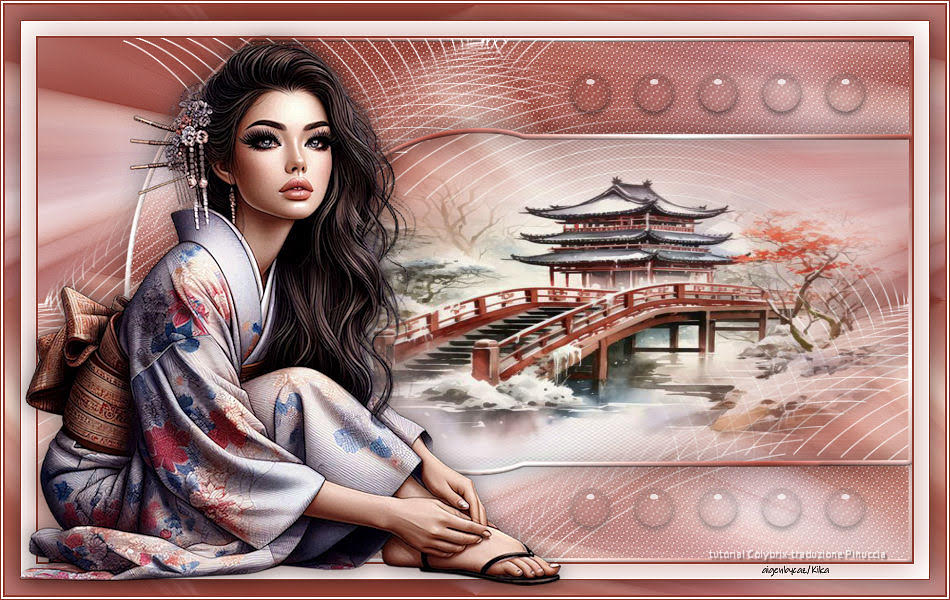
Kika
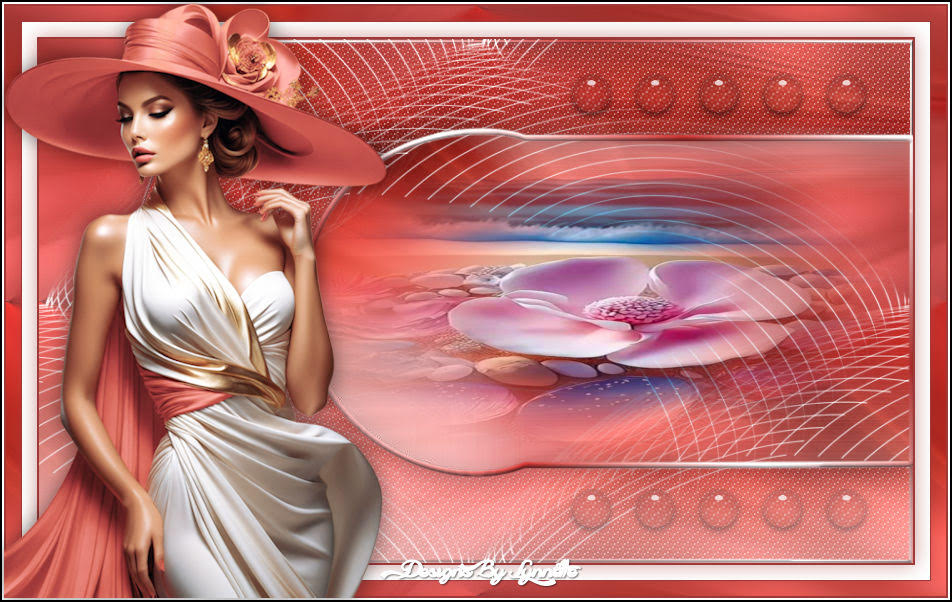
Lynnette
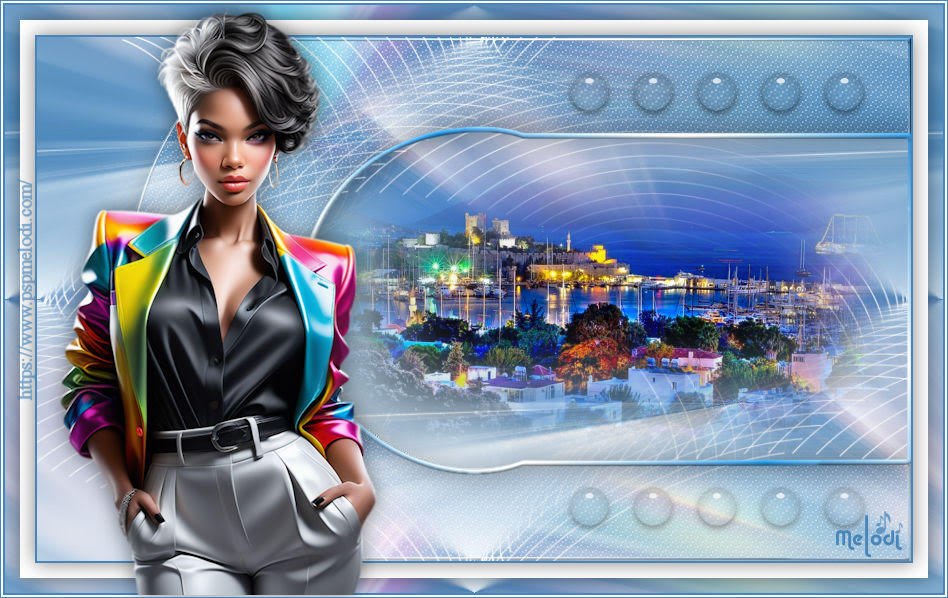
Melodi
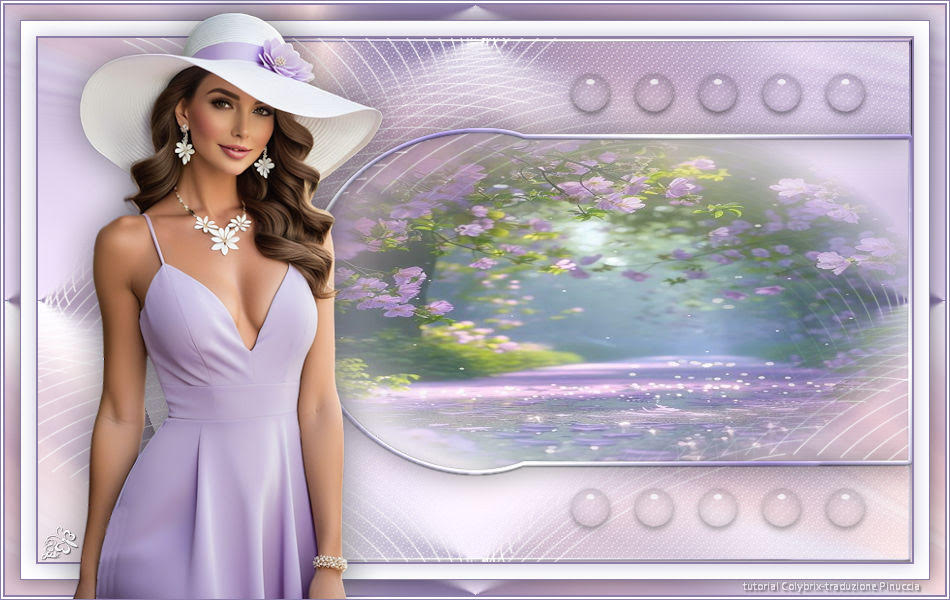
Jolcsi

If you have problems or doubts, or you find a not worked link, or only for tell me that you enjoyed this tutorial, write to me.
14 Agosto 2024

|

