CHARLOTTE (NOIR ET BLANC)


Thanks Colybrix for your invitation to translate

Clic and move the brush to follow the tutorial.

To print


|
This tutorial was translated with PSP09, but it can also be made using other versions of PSP.
Since version PSP X4, Image>Mirror was replaced with Image>Flip Horizontal,
and Image>Flip with Image>Flip Vertical, there are some variables.
In versions X5 and X6, the functions have been improved by making available the Objects menu.
In the latest version X7 command Image>Mirror and Image>Flip returned, but with new differences.
See my schedule here
 italian translation here italian translation here
 your versions here your versions here

Necessary

For the masks thanks Narah.
(The links of the tubemakers here).
consult, if necessary, my filter section here
Filters Unlimited 2.0 here
Graphics Plus - Cross Shadow here
AAA Filters - Custom here
Filters Graphics Plus can be used alone or imported into Filters Unlimited.
(How do, you see here)
If a plugin supplied appears with this icon  it must necessarily be imported into Unlimited it must necessarily be imported into Unlimited

You can change Blend Modes according to your colors.

Open the masks in PSP and minimize them with the rest of the material.
Colors:
Black, white and red for the text (#f01126)
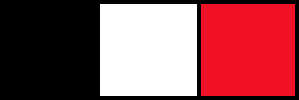
Set your foreground color to black,
and your background color to white.
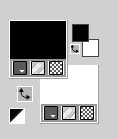
1. Open Alpha Charlotte NB.
This image, that will be the basis of your work, is not empty,
but contains a selections saved to alpha channel.
Flood Fill  the transparent image with color black. the transparent image with color black.
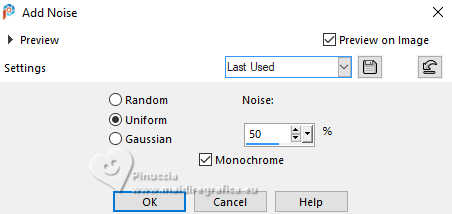
Adjust>Add/Remove Noise>Add Noise.
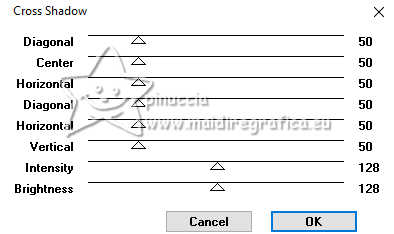
2. Effects>Plugins>Graphics Plus - Cross Shadow, default settings.
3. Layers>New Raster Layer.
Flood Fill  the layer with color white. the layer with color white.
Layers>New Mask layer>From image
Open the menu under the source window and you'll see all the files open.
Select the mask NarahsMasks_1824
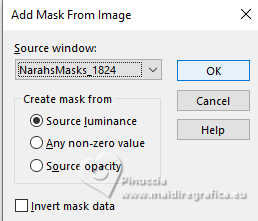
Effects>Edge Effects>Enhance.
Layers>Merge>Merge Group.
4. Effects>Texture Effects>Blinds - color black.
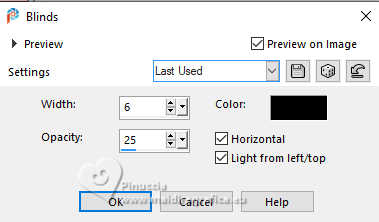
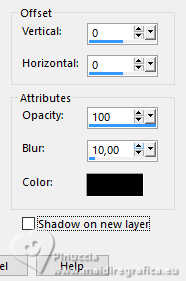
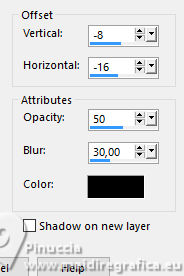
5. Effects>3D Effects>Drop shadow, color black.
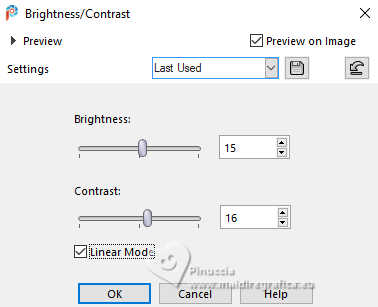
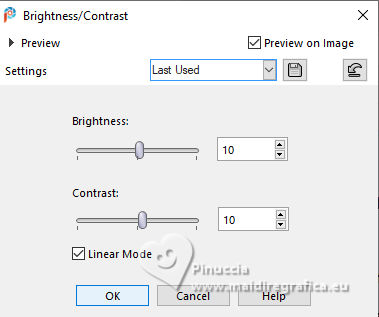
Adjust>Brightness and Contrast>Brightness and Contrast.
6. Open the misted mistpaysg101-coly 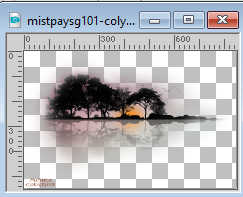
Window>Duplicate and work on the copy.
Erase the watermark.
Effects>Plugins>AAA Filters - Custom - click on Grayscale
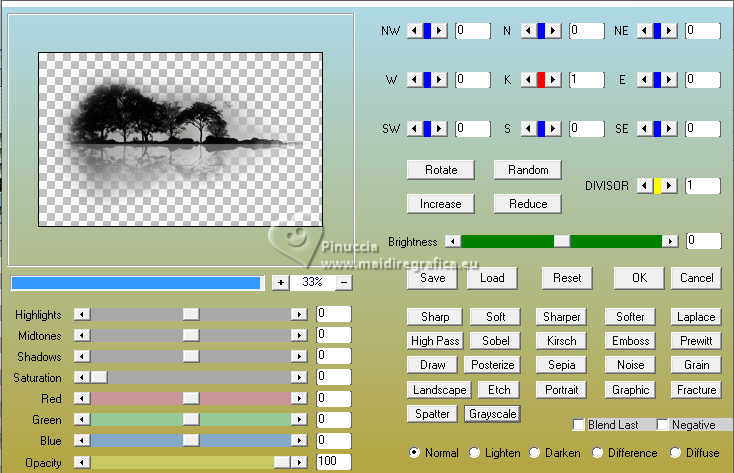
Edit>Copy.
7. Go back to your work.
Selections>Load/Save Selection>Load Selection from Alpha Channel.
The selection Sélection #1 is immediately available. You just have to click Load.
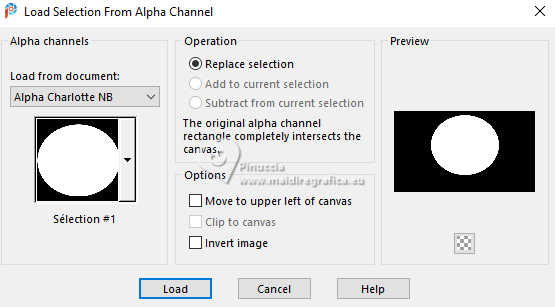
Layers>New Raster Layer.
Edit>Paste into Selection.
8. Image>Resize, to 110%, resize all layers not checked.
on my second version, I resized 2 times (adapt to your misted)
Place  correctly the tube in the center. correctly the tube in the center.
Selections>Invert.
Press CANC on the keyboard CANC 
Selections>Select None.
9. Optional: Adjust>Brightness and Contrast>Brightness and Contrast
(adapt the settings if necessary).
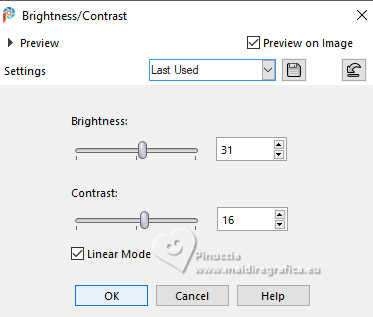
Layers>Arrange>Move Down.
Activate again your top layer.
10. Layers>New Raster Layer.
Flood Fill  the layer with color white. the layer with color white.
Layers>New Mask layer>From image
Open the menu under the source window
and select the mask NarahsMasks_1825
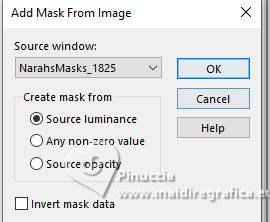
Adjust>Sharpness>Sharpen.
Layers>Merge>Merge Group.
11. Image>Resize, to 70%, resize all layers not checked.
Image>Free Rotate - 45 degrees to right.

K key to activate your Pick Tool 
Set Position X: -125,00 and Position Y: -49,00.

12. Layers>Duplicate.
Image>Mirror>Mirror horizontal (Image>Mirror).
Image>Mirror>Mirror vertical (Image>Flip).
Image>Free Rotate, same settings.

13. Pick Tool (K) 
Position X: 605,00 and Position Y: -86,00.

Layers>Merge>Merge Down.
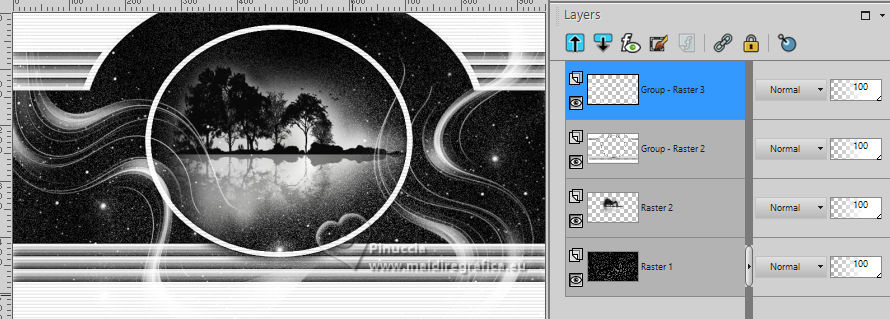
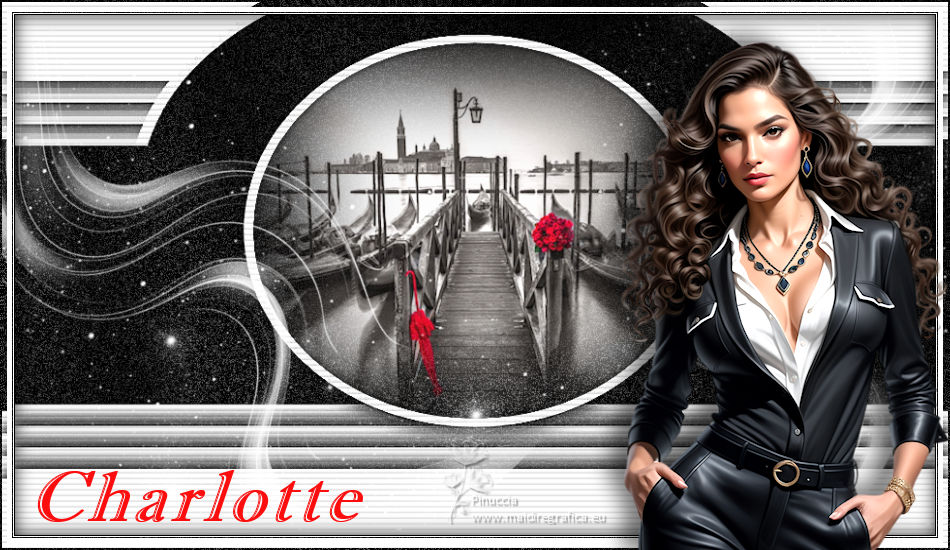
We have this.
15. Activate the layer Raster 1.
Layers>Duplicate.
Layers>Arrange>Bring to Top.
Close this layer (Copy of Raster 1) and activate the layer below.
Layers>Merge>Merge visible.
Edit>Copy.
15. Re-open and activate the layer Copy of Raster 1.
Selections>Select All.
Selections>Modify>Contract - 2 pixels.
Edit>Paste into Selection (the image of step 14 in memory).
16. Selections>Modify>Contract - 5 pixels.
Flood Fill  the selection with color white. the selection with color white.
Selections>Modify>Contract - 5 pixels.
Flood Fill  with color black. with color black.
Adjust>Add/Remove Noise>Add Noise, same settings.

17. Selections>Modify>Contract - 1 pixel.
Flood Fill  with color white. with color white.
Selections>Modify>Contract - 1 pixel.
Flood Fill  with color black. with color black.
Selections>Modify>Contract - 1 pixel.
Press CANC on the keyboard.
18. Layers>New Raster Layer.
Edit>Paste into Selection (the image of step 14 is still in memory).
19. Layers>New Raster Layer.
Effects>3D Effects>Cutout.
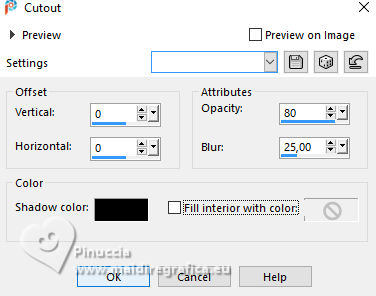
Selections>Select None.
20. Open your woman's tube femme935-coly 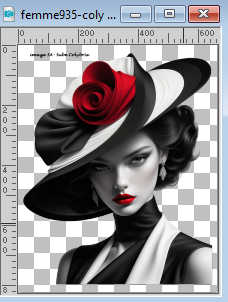
Erase the watermark and go to Edit>Copy.
Go back to your work and go to Edit>Paste as new layer.
Image>Resize, to 70%, resize all layers not checked.
Move  the tube to the right. the tube to the right.
Pick Tool (K) 
Position X: 507,00 and Position Y: 8,00.

Effects>3D Effects>Drop Shadow, color black.
Optional: Adjust>Brightness and Contrast>Brightness and Contrast.
21. Open the text titre 
Or write yours with the font in the material.
My settings

Move  the text at the bottom left. the text at the bottom left.
22. Sign your work on a new layer.
Layers>Merge>Merge All and save as jpg.
For the tube of this version thanks Kamil (the misted is mine)

If you have problems or doubts, or you find a not worked link, or only for tell me that you enjoyed this tutorial, write to me.
11 May 2024

|

