|
MOTHER DAY


Thanks Cidaben and SIM PSP Group for your invitation to translate your tutorials into english

This tutorial was written and translated with Psp2020, but it can also be made using other versions of PSP.
Since version PSP X4, Image>Mirror was replaced with Image>Flip Horizontal,
and Image>Flip with Image>Flip Vertical, there are some variables.
In versions X5 and X6, the functions have been improved by making available the Objects menu.
In the latest version X7 command Image>Mirror and Image>Flip returned, but with new differences.
See my schedule here

|
Special Note
PSP SIM and its Tutorial Authors ask the public:
- Please, we request that we maintain the originality of the tutorial,
refraining from adding or including unsolicited effects;
- The use of other images is permitted and encouraged,
but please don't modify the content of the original tutorial;
- Please acknowledge and attribute the valuable credits to those who write tutorials,
make translations and create materials.
Carefully,
PSP SIM and Cidaben
|

For this tutorial, you will need:

Thanks for the tubes, images and elements Adrienne
For the mask thanks Silvie
(The links of the tubemakers here).

consult, if necessary, my filter section here
FM Tile Tools - Blend Emboss here
Mura's Meister - Perspective Tiling here

You can change Blend Modes according to your colors.
In the newest versions of PSP, you don't find the foreground/background gradient (Corel_06_029).
You can use the gradients of the older versions.
The Gradient of CorelX here

Open the mask in PSP and minimize it with the rest of the material.
1. Choose two colors to work.
Set your foreground color to #c5654f
and your background color to #f8e6d6.
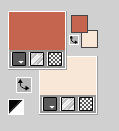
extra colors: white #ffffff and black #000000.

Set your foreground color to a Foreground/Background Gradient, style Linear.
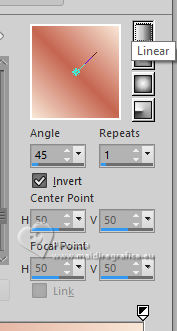
2. Open a new transparent image 900 x 600 pixels.
Flood Fill  the transparent image with your Gradient. the transparent image with your Gradient.
3. Effects>Reflection Effects>Kaleidoscope.
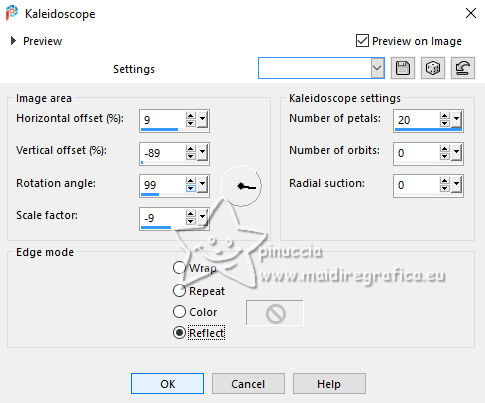
4. Layers>New Raster Layer.
Selections>Select All.
Open misted_Mothers_Day_Paper(8) 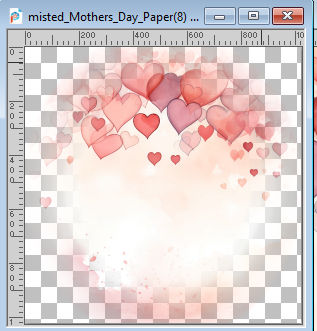
for the misted the author used the mask Edge Oval
Edit>Copy.
Go back to your work and go to Edit>Paste Into Selection.
Selections>Select None.
Activate your Pick Tool 
set Position X: -1,00 and Position Y: -70,00.
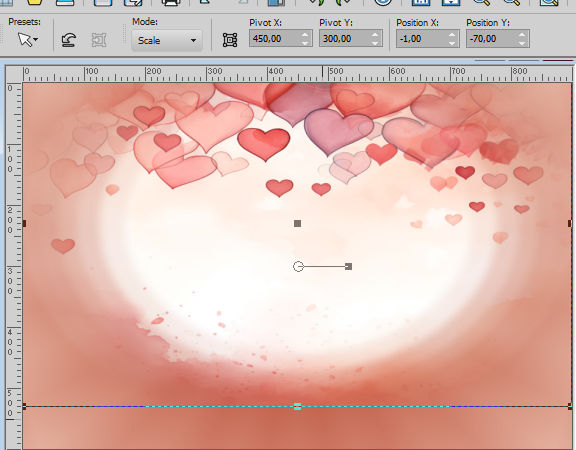
5. Effects>Plugins>FM Tile Tools - Blend Emboss, default settings.

6. Open misted_Mothers_Day_Element(40) 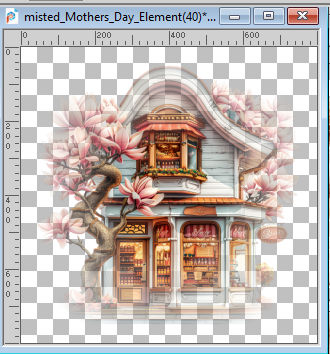
Edit>Copy.
Go back to your work and go to Edit>Paste As New Layer.
Image>Resize - 55%, resize all layers not checked.
Pick Tool 
Position X: 161,00 and Position Y: 136,00.
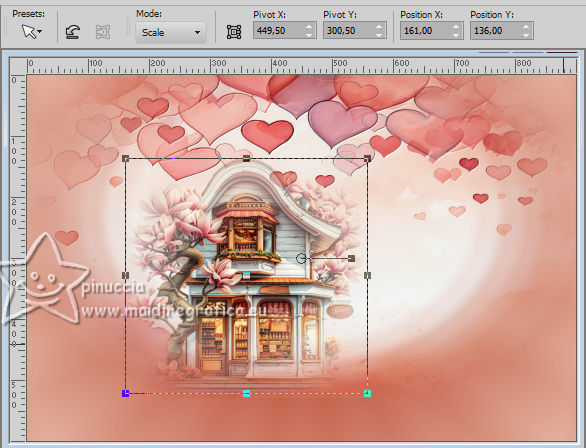
Effects>Plugins>FM Tile Tools - Blend Emboss, default settings.

7. Layers>New Raster Layer.
Flood Fill  the layer with your background color #f8e6d6. the layer with your background color #f8e6d6.
Layers>New Mask Layer>From Image.
Open the menu under the source window and you'll see all the files open.
Select the mask Silvie_mask_Deco2Wa.
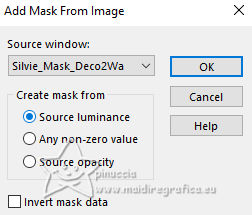
Layers>Merge>Merge Group.
Pick Tool 
Position X: 0,00 and Position Y: -87,00.
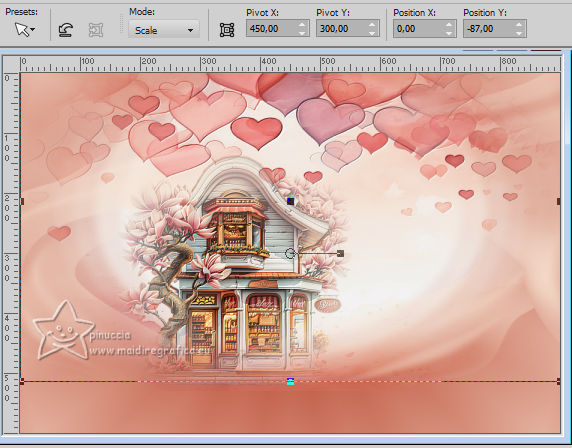
Effects>3D Effects>Drop Shadow - color #ffffff.
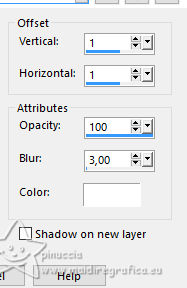
Adjust>Sharpness>Sharpen.
8. Activate the layer Raster 1.
Layers> Duplicate.
Effects>Plugins>Mura's Meister>Perspective Tiling
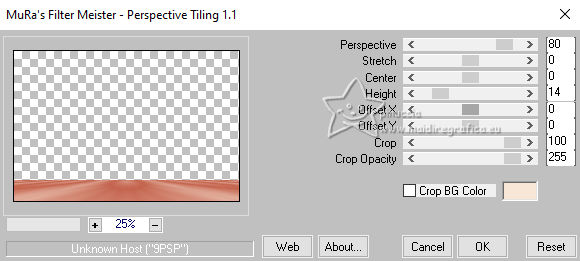
Repeat this Effect another time.
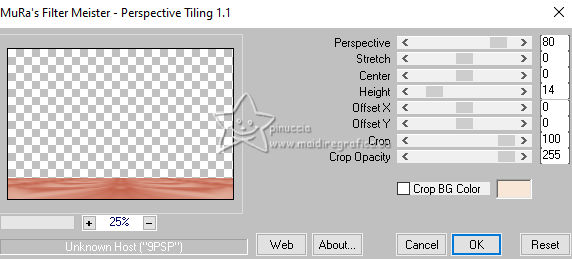
Layers>Arrange>Bring to Top.
Effects>3D Effects>Drop Shadow, background color #f8e6d6.
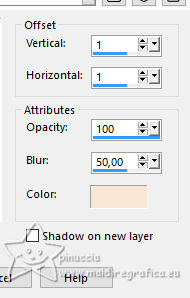
Edit>Repeat Drop Shadow.
9. Open the tube Mothers_Day Tube (5) 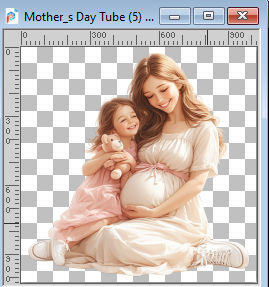
Edit>Copy.
Go back to your work and go to Edit>Paste As New Layer.
Image>Resize, if necessary, for the supplied tube to 56%, resize all layers not checked.
Move  the tube to the right side. the tube to the right side.
Adjust>Sharpness>Sharpen.
Layers>Duplicate.
Adjust>Blur>Gaussian Blur - radius 20.

Change the Blend Mode of this layer to Multiply
Layers>Arrange>Move Down.
Activate your top layer.
10. Open the element Mother_s Day Element (14) 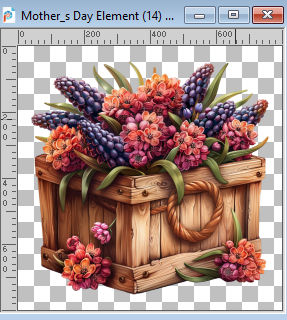
Edit>Copy.
Go back to your work and go to Edit>Paste As New Layer.
Image>Resize, to 28%, resize all layers not checked.
Pick Tool 
Set Position X: 21,00 and Position Y: 401,00.

Layers>Duplicate.
Adjust>Blur>Gaussian Blur - radius 20.

Change the Blend Mode of this layer to Multiply.
Layers>Arrange>Move Down.
Adjust Sharpness>Sharpen.
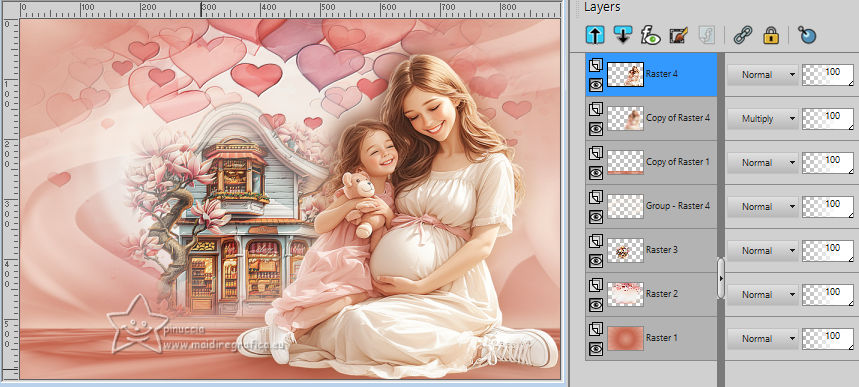
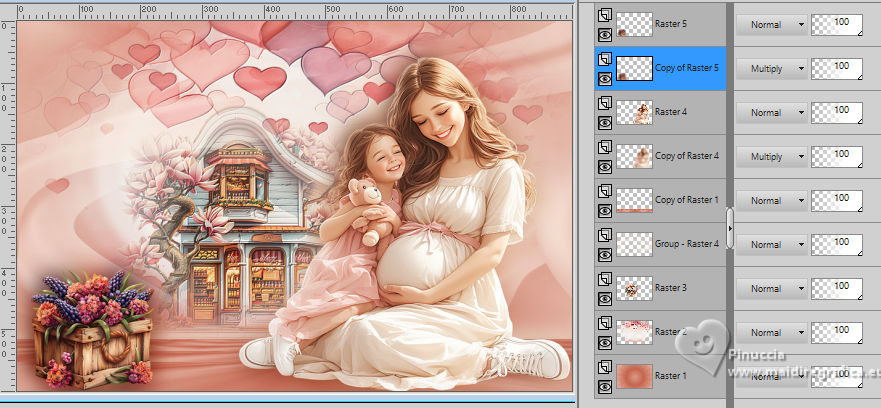
11. We have this
12. Image>Add borders, 1 pixel, symmetric, background color #f8e6d6.
Image>Add borders, 2 pixels, symmetric, foreground color #c5654f.
Image>Add borders, 1 pixel, symmetric, background color #f8e6d6.
Image>Add borders, 10 pixels, symmetric, color white #ffffff.
Image>Add borders, 10 pixels, symmetric, foreground color #c5654f.
Image>Add borders, 30 pixels, symmetric, color white #ffffff.
13. Open Decor_byCidaBen 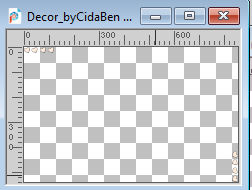
Edit>Copy.
Go back to your work and go to Edit>Paste As New Layer.
Pick Tool 
Position X: 133,00 and Position Y: 20,00.

Effects>3D Effects>Drop Shadow, color #000000.

14. Open Título_byCidaBen 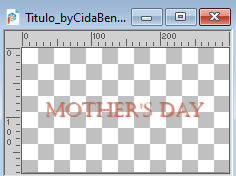
Edit>Copy.
Go back to your work and go to Edit>Paste As New Layer.
Pick Tool 
Position X: 396,00 and Position Y: 3,00.

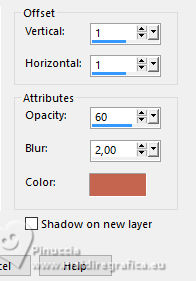
Effects>3D Effects>Drop Shadow, foreground color #c5654f.
15. Layers>Duplicate.
Pick Tool 
Position X: 74,00 and Position Y: 679,00.

Reduce the opacity of this layer to 70%.
16. Image>Add Borders - 2 pixels, symmetric, foreground color #c5654f.
17. Sign your work and save as jpg.
For the tubes of this version thanks Le monde de Béa and Adrienne


 Your versions. Thanks Your versions. Thanks

Baby
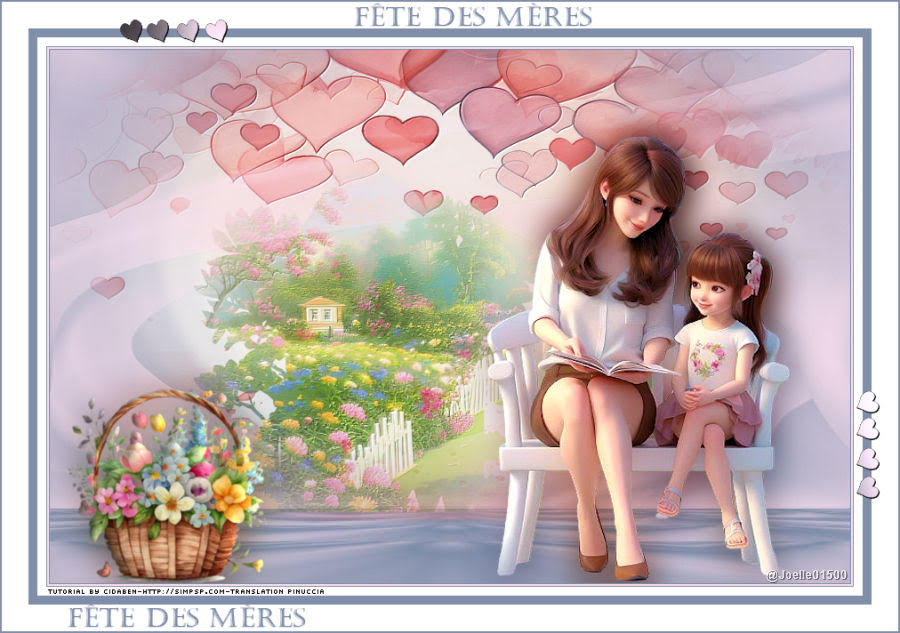
Joelle

Elise


If you have problems or doubts, or you find a not worked link, or only for tell me that you enjoyed this tutorial, write to me.
3 May 2024

|


