Home |
Home |

Mappa sito |
Mappa sito |
Tutorial |
Tutorial |
Tut tecnici |
Tut tecnici |
Links-Banner |
Links-Banner |
Regali-Award |
Regali-Award |
Informatica |
Informatica |
Archivio |
Archivio |
Mail |
Mail |
Privacy policy |
Privacy policy |
Novità |
Novità |
Home |
Home |
Mappa sito |
Mappa sito |
Tutorial |
Tutorial |
Tut tecnici |
Tut tecnici |
Links-Banner |
Links-Banner |
Regali-Award |
Regali-Award |
Informatica |
Informatica |
Archivio |
Archivio |
Mail |
Mail |
Privacy policy |
Privacy policy |
Novità |
Novità |
|
CHRISTMAS JOY  
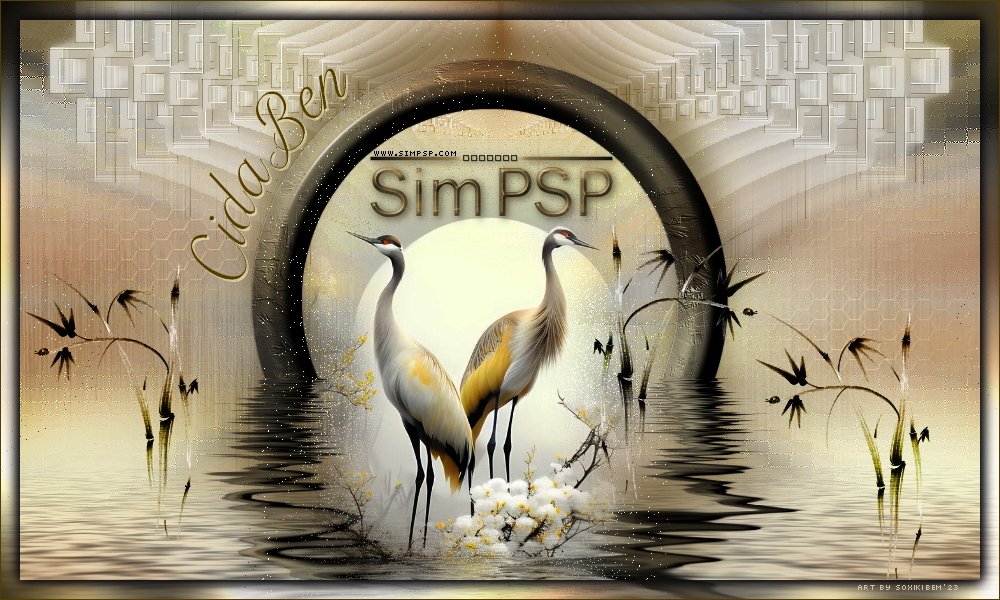
This tutorial was written and translated with Psp2022, but it can also be made using other versions of PSP.
 consult, if necessary, my filter section here Mehdi - Sorting Tiles here FM Tile Tools - Blend Emboss here  You can change Blend Modes according to your colors. In the newest versions of PSP, you don't find the foreground/background gradient (Corel_06_029). You can use the gradients of the older versions. The Gradient of CorelX here  Open the mask in Psp and minimize it with the rest of the material. 1. Choose 2 colors to work. Set your foreground color to #620600 and your background color to #d8e0d3.  2. Set your foreground color to a Foreground/Background Gradient, style Sunburst.  3. Open a new transparent image 1000 x 600 pixels. Flood Fill  the transparent image with your Gradient. the transparent image with your Gradient.4. Effects>Image Effects>Seamless Tiling, default settings.  Adjust>Blur>Radial Blur  5. Image>Mirror>Mirror Horizontal. Effects>Plugins>Mehdi - Sorting Tiles.  6. Effects>Edge Effects>Enhance More. Layers>New Raster Layer. Selections>Select All. Open the tube misted_ChristmasJoy_CBen24_2  Erase the watermark and go to Edit>Copy. Minimize the tube Go back to your work and go to Edit>Paste Into Selection. Selections>Select None. 7. Effects>Image Effects>Seamless Tiling, default settings. Adjust>Blur>Radial Blur.  Image>Mirror>Mirror Horizontal. Effects>Edge Effects>Enhance More. 8. Layers>Duplicate. Effects>Geometric Effects>Circle.  Image>Resize, to 60%, resize all layers not checked. 9. We have this  10. Activate your Magic Wand Tool  , tolerance and feather 0, , tolerance and feather 0, Click on the transparent part to select it.  Selections>Invert. Selections>Modify>Contract Selection - 25 pixels.  Press CANC on the keyboard  Selections>Select None. 11. Now click in and out the circle with your Magic Wand Tool  Selections>Invert. Layers>New Raster Layer. Flood Fill the selection with your Gradient.  Effects>Reflection Effects>Rotating Mirror.  Layers>Merge>Merge Down. Effects>3D Effects>Inner Bevel.  Selections>Select None. K key to activate your Pick Tool  Position X: 561,00 - Position Y: 100,00.  12. Again activate your Magic Wand Tool , tolerance and feather 0,et click out of the circle.  Selections>Invert. 13. Selections>Modify>Expand - 25 pixels.  14. Selections>Modify>Select Selections Borders.  Flood Fill with your Gradient. Effects>Reflection Effects>Rotating Mirror. Effects>3D Effects>Inner Bevel, same settings. 15 - Effects>3D Effects>Drop Shadow, color black. 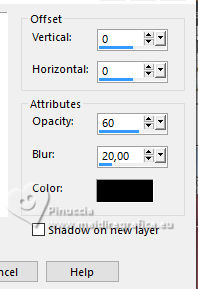 Selections>Select None. 16. With your Magic Wand Tool , tolerance and feather 0,click in the circle to select it.  Reduce the opacity of your Flood Fill Tool to 75%. Change the settings of your Gradient, style Linear  Flood Fill the selection with your Gradient. Set again the opacity of your Flood Fill Tool to 100. 17. Keep selected. Open the tube misted_ChristmasJoy_Cben24  Erase the watermark and go to Edit>Copy. Go back to your work and go to Edit>Paste Into Selection. in the material you will find the mask (ilbm32) that the author used to create her misted Adjust>Sharpness>Sharpen More. Effects>Plugins>FM Tile Tools - Blend Emboss, default settings.  Selections>Select None. 18. Activate the layer below, Raster 2. Activate again the tube misted_ChristmasJoy_Cben24_2 and go to Edit>Copy. Go back to your work and go to Edit>Paste as new layer. K key to activate your Pick Tool Position X: -2,00 - Position Y: -167,00.  Adjust>Sharpness>Sharpen More. Effects>Plugins>FM Tile Tools - Blend Emboss, default settings. 19. Activate again the layer Raster 2. Layers>New Raster Layer. Flood Fill with your light background color #d8e0d3.***Or with the color white #ffffff, to your liking. 20. Layers>New Mask Layer>From image. Open the menu under the source window and you'll see all the files open. Select the mask NarahsMasks_1825  Effects>Edge effects>Enhance. Layers>Merge>Merge Group. 21. We have this:  22. Image>Add borders, 1 pixel, symmetric, foreground color #620600. Image>Add borders, 2 pixels, symmetric, background color #d8e0d3. Image>Add borders, 1 pixel, symmetric, foreground color #620600. Selections Select All. Image>Add borders, 20 pixels, symmetric, whatever color. Selections>Invert. Change again the settings of your Gradient, style Sunburst. Flood Fill the selection with your Gradient.Selections>Invert. Effects>3D Effects>Drop Shadow, color #000000. 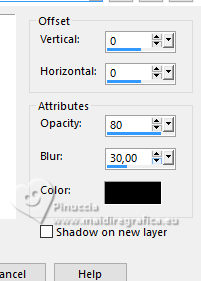 Selections>Select None. 23. Image>Add borders, 1 pixel, symmetric, background color #d8e0d3. Image>Add borders, 2 pixels, symmetric, foreground color #620600. Image>Add borders, 1 pixel, symmetric, background color #d8e0d3. 24. Image>Add borders, 5 pixels, symmetric, foreground color #620600. Image>Add borders, 3 pixels, symmetric, background color #d8e0d3. Image>Add borders, 1 pixel, symmetric, foreground color #620600. 25. Selections>Select All. Image>Add borders, 30 pixels, symmetric, whatever color. Selections>Invert. Flood Fill with your Sunburst Gradient.Effects>Texture Effects>Mosaic - Antique Note: In the versions prior to PSP2022 the maximum value of the Grid setting is 100. Created with PSP 2022 Checked and translated with PSP 2020   Selections>Invert. Effects>3D Effects>Drop Shadow, color #000000. 26. Selections>Invert. Adjust>Sharpness>Sharpen. Effects>Plugins>FM Tile Tools - Blend Emboss, default settings. 27. Selections>Select None. Image>Resize, 90%, resize all layers checked. Adjust>Sharpness>Sharpen. 28. Open Christmas Joy_CBen_Word Art  Erase the watermark and go to Edit>Copy. Go back to your work and go to Edit>Paste As New Layer. K key to activate your Pick Tool Position X: 538,00 - Position Y: 422,00.  Effects> 3D Effects>Inner Bevel. 29. Effects>3D Effects>Drop Shadow, color #000000.  Adjust>Sharpness>Sharpen. 30. Open Decor_bola_natal_CBen  Edit>Copy. Go back to Edit>Paste As New Layer. Pick Tool Position X: 867,00 - Position Y: 529,00.  Effects>3D Effects>Drop Shadow, previous settings. Effects>Edge Effects>Enhance. Layers>Merge>Merge Down. 31. Image>Add Borders, 1 pixel, symmetric, foreground color #620600. 32. Sign your work and save as jpg.    Your versions. Thanks Your versions. Thanks Marion  DeniseD  Joelle  Elise  Jolcsi  Baby  Baby  Gypsie   If you have problems or doubts, or you find a not worked link, or only for tell me that you enjoyed this tutorial, write to me. 21 November 2024 |