|
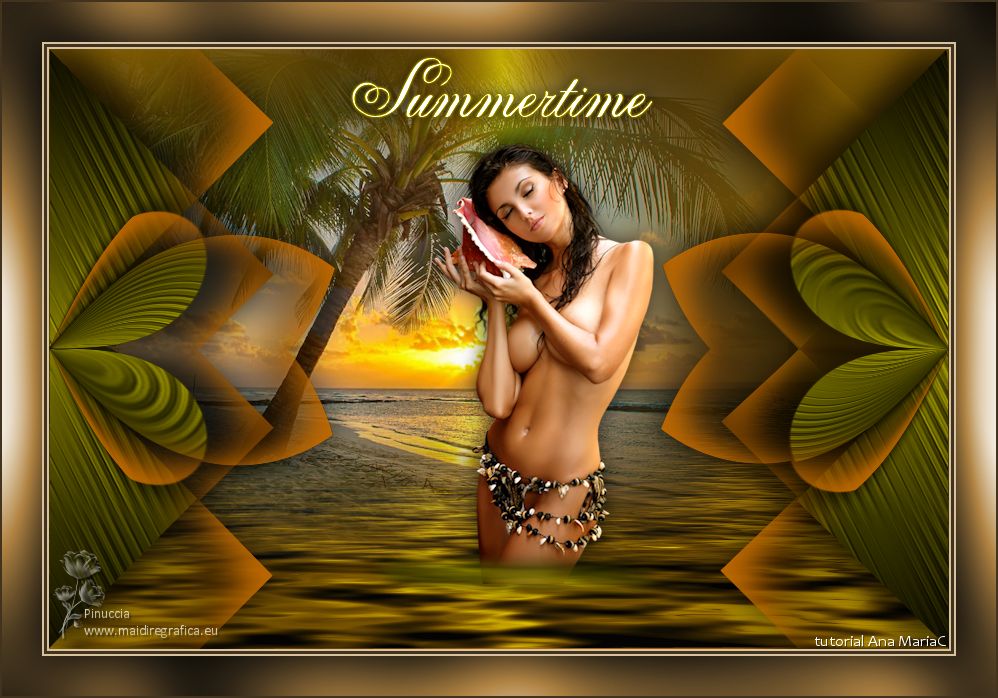
SUMMERTIME


Thanks SIM PSP Group for your invitation to translate your tutorials into english

This tutorial was written with PSPX9 and translated with PspX17, but it can also be made using other versions of PSP.
Since version PSP X4, Image>Mirror was replaced with Image>Flip Horizontal,
and Image>Flip with Image>Flip Vertical, there are some variables.
In versions X5 and X6, the functions have been improved by making available the Objects menu.
In the latest version X7 command Image>Mirror and Image>Flip returned, but with new differences.
See my schedule here
For this tutorial, you will need:

Thanks for the tubes NaiseM and for the texture @nnTDstudio.
The rest of the material is by AnaMariaC
(The links of the tubemakers here).

consult, if necessary, my filter section here
Filters Unlimited 2.0 here
Flaming Pear - Flexify here
Flaming Pear - Flood here
Graphics Plus - Cross Shadow here
Mehdi - Sorting Tiles here
Filters Graphics Plus can be used alone or imported into Filters Unlimited.
(How do, you see here)
If a plugin supplied appears with this icon  it must necessarily be imported into Unlimited it must necessarily be imported into Unlimited

You can change Blend Modes according to your colors.
In the newest versions of PSP, you don't find the foreground/background gradient (Corel_06_029).
You can use the gradients of the older versions.
The Gradient of CorelX here

Copy the Texture in the Textures Folder.
Copy the Selections in the Selections Folder.
1. Choose 3 colors from your material

2. Set your foreground color to #d0c800,
and your Background color to #393701

3. Set your foreground color to a Foreground/Background Gradient, style Radial.

4. Open a new transparent image 900 x 600 pixels.
Flood Fill  the transparent image with your Gradient. the transparent image with your Gradient.
5. Effects>Image Effects>Seamless Tiling, default settings.

6. Adjust>Blur>Radial Blur.

Layers>Duplicate.
7. Effects>Plugins>Mehdi - Sorting Tiles.

8. Selections>Load/Save Selections>Load Selection From Disk.
Look for and load the selection summertime1_byAnaMariaC

Press CANC on the keyboard 
Selections>Select None.
Layers>Merge>Merge Down.
9. Layers>New Raster Layer.
Selections>Load/Save Selections>Load Selection From Disk.
Look for and load the selection summertime2_byAnaMariaC

Change the settings of your Gradient.

Flood Fill  the selection with your Gradient. the selection with your Gradient.
10. Effects>Texture Effects>Texture - select the texture winni.texture 11

Effects>3D Effects>Drop Shadow, color black.

Selections>Select None.
11. Layers>New Raster Layer.
Selections>Load/Save Selections>Load Selection From Disk.
Look for and load the selection summertime3_byAnaMariaC

Effects>3D Effects>Drop Shadow, color #d39001.

Selections>Select None.
12. Layers>Duplicate.
Edit>Repeat Duplicate layer.
Layers>Merge>Merge Down.
Edit>Repeat Layer Merge Down - 2 times.
Effects>3D Effects>Drop Shadow, colore black.

13. Layers>Duplicate.
Effects>Plugin>Flaming Pear - Flexify.

Layers>Merge>Merge Down.
14. Open the misted Misted_NAISEM_02 
Effects>Plugins>Flaming Pear - Flood

15. Edit>Copy.
you can close the tube, without saving changes
Go back to your work and go to Edit>Paste as new layer.
Image>Resize, to 110%, resize all layers not checked.
Adjust>Sharpness>Sharpen.
16. Activate your Pick Tool 

Use the central nodes to enlarge the tube as below.

Layer>Arrange Move Down.
Activate the top layer, Raster 2.
Layer Merged>Merged Down.
17. Activate the bottom layer, Raster 1.
Effects>Plugin Effect>Flaming Pear - Flood.

Adjust>Sharpness>Sharpen.
18. Activate the top layer, Raster 3.
Open the woman's tube NAISEM_MULHERES_562 
Edit>Copy.
Go back to your work and go to Edit>Paste As New Layer.
Image>Resize, to 60%, resize all layers not checked.
Image>Mirror.
Adjust>Sharpness>Sharpen.
Move  the tube to your liking. the tube to your liking.
Effects>3D Effects>Drop Shadow, color #000000, or to your liking.

if you want to blur the sharp edge of the tube

you can use your Selection Tool  , feather 15 pixels, , feather 15 pixels,
create a small selection on the edge of the tube, which will widen due to the feather,
and press CANC on the keyboard

Or, if you prefer, use your Erase Tool 
lightly hover under the tube, to blend the edge

19. Open WorArt_Summertime_byAnaMariaC 
Edit>Copy.
Go back to your work and go to Edit>Paste As New Layer.
Place  the text to your liking. the text to your liking.
Colorize, if necessary, at your choice.
Effects>3D Effects>Drop Shadow, color #000000, or at your choice.

20. Image>Add borders, 2 pixels, symmetric, foreground color.
Image>Add borders, 3 pixels, symmetric, background color.
Image>Add borders, 2 pixels, symmetric, foreground color.
Edit>Copy.
21. Selections>Select All.
Image>Add Borders, 40 pixels, symmetric, whatever color.
Selections>Invert.
Edit>Paste Into Selection.
Adjust>Blur>Gaussian Blur - radius 30

22. Effects>Plugins>Graphics Plus - Cross Shadow.

Selections>Invert.
Effects>3D Effects>Drop Shadow, color #000000.

Selections>Select None.
23. Image>Add Borders - 2 pixels, symmetric, whatever color: for me background color.
24. Image>Resize, if you want.
Sign your work and save as jpg.
For the tube of this version thanks Animabelle.


Your versions. Thanks

Kamelius

Denise


If you have problems or doubts, or you find a not worked link, or only for tell me that you enjoyed this tutorial, write to me.
20 July 2023

|


