|
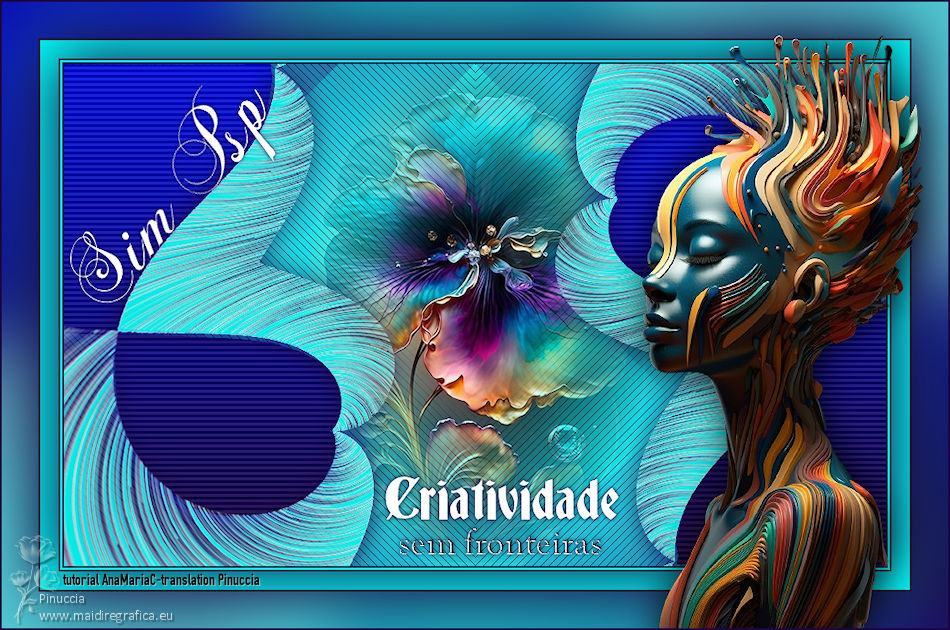
ANAMARIA - 5 SIM AÑOS
CRIATIVIDADE SEM FRONTEIRAS
 CREATIVITY WITHOUT BORDERS CREATIVITY WITHOUT BORDERS

Thanks SIM PSP Group for your invitation to translate your tutorials into english

This tutorial was written and translated with Psp2020, but it can also be made using other versions of PSP.
Since version PSP X4, Image>Mirror was replaced with Image>Flip Horizontal,
and Image>Flip with Image>Flip Vertical, there are some variables.
In versions X5 and X6, the functions have been improved by making available the Objects menu.
In the latest version X7 command Image>Mirror and Image>Flip returned, but with new differences.
See my schedule here

|
Special Note
PSP SIM and its Tutorial Authors ask the public:
- Please, we request that we maintain the originality of the tutorial,
refraining from adding or including unsolicited effects;
- The use of other images is permitted and encouraged,
but please don't modify the content of the original tutorial;
- Please acknowledge and attribute the valuable credits to those who write tutorials, make translations and create materials.
Carefully,
PSP SIM - Ana Maria C
|

For this tutorial, you will need:

The material is by Ana Maria C.
(The links of the tubemakers here).

Filters Unlimited 2.0 here
Mehdi - Sorting Tiles here
AP 01 [Inovation] - Lines SilverLining here
VM Toolbox - Blast here
FM Tile Tools - Blend Emboss here
VM Extravaganza - Transmission here
Flaming Pear - Flexify here
Filters VM Toolbox and VM Extravaganza can be used alone or imported into Filters Unlimited.
(How do, you see here)
If a plugin supplied appears with this icon  it must necessarily be imported into Unlimited it must necessarily be imported into Unlimited

You can change Blend Modes according to your colors.
In the newest versions of PSP, you don't find the foreground/background gradient (Corel_06_029).
You can use the gradients of the older versions.
The Gradient of CorelX here

Copy the selections in the Selections Folder
1. Choose 3 colors to work.
Set your foreground color to the dark color #1e053e,
and your background color to the light color #02faf5.
extra color: #0112d1 
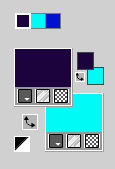
Set your Foreground color to a Foreground/Background Gradient, style Sunburst.
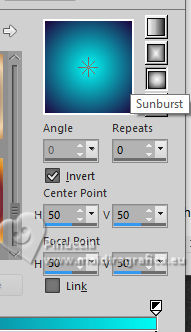
2. Open a new transparent image 900 x 550 pixels.
Flood Fill  the transparent image with your Gradient. the transparent image with your Gradient.
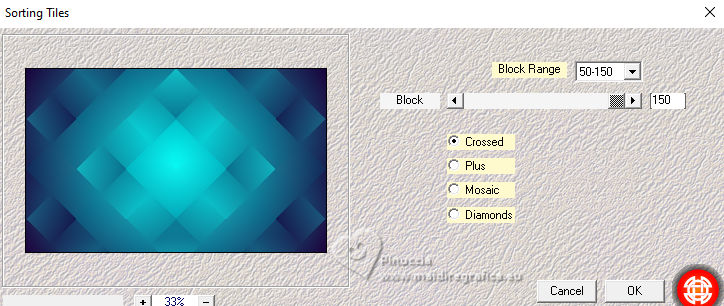
3. Effects>Plugins>Mehdi - Sorting Tiles.
4. Effects>Plugins>AP 01 [Inovation] - Lines SilverLining.
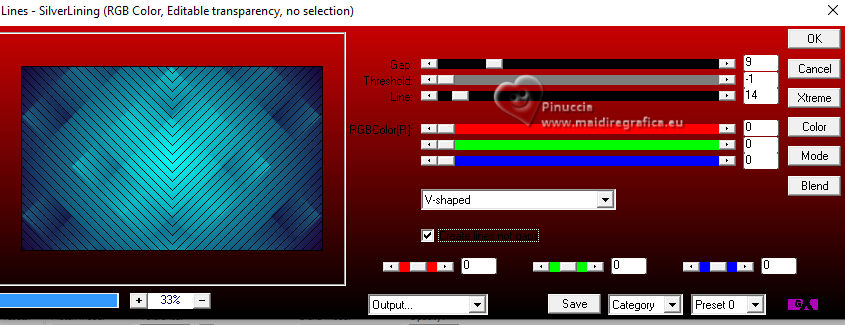
5. Layers>Duplicate.
Change the Blend Mode of this layer to Screen - Opacity 100.
Layers>Merge>Merge Down.
6. Selections>Load/Save Selections>Load Selection From Disk.
Look for and load the selection simpsp2024_1_byAnaMariaC
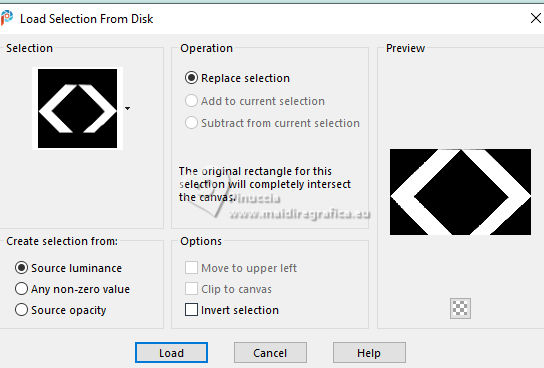
Layers>New Raster Layer.
Flood Fill  the selection with your background color. the selection with your background color.
7. Effects>Plugins>Filters Unlimited 2.0 - VM Toolbox - Blast.
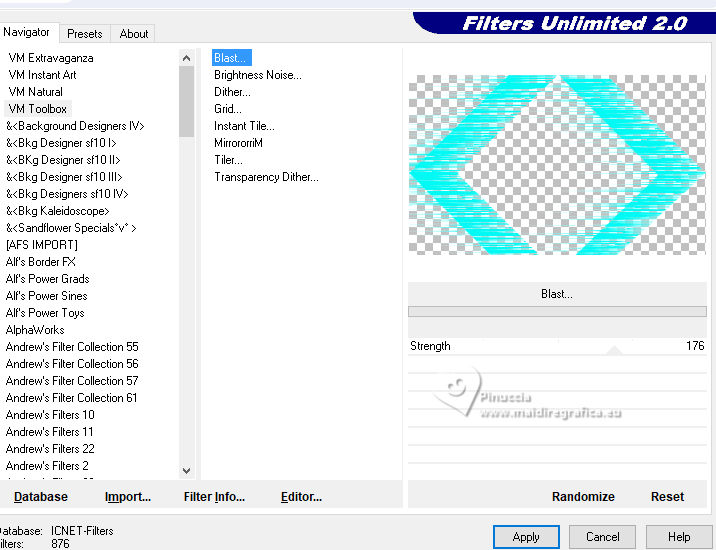
Repeat this Effect another time
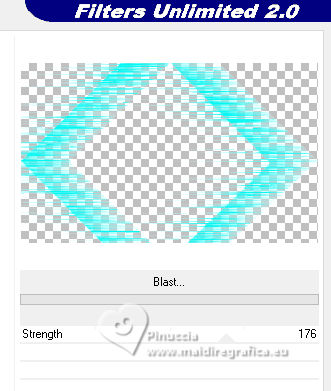
8. Effects>Plugins>FM Tiles Tools - Blend Emboss, default settings.

Selections>Select None.
9. Effects>Plugins>Flaming Pear - Flexify 2.0
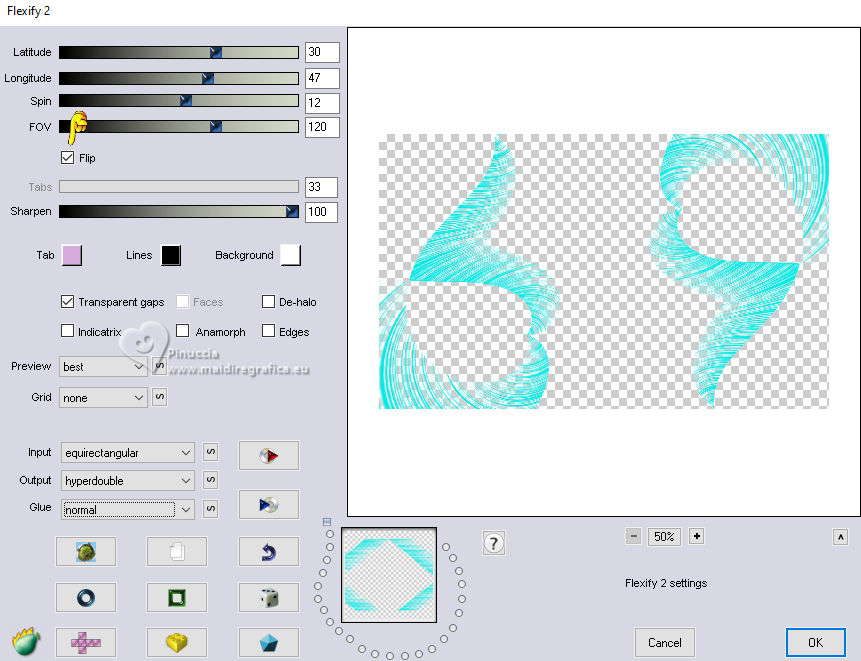
10. Layers>Duplicate.
Layers>Merge>Merge Down.
Adjust>Sharpness>Sharpen.
11. Activate the layer Raster 1.
Selections>Load/Save Selections>Load Selection From Disk.
Look for and load the selection simpsp2024_2_byAnaMariaC
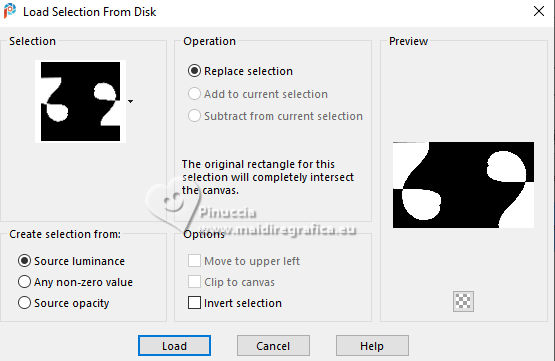
Layers>New Raster Layer.
12. Set your background color to the extra color #0112d1
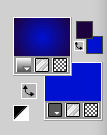
Change the settings of your Gradient, style Linear
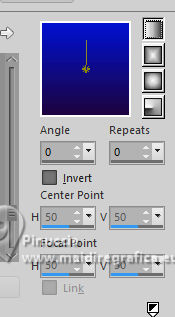
Flood Fill  the selection with the Linear Gradient. the selection with the Linear Gradient.
13. Effects>Plugins>VM Extravaganza - Trasmission.
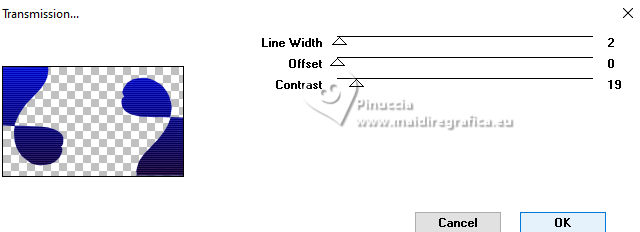
Selections>Select None.
14. Activate your top layer Raster 2.
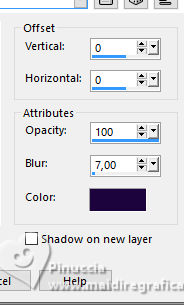
Effects>3D Effects>Drop Shadow, foreground color #1e053e.
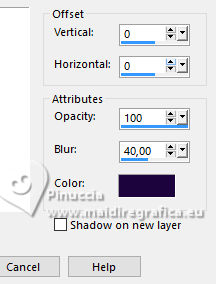
15. Activate the layer Raster 1.
Open Misted_Flor30_byAnaMariaC 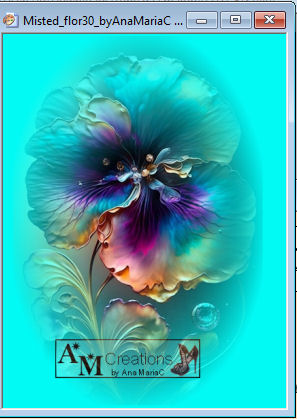
Edit>Copy.
Go back to your work and go to Edit>Paste As New Layer.
Adjust>Sharpness>Sharpen.
16. Activate the layer Raster 3.
Effects>3D Effects>Drop Shadow, extra color #0112d1, or at your choice.
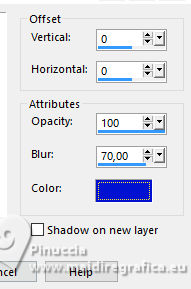
17. Edit>Copy Special>Copy Merged
18. Image>Add borders, 2 pixels, symmetric, foreground color #1e053e.
Image>Add borders, 2 pixels, symmetric, background color #02faf5.
Image>Add borders, 2 pixels, symmetric, foreground color #1e053e.
19. Selections>Select All.
Image Add Borders, 20 pixels, symmetric, background color #02faf5.
Effects>3D Effects>Drop Shadow, foreground #1e053e.
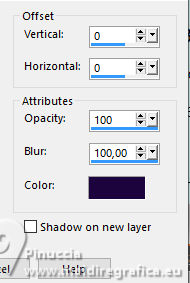
Selections>Select None.
20. Image Add Borders, 2 pixels, symmetric, foreground color #1e053e.
Selections>Select All.
21. Image Add Borders, 40 pixels, symmetric, whatever color.
Selections>Invert.
Edit>Paste Into Selection
22. Adjust>Blur>Gaussian Blur - radius 40

23. Selections>Invert.
Effects>3D Effects>Drop Shadow, foreground color #1e053e.

Selections>Select None.
24. Open tube_mulherArt31_byAnaMariaC 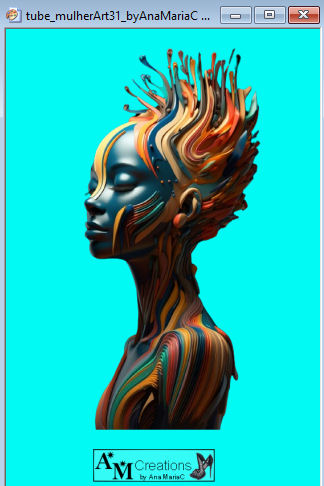
Edit>Copy.
Go back to your work and go to Edit>Paste as new layer.
Move  the tube to the right side. the tube to the right side.
Adjust>Sharpness>Sharpen.
Effects>3D Effects>Drop Shadow, color black, or at your choice.
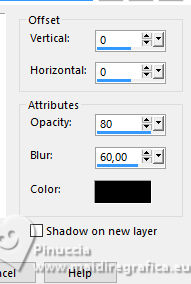
25. Open título_simpsp_byAnaMariaC 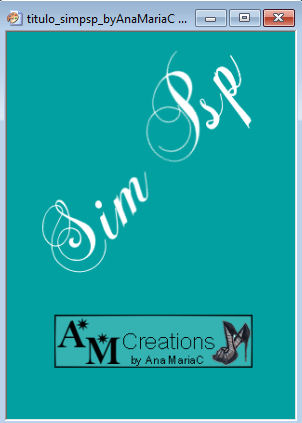
Edit>Copy.
Go back to your work and go to Edit>Paste as new layer.
Activate your Pick Tool 
Position X: 75,00 - Position Y: 90,00

Adjust>Sharpness>Sharpen.
Effects>3D Effects>Drop Shadow, foreground color #1e053e, or at your choice.
26. Open título_frase_byAnaMariaC 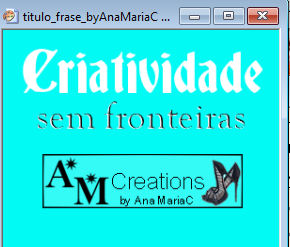
Edit>Copy.
Go back to your work and go to Edit>Paste as new layer.
Pick Tool 
Position X: 420,00 - Position Y: 520,00

Adjust>Sharpness>Sharpen.
Effects>3D Effects>Drop Shadow, foreground color #1e053e, or to your choice.

27. Image Add Borders, 2 pixels, symmetric, foreground color #1e053e.
28. Image>Resize, if you want.
Sign your work and save as jpg.
For the tubes of this version thanks Renée and Mentali
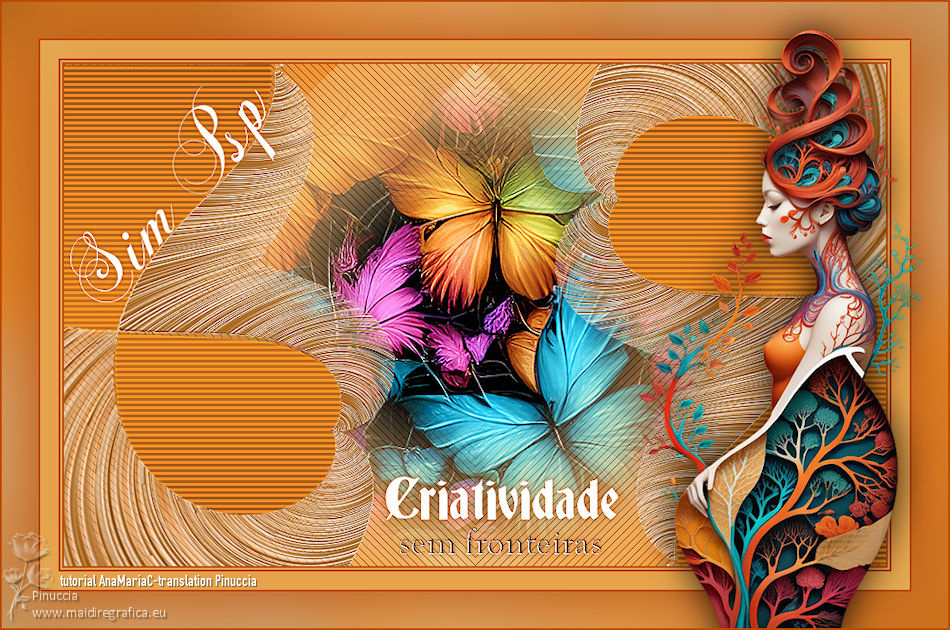

 Your versions.Thanks Your versions.Thanks

Louise

Lady Tess

DeniseD


If you have problems or doubts, or you find a not worked link,
or only for tell me that you enjoyed this tutorial, write to me.
6 July 2023

|
 CREATIVITY WITHOUT BORDERS

 CREATIVITY WITHOUT BORDERS