|
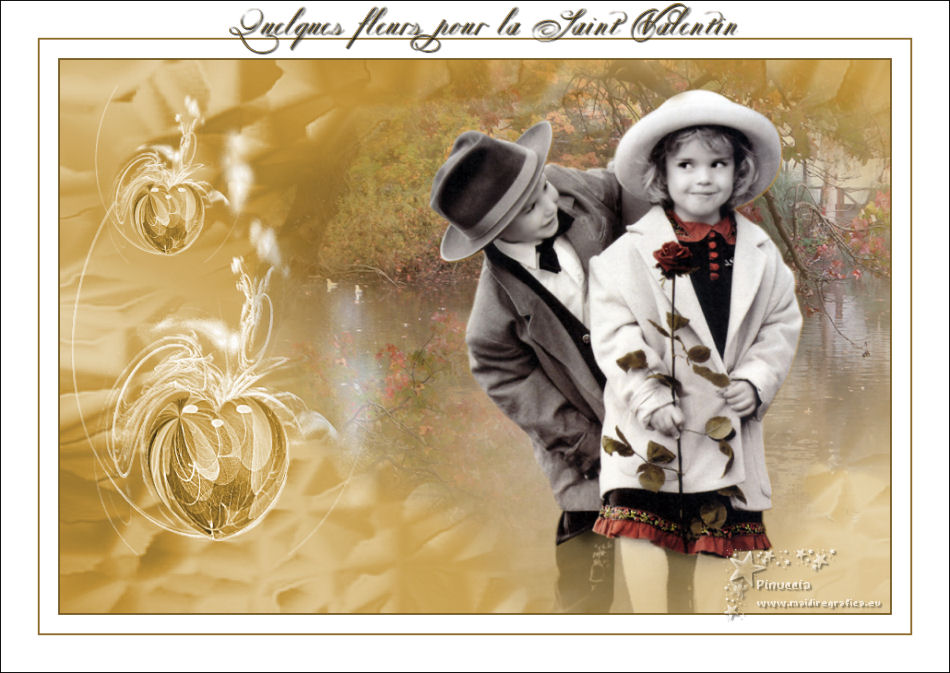
QUELQUES FLEURS POUR LA SAINT VALENTIN
 ENGLISH VERSION ENGLISH VERSION

Here you find the original of this tutorial:

This tutorial was created with PSP2019 and translated with PSPX3 but it can also be made using other versions of PSP.
Since version PSP X4, Image>Mirror was replaced with Image>Flip Horizontal,
and Image>Flip with Image>Flip Vertical, there are some variables.
In versions X5 and X6, the functions have been improved by making available the Objects menu.
In the latest version X7 command Image>Mirror and Image>Flip returned, but with new differences.
See my schedule here
Italian translation here
Material here
Plugins
Filters Unlimited 2.0 here
Fleming Pear - Flexify 2 here
Alien Skin Eye Candy 5 Impact - Glass here

Copy the preset  in the folder of the plugins Alien Skin Eye Candy 5. in the folder of the plugins Alien Skin Eye Candy 5.
One or two clic on the file (it depends by your settings), automatically the preset will be copied in the right folder.
why one or two clic see here
Copy the Selection in the Selection Folder
Open the mask in PSP and minimize it with the rest of the material.
1. Open a new transparent image 900 x 600 pixels.
2. Selections>Select All.
Open the background image paper2 and go to Edit>Copy.
Go back to your work and go to Edit>Paste into Selection.
Selections>Select None.
3. Adjust>Blur>Gaussian Blur - radius 50.

4. Effects>Plugins>Filters Unlimited 2.0 - Lens Effects - Broken Glass, default settings.

Adjust>Sharpness>Sharpen.
5. Set your foreground color to white #ffffff.
Layers>New Raster Layer.
Flood Fill  the layer with color white the layer with color white
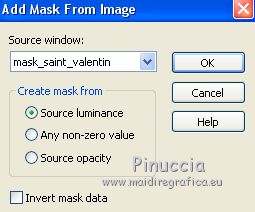
6. Layers>New Mask layer>From image
Open the menu under the source window and you'll see all the files open.
Select the mask mask_saint_valentin.
Adjust>Sharpness>Sharpen More.
Layers>Merge>Merge Group.
7. Edit>Cut (this cuts and also keeps in memory).
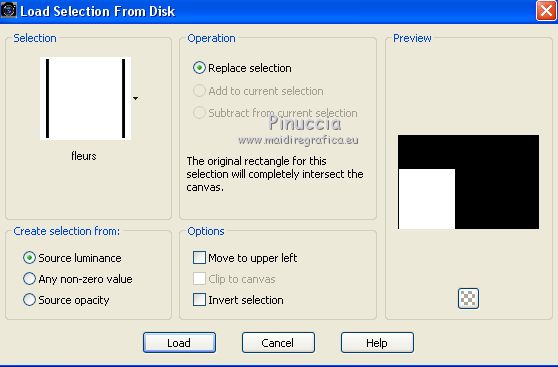
Selections>Load/Save Selection>Load Selection from Disk.
Look for and load the selection fleurs
On the mask layer, that has now remained empty:
Edit>Paste into Selection
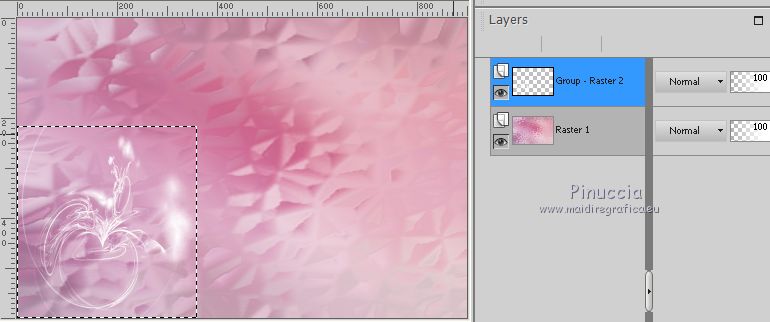
Selections>Select None.
Adjust>Sharpness>Sharpen.
Minimize the layer for a moment.
8. Activate again the background image papier 2.
Effects>Plugins>Flaming Pear - Flexify 2.

Image>Resize, to 40%, resize all layers not checked.
Effects>Plugins>Alien Skin Eye Candy 5 Impact - Glass.
Select the preset coeur and ok

Adjust>Sharpness>High pass sharpen
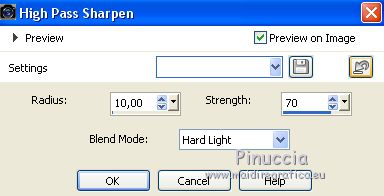
for my example I made Sharpen More,
because the result has given a darker shadow; to you to choose
9. Edit>Copy.
Go back to your original work and go to Edit>Paste as new layer..
Place  the heart on the mask. the heart on the mask.
Layers>Merge>Merge Down.
Effects>3D Effects>Drop Shadow, color white

Move  the image a bit higher. the image a bit higher.

10. Layers>Duplicate.
Image>Resize, to 50%, resize all layers not checked.
Place  rightly the image rightly the image

11. Open the landscape Misted, erase the watermark, and go to Edit>Copy.
Go back to your work and go to Edit>Paste as new layer.
Move  the tube at the upper right. the tube at the upper right.
12. Open the man tube and go to Edit>Copy.
Go back to your work and go to Edit>Paste as new layer.
Place  the tube to the center. the tube to the center.
13. Open the woman tube and go to Edit>Copy.
Go back to your work and go to Edit>Paste as new layer.
Move  it to the right side. it to the right side.
14. Layers>Merge>Merge All.
15. Image>Add borders, 2 pixels, symmetric, dark color of your work.
Image>Add borders, 20 pixels, symmetric, color white.
Image>Add borders, 2 pixels, symmetric, dark color.
Image>Add borders, 40 pixels, symmetric, color white.
Image>Add borders, 1 pixel, symmetric, color black.
16. Open the tube texte, or your text and go to Edit>Copy.
Go back to your work and go to Edit>Paste as new layer.
Move  it up to the center. it up to the center.
17. Image Resize, 950 pixels width, resize all layers checked.
18. Sign your work and save as jpg.
The tube of this version is by Criss

If you have problems or doubts, or you find a not worked link, or only for tell me that you enjoyed this tutorial, write to me.
21 February 2019
|
 ENGLISH VERSION

 ENGLISH VERSION
