|
PASSION CAMARGUAISE
 ENGLISH VERSION ENGLISH VERSION
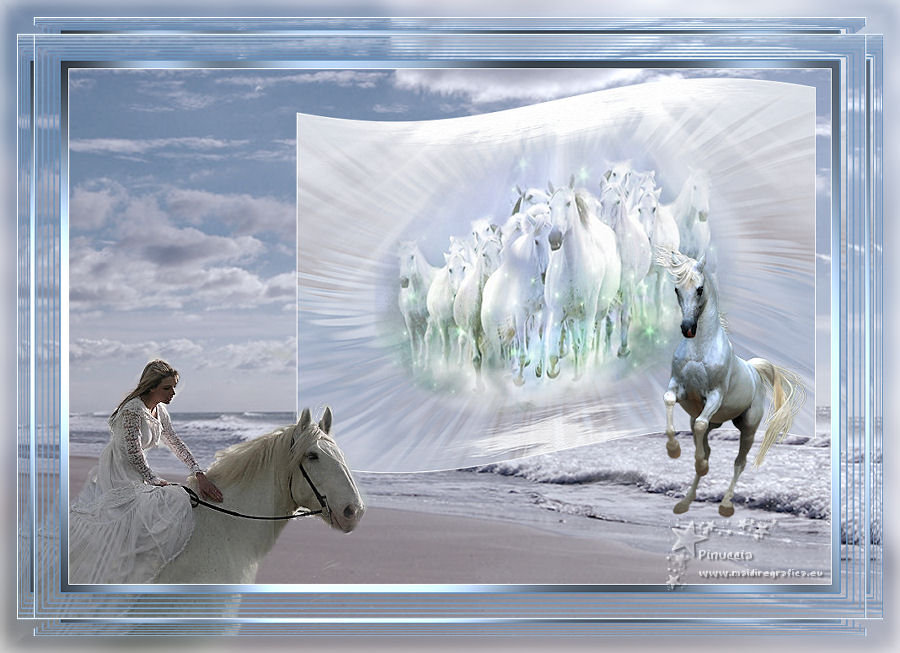
Here you find the original of this tutorial:

This tutorial was created with PSP2019 and translated with PSPX3 but it can also be made using other versions of PSP.
Since version PSP X4, Image>Mirror was replaced with Image>Flip Horizontal,
and Image>Flip with Image>Flip Vertical, there are some variables.
In versions X5 and X6, the functions have been improved by making available the Objects menu.
In the latest version X7 command Image>Mirror and Image>Flip returned, but with new differences.
See my schedule here
Italian translation here
Material here
Plugins
Filters Unlimited 2.0 here
Graphics Plus - Cross Shadow here
Alien Skin Eye Candy 5 Impact - Backlight here
Alf's Border FX - Mirror Bevel here
Filters Graphics Plus and Alf's Border FX can be used alone or imported into Filters Unlimited.
(How do, you see here)
If a plugin supplied appears with this icon  it must necessarily be imported into Unlimited it must necessarily be imported into Unlimited

Open the mask in PSP and minimize it with the rest of the material.
1. Choose an image 900 x 600 pixels or use the image supplied: paysage.png.
Window>Duplicate, to make a copy.
Minimize the copy.
Activate the original image.
Image>Resize, to 80%, resize all layers checked.
Effects>Image Effects>Seamless Tiling, default settings.

Adjust>Blur>Gaussian Blur - radius 20.

2. Effects>Plugins>Filters Unlimited 2.0 - Distortion Filters - Warp Jump.
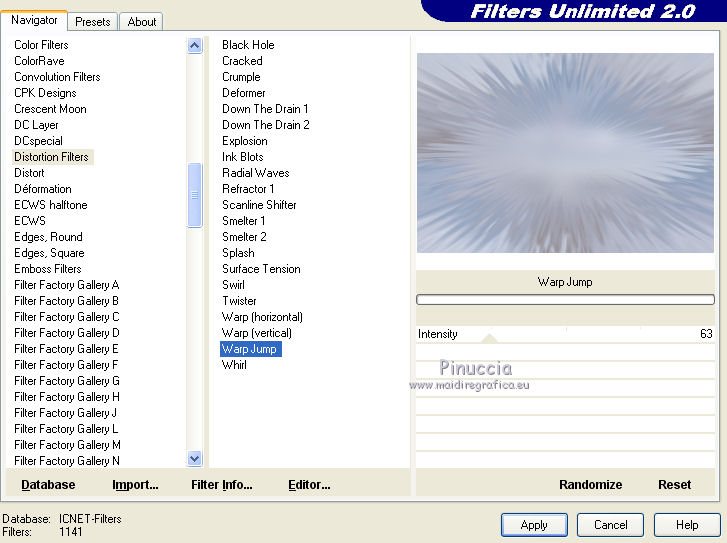
Adjust>Sharpness>Sharpen More.
3. Open the misted Horde and go to Edit>Copy.
Go back to your work and go to Edit>Paste as new layer.
Image>Resize, to 80%, resize all layers not checked.
4. Layers>New Raster Layer.
Set your foreground color to white.
Flood Fill  the layer with color white. the layer with color white.
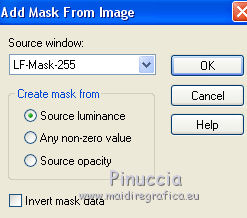
5. Layers>New Mask layer>From image
Open the menu under the source window and you'll see all the files open.
Select the mask LF-Mask-255.
Layers>Merge>Merge Group.
Adjust>Sharpness>Sharpen.
6. Layers>Merge>Merge All.
7. Image>Add borders, 1 pixel, symmetric, color white.
Edit>Copy.
8. Activate the copy of your image you minimize at step 1.
Edit>Paste as new layer.
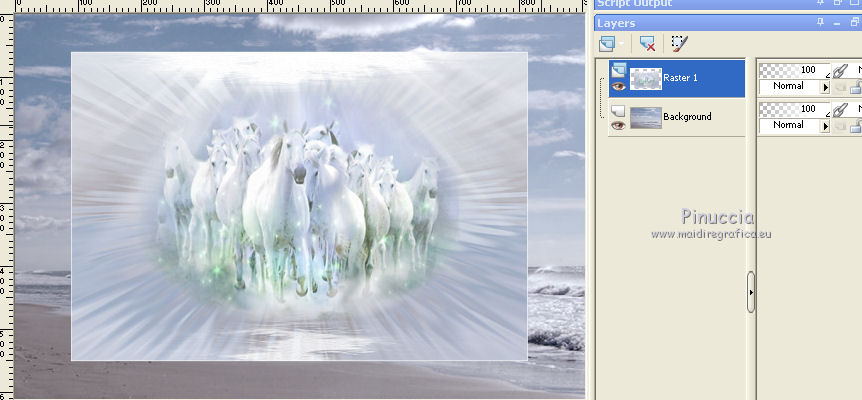
Stay on this layer.
9. Effects>Distortion Effects>Wave.
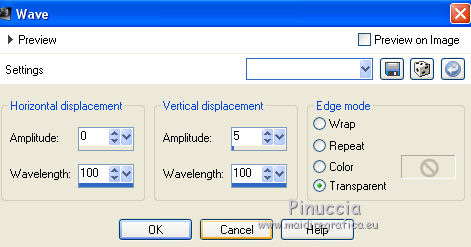
Image>Mirror.
Place  rightly according to your background image; rightly according to your background image;
if necessary resize (for my version I resized to 85%).
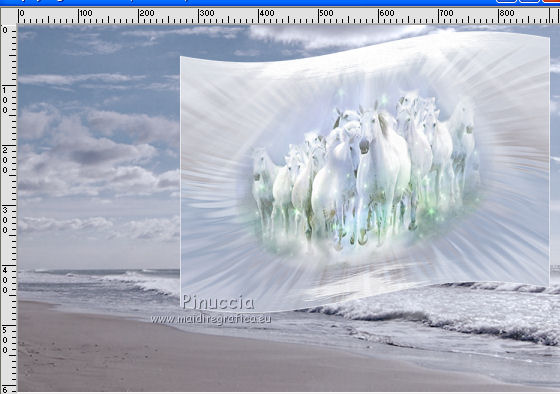
10. Open the tube Cheval and go to Edit>Copy.
Go back to your work and go to Edit>Paste as new layer.
Place  rightly the tube. rightly the tube.
Adjust>Sharpness>Sharpen.
11. Open the tube of the woman on the horse and go to Edit>Copy.
Go back to your work and go to Edit>Paste as new layer.
Move  the tube at the bottom left. the tube at the bottom left.
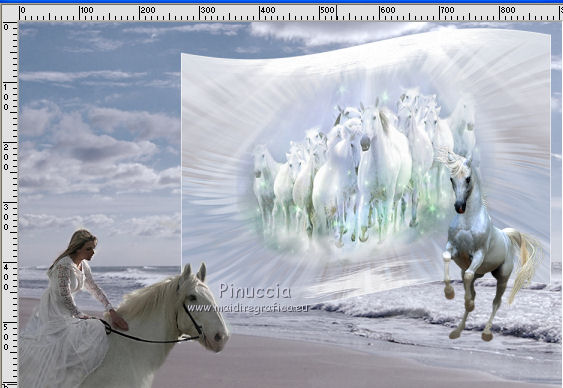
Adjust>Sharpness>Sharpen.
12. Layers>Merge>Merge All.
13. Image>Add borders, 1 pixel, symmetric, color white.
Edit>Copy.
Selections>Select All.
Image>Add borders, 10 pixels, symmetric, color #acc5e2.
Selections>Invert.
Effects>Plugins>Graphics Plus - Cross Shadow, default settings.

14. Selections>Select All.
Image>Add borders, 30 pixels, symmetric, color white.
Selections>Invert.
Edit>Paste into Selection.
15. Effects>Plugins>Alien Skin Eye Candy 5 Impact - Backlight, default settings.
Under Color, adapt the colors according to your image
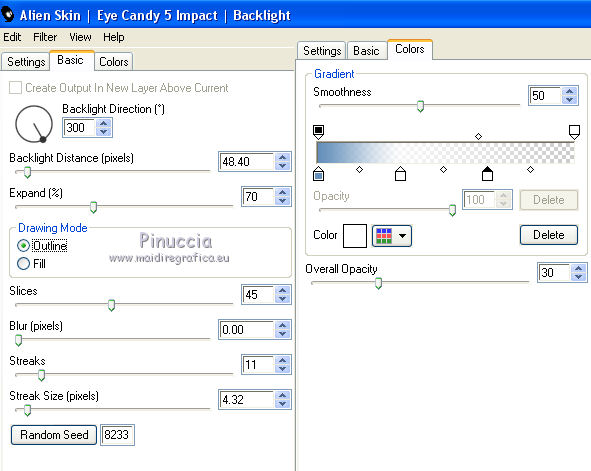
16. Image>Add borders, 1 pixel, symmetric, color white.
Selections>Select All.
Image>Add borders, 40 pixels, symmetric, color #acc5e2.
Selections>Invert.
Edit>Paste into Selection (your image is still in memory).
17. Adjust>Blur>Gaussian Blur - radius 15.

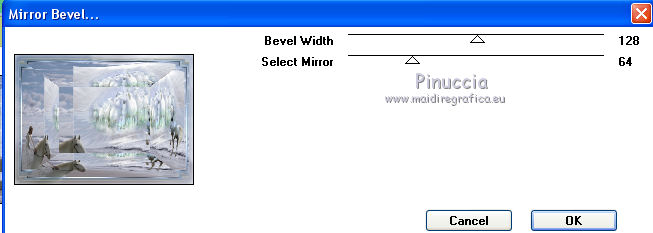
18. Effects>Plugins>Alf's Border FX - Mirror Bevel.
19. Sign your work on a new layer.
20. Image>Resize, 900 pixels width, resize all layers checked.
Layers>Merge>Merge All and save as jpg.
The tubes of this version are by Anna.br
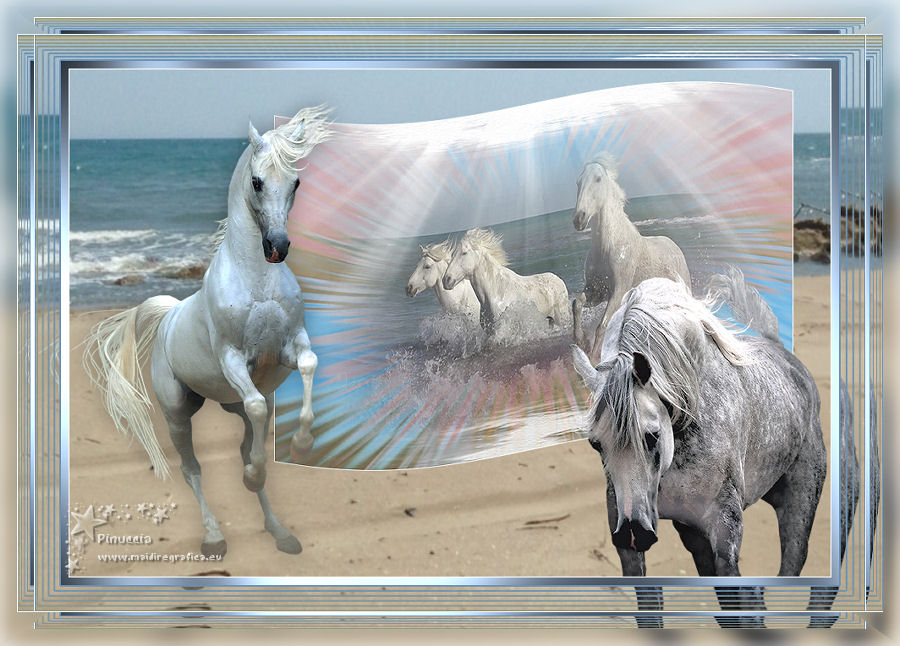

Your versions. Thanks
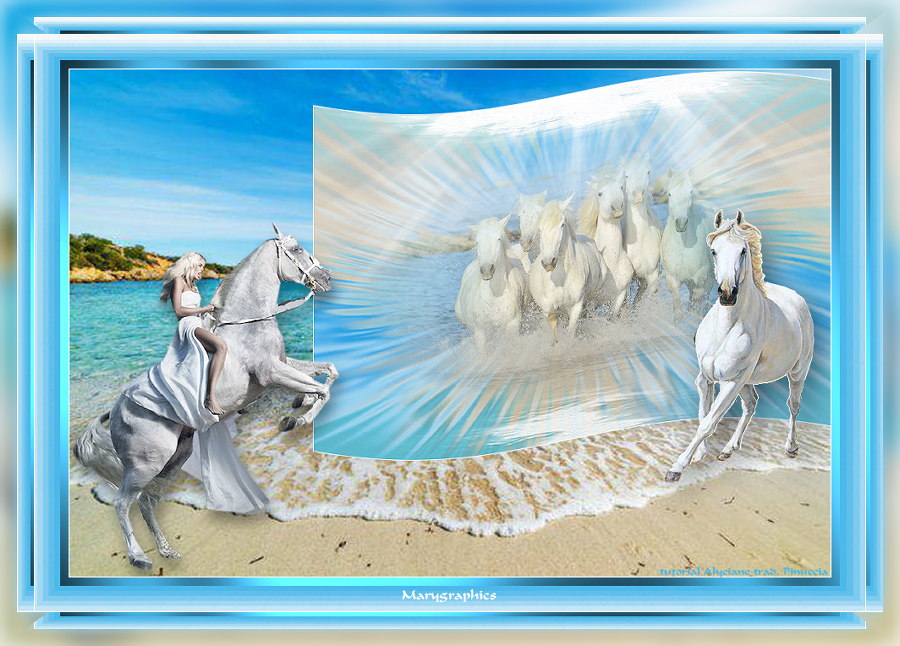
Marygraphics
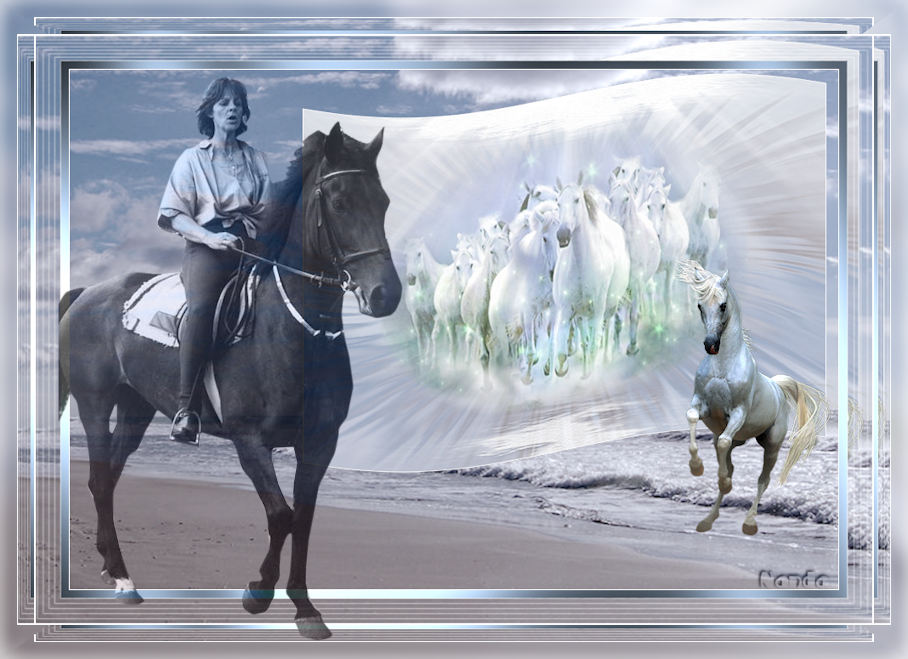
Nanda

If you have problems or doubts, or you find a not worked link, or only for tell me that you enjoyed this tutorial, write to me.
12 March 2019
|
 ENGLISH VERSION
