|
SWEET BABY


Thank you Aliciar for your invitation to translate your tutorials:

This tutorial was written and translated with CorelX7, but it can also be made using other versions of PSP.
Since version PSP X4, Image>Mirror was replaced with Image>Flip Horizontal,
and Image>Flip with Image>Flip Vertical, there are some variables.
In versions X5 and X6, the functions have been improved by making available the Objects menu.
In the latest version X7 command Image>Mirror and Image>Flip returned, but with new differences.
See my schedule here
 French translation here French translation here
 Your versions here Your versions here

Thanks for the tubes Coly and LisaT and for the mask Narah.
The rest of the material is by Aliciar.
(The links of the tubemakers here).
Plugins:
consult, if necessary, my filter section here
Alien Skin Eye Candy 5 Impact - Gradient Glow here
XE XTRAS - Elemental here

You can change Blend Modes according to your colors.

Copy the selections in the Selections Folder.
Open the mask in PSP and minimize it with the rest of the material.
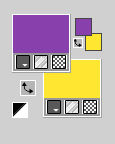
Set your foreground color to #8842ac,
and your background color to #ffe632.
1. Open a new transparent image 1024 x 650 pixels.
Flood Fill  the transparent image with #8842ac. the transparent image with #8842ac.
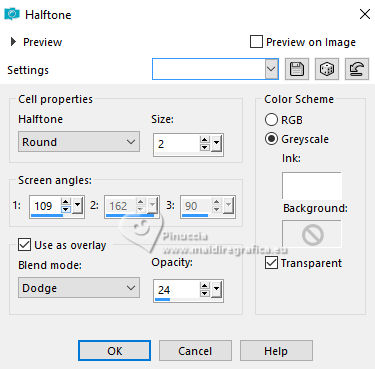
2. Effects>Artistic Effects>Halftone.
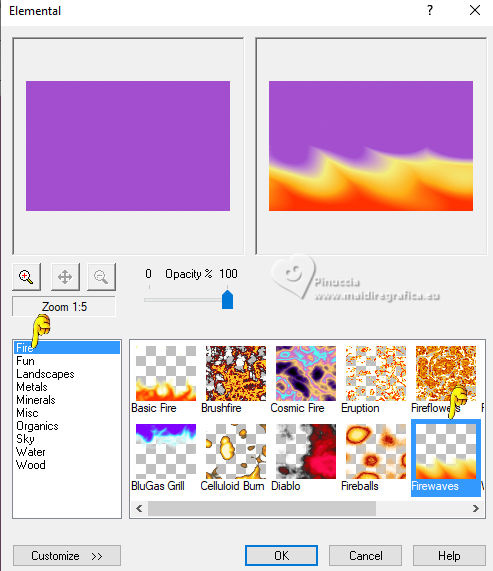
3. Effects>Plugins>XE XTRAS - Elemental
4. Layers>New Raster Layer.
Flood Fill  the layer again with #8842ac. the layer again with #8842ac.
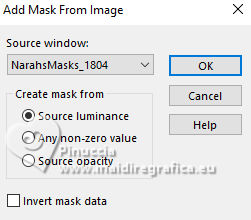
Layers>New Mask layer>From image
Open the menu under the source window and you'll see all the files open.
Select the mask NarahsMask_1804
Layers>Merge>Merge Group.
5. Open the tube KamilTubes-520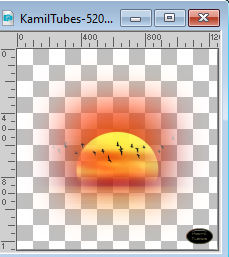
Erase the watermark and go to Edit>Copy.
Go back to your work and go to Edit>Paste as new layer.
Move  the tube up, against the edge. the tube up, against the edge.
6. Open the image 4656 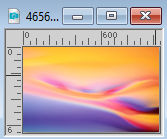
Edit>Copy.
Go back to your work and go to Edit>Paste as new layer.
Image>Flip>Flip Vertical (or Image>Flip)
Change the Blend Mode of this layer to Overlay.
Activate your Warp Brush Tool 

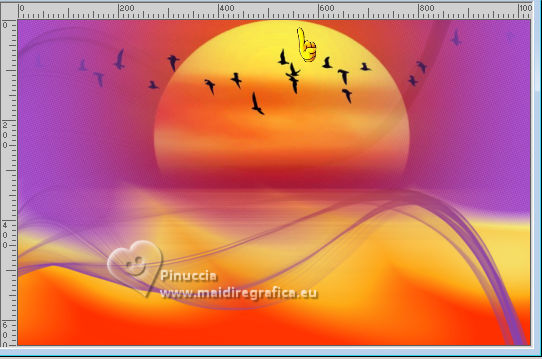
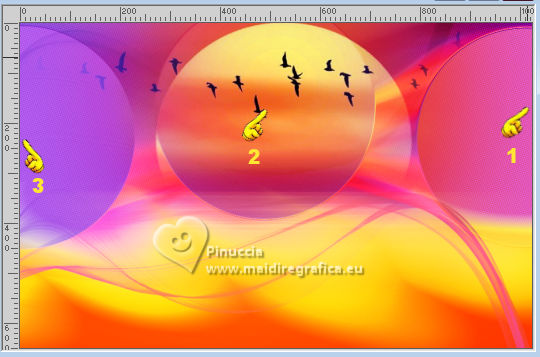
Apply the Warp Brush Tool at the indicated points with the hand, in order from right to left
(just press, don't drag!) to form approximately one circle in the center
and two semicircles at the edges, following an imaginary straight line.
You will get an image similar to this
7. Activate the layer Raster 1.
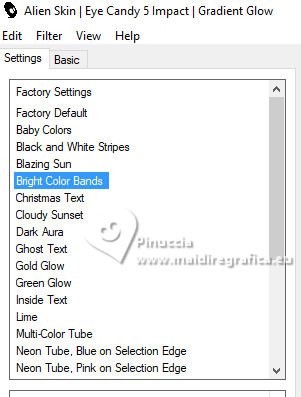
Effects>Plugins>Alien Skin Eye Candy 5 Impact - Gradient Glow
select the preset Bright Color Bands
8. Image>Add borders, 40 pixels, symmetric, foreground color #8842ac.
Selections>Select All.
Selections>Modify>Contract - 20 pixels.
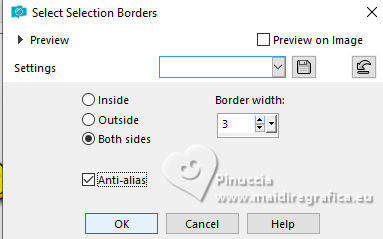
Selections>Modify>Select Selection Borders.
Flood Fill  the selection with your background color #ffe632. the selection with your background color #ffe632.
Selections>Select None.
9. Open the tube enfants_0023_lisat 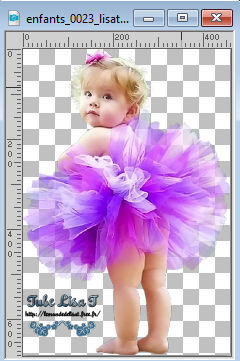
Erase the watermark and go to Edit>Copy.
Go back to your work and go to Edit>Paste as new layer.
Place  the tube over the bord #ffe632, to the left. the tube over the bord #ffe632, to the left.
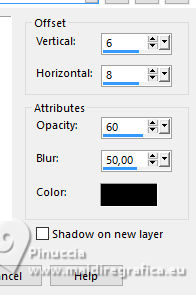
10. Effects>3D Effects>Drop Shadow, color #000000.
11. Open the tube Peluche9-coly 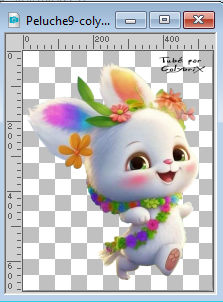
Erase the watermark and go to Edit>Copy.
Go back to your work and go to Edit>Paste as new layer.
Image>Resize, to 35%, resize all layers not checked.
Place  the tube over the bord color #ffe632. the tube over the bord color #ffe632.
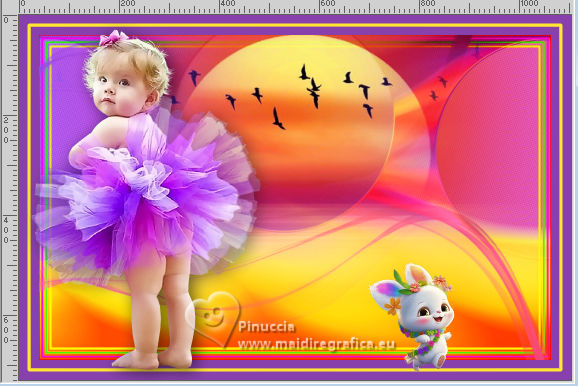
Adjust>Sharpness>Sharpen.
Effects>3D Effects>Drop Shadow, same settings.
12. Layers>New Raster Layer.
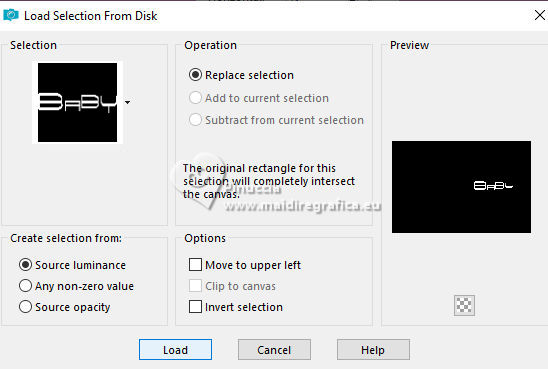
Selections>Load/Save Selection>Load Selection from Disk.
Look for and load the selection sel3964_aliciar
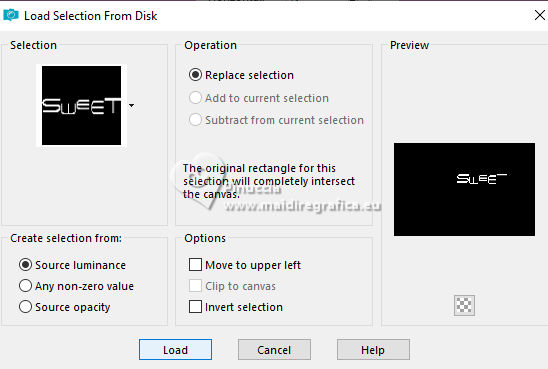
Flood Fill  the selection with your background color #ffe632. the selection with your background color #ffe632.
Selections>Select None.
Place  the text to your liking. the text to your liking.
13. Effects>3D Effects>Drop Shadow, color #000000.

14. Layers>New Raster Layer.
Selections>Load/Save Selection>Load Selection from Disk.
Look for and load the selection sel3965_aliciar
Flood Fill  with your foreground color #8842ac. with your foreground color #8842ac.
Selections>Select None.
Place  the text to your liking. the text to your liking.
Effects>3D Effects>Drop Shadow, same settings.
15. Sign your work on a new layer.
Add the author and translator watermarks.
Layers>Merge>Merge All.
Image>Resize, 1000 pixels width, resize all layers checked.
Salve as jpg.
For the tubes of this version thanks Tineke and Wieske.


If you have problems or doubts, or you find a not worked link, or only for tell me that you enjoyed this tutorial, write to me.
26 September 2023

|

