|
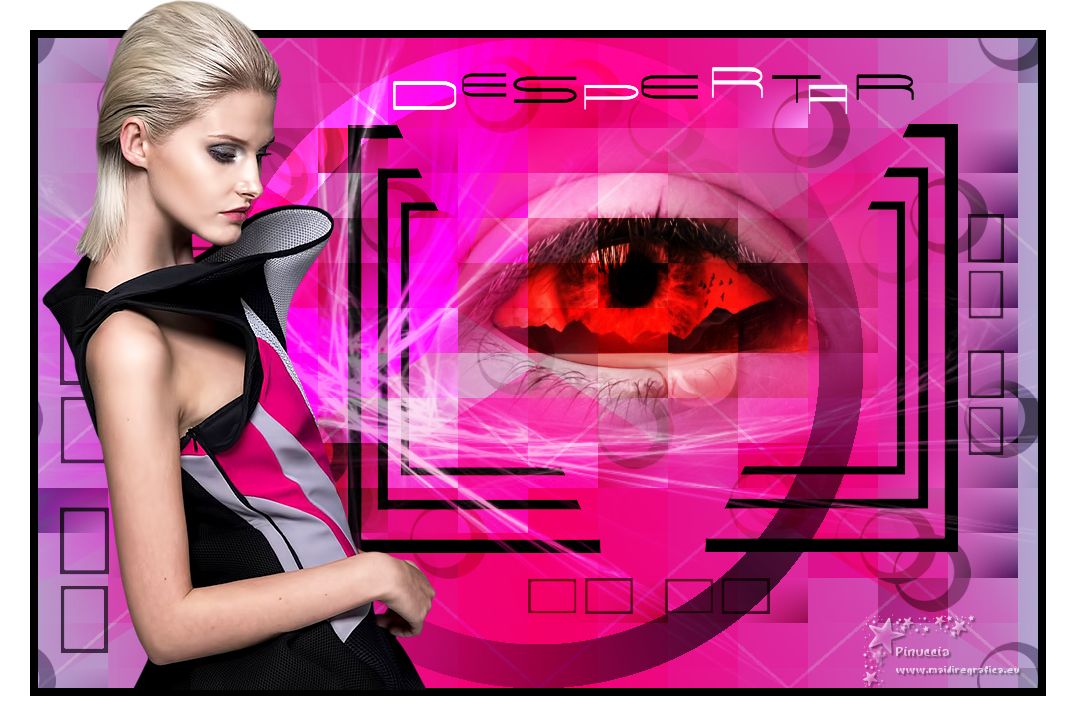
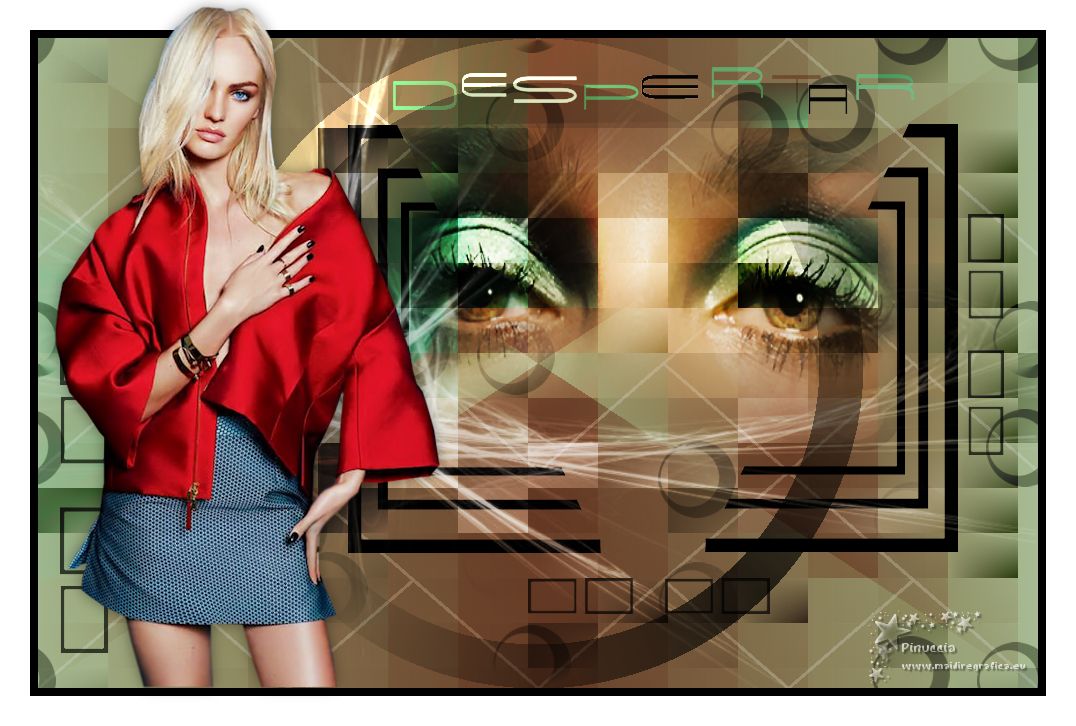
DESPERTAR


Thank you Aliciar for your invitation to translate your tutorials:

This tutorial was written with CorelX17 and translated with CorelX3, but it can also be made using other versions of PSP.
Since version PSP X4, Image>Mirror was replaced with Image>Flip Horizontal,
and Image>Flip with Image>Flip Vertical, there are some variables.
In versions X5 and X6, the functions have been improved by making available the Objects menu.
In the latest version X7 command Image>Mirror and Image>Flip returned, but with new differences.
See my schedule here
 French translation here French translation here
 Your versions here Your versions here
Material here
Thanks for the tube Lily (Femme 511) and for the mask Valerie (VSP 255).
The rest of the material is by Aliciar.
(The links of the tubemakers here).
Plugins:
consult, if necessary, my filter section here
Filters Unlimited 2.0 here
&<Bkg Designer sf10I> - Alfs Border Mirror Beve (to import in Unlimited) here
&<Bkg Designer sf10II> - Mura Diagonal (to import in Unlimited) here
Mura's Meister - Copies here
Filter Factory Gallery Q here
Render - ButtonMaker Round (standard in Unlimited)
Filters Factory Gallery can be used alone or imported into Filters Unlimited.
(How do, you see here)
If a plugin supplied appears with this icon  it must necessarily be imported into Unlimited it must necessarily be imported into Unlimited

You can change Blend Modes according to your colors.
In the newest versions of PSP, you don't find the foreground/background gradient (Corel_06_029).
You can use the gradients of the older versions.
The Gradient of CorelX here
Copy the Selections in the Selection Folder.
Open the mask in PSP and minimize it with the rest of the material.
1. Open a new transparent image 1000 x 650 pixels.
Set your foreground color to #9c96b1
and your background color to #dc0072.
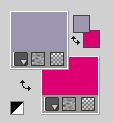
Set your foreground color to a Foreground/Background Gradient, style Linear.
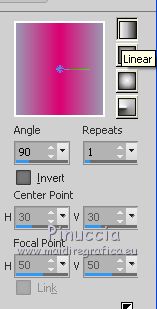
Flood Fill  the transparent image with your Gradient. the transparent image with your Gradient.
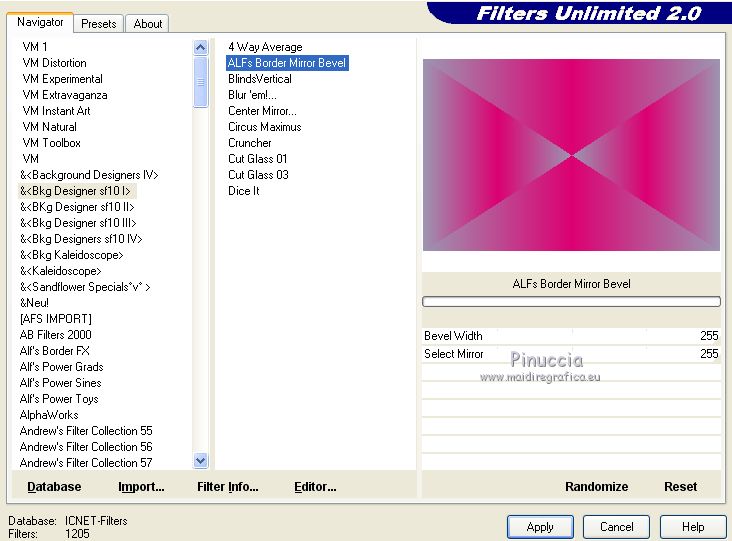
2. Effects>Plugins>Filters Unlimited 2.0 - &<Bkg Designer sf10I> - ALFs Border Mirror Bevel.
3. Layers>New Raster Layer.
Effects>Plugins>Filters Unlimited 2.0 - &<Bkg Designer sf10II> - Mura Diagonal.
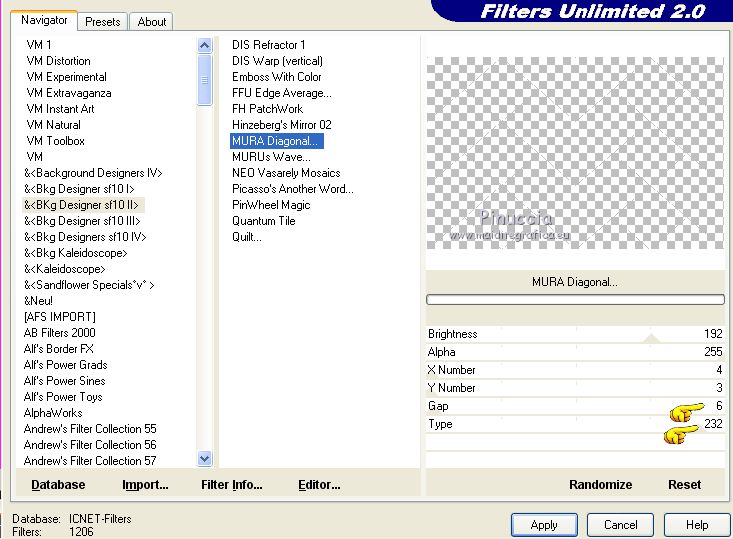
Reduce the opacity of this layer to 40%.
4. Layers>New Raster Layer.
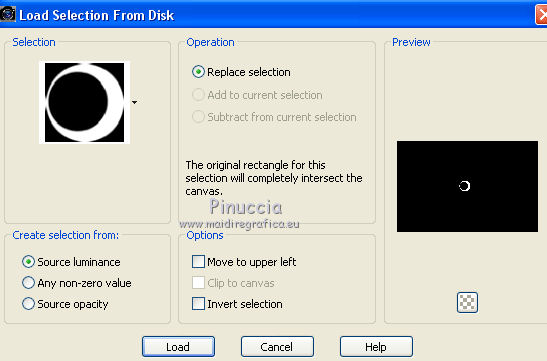
Selections>Load/Save Selection>Load Selection from Disk.
Look for and load the selection sel_435 aliciar.
Set your foreground color to white #ffffff.
and your background color to black #000000
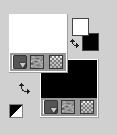
Flood Fill  the selection with your black background color. the selection with your black background color.
Selections>Select None.
5. Effects>Plugins>Mura's Meister - Copies.
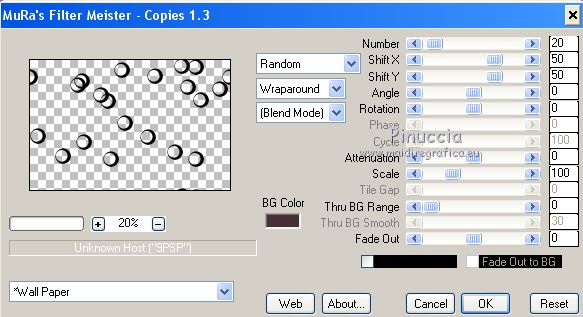
the result is random, so it cannot be the same as mine;
to change it, click on the preview window until you see the result you prefer.
6. Effects>Image Effects>Seamless Tiling, default settings.

Reduce the opacity of this layer to 40%.
7. Layers>New Raster Layer.
Selections>Load/Save Selection>Load Selection from Disk.
Look for and load the selection sel_433 aliciar.
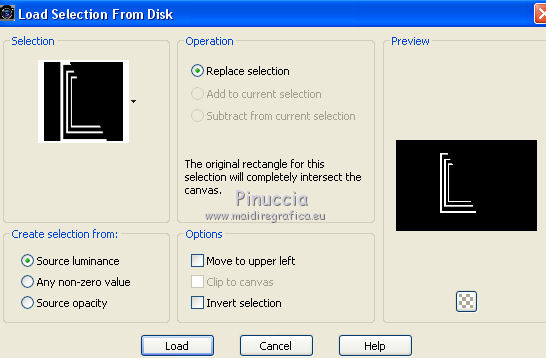
Flood Fill  the selection with your black background color. the selection with your black background color.
Selections>Select None.
8. Layers>New Raster Layer.
Selections>Load/Save Selection>Load Selection from Disk.
Look for and load the selection sel_434 aliciar.
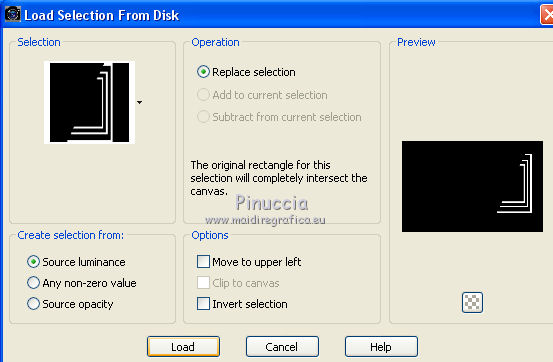
Flood Fill  the selection with your black background color. the selection with your black background color.
Selections>Select None.
9. Layers>New Raster Layer.
Selections>Load/Save Selection>Load Selection from Disk.
Look for and load the selection sel_436 aliciar.
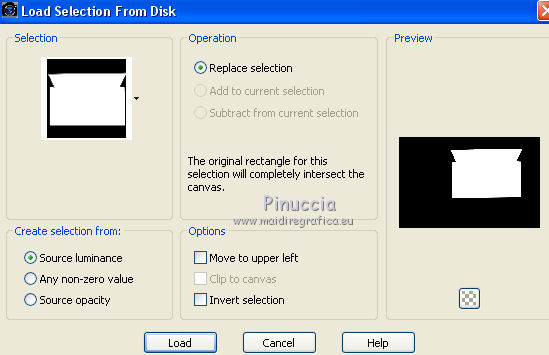
Open the tube Despertar_aliciar and go to Edit>Copy.
Go back to your work and go to Edit>Paste into Selection.
Selections>Select None.
10. Open the image Deco_aliciar and go to Edit>Copy.
Go back to your work and go to Edit>Paste as new layer.
Effects>Image Effects>Offset.
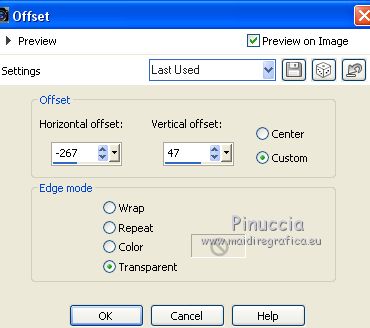
Change the Blend Mode of this layer to Overlay.
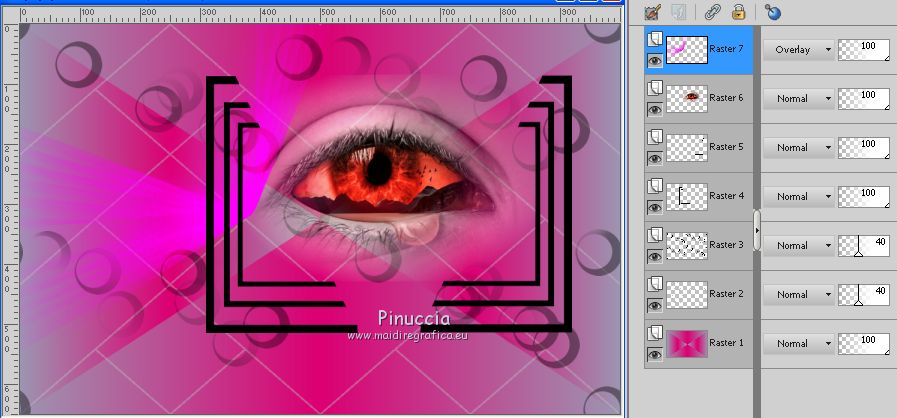
11. Layers>New Raster Layer.
Flood Fill  the layer with your white foreground color. the layer with your white foreground color.
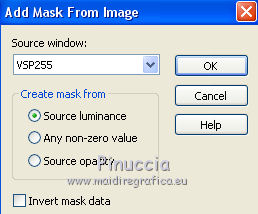
Layers>New Mask layer>From image
Open the menu under the source window and you'll see all the files open.
Select the mask VSP 255.
Layers>Merge>Merge Group.
Layers>Duplicate.
Layers>Merge>Merge Down.
Reduce the opacity of this layer to 67%.
12. Layers>New Raster Layer.
Selections>Load/Save Selection>Load Selection from Disk.
Look for and load the selection sel_437 aliciar.
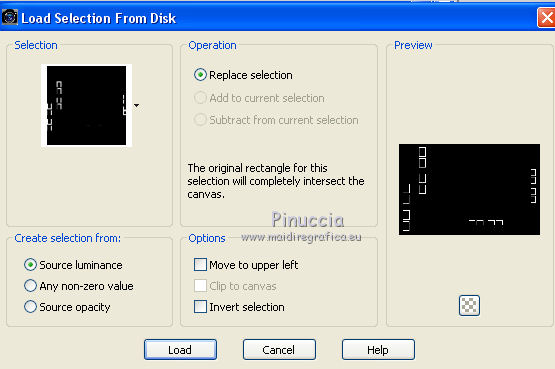
Flood Fill  the selection with color black. the selection with color black.
Reduce the opacity of this layer to 70%.
Selections>Select None.
13. Layers>New Raster Layer.
Selections>Load/Save Selection>Load Selection from Disk.
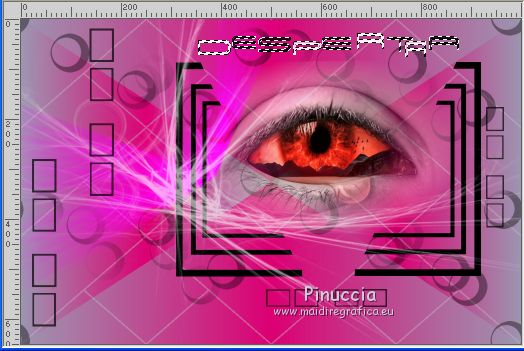
Look for and load the selection sel_despertar.
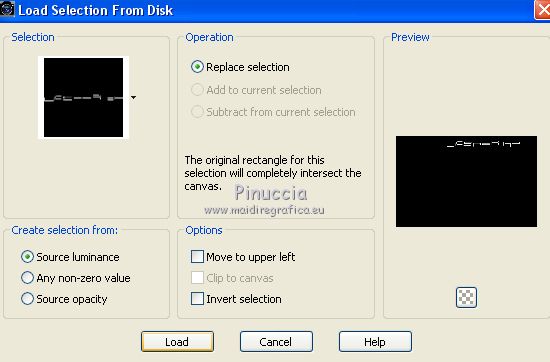
Set the Correspondance of your Flood Fill Tool to RGB Values.

Flood Fill  the selection with colors at your choice. the selection with colors at your choice.
For me
Selections>Select None.
14. Layers>Merge>Merge All.
Layers>Duplicate.
Activate the bottom layer.
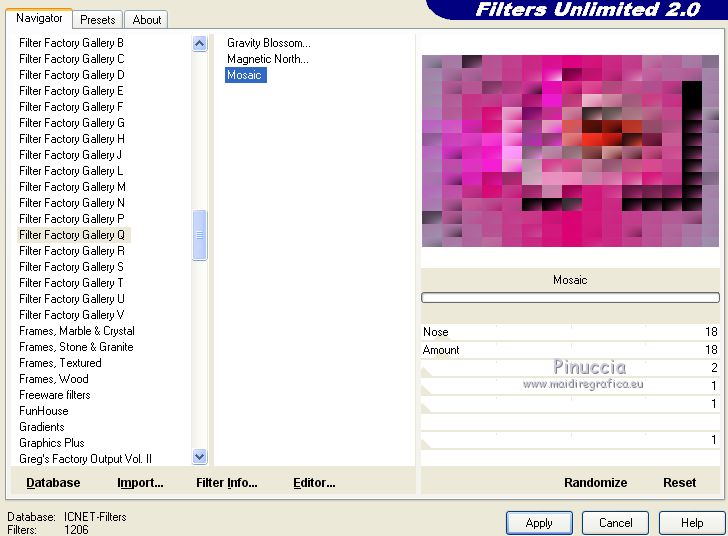
Effects>Plugins>Filter Factory Gallery Q - Mosaic, default settings.
15. Activate the layer above Copy of Background.
Change the Blend Mode of this layer to Hard Light.
Layers>Merge>Merge All.
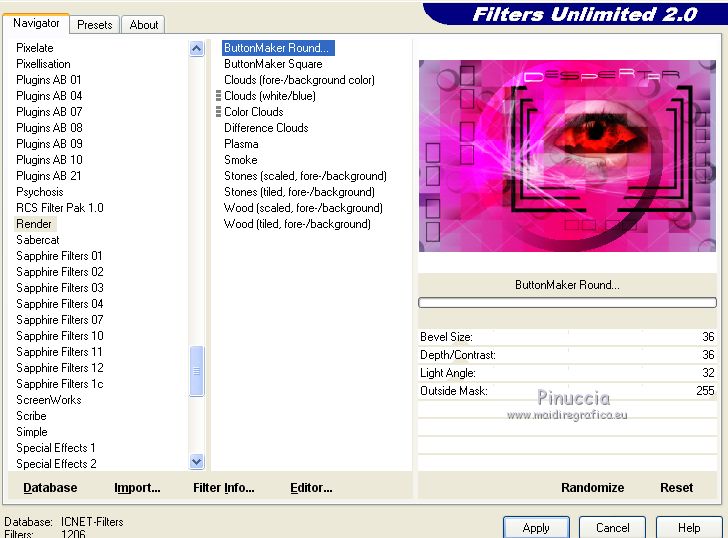
16. Effects>Plugins>Filters Unlimited 2.0 - Render - ButtonMaker Round, default settings.
17. Image>Add borders, 8 pixels, symmetric, color black.
Image>Add borders, 30 pixels, symmetric, color white.
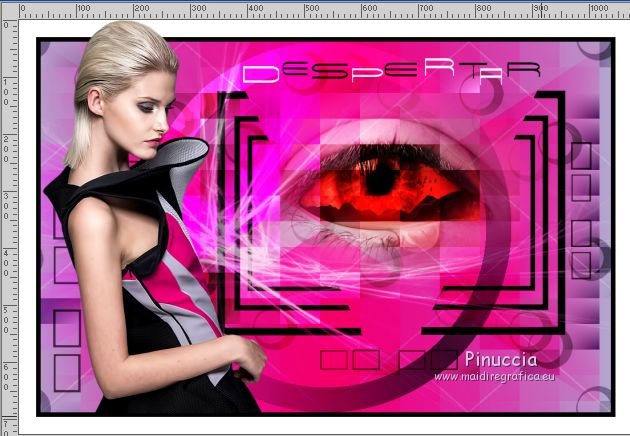
18. Open the tube Femme 511 by Lily, erase the watermark and go to Edit>Copy.
Go back to your work and go to Edit>Paste as new layer.
Move  the tube over the black border. the tube over the black border.
19. Sign your work on a new layer
If you want, add the author and translator watermarks.
Layers>Merge>Merge All and save as jpg.
Version with tubes by Luz Cristina and Nikita

If you have problems or doubts, or you find a not worked link, or only for tell me that you enjoyed this tutorial, write to me.
1 Octobre 2020
|

