|
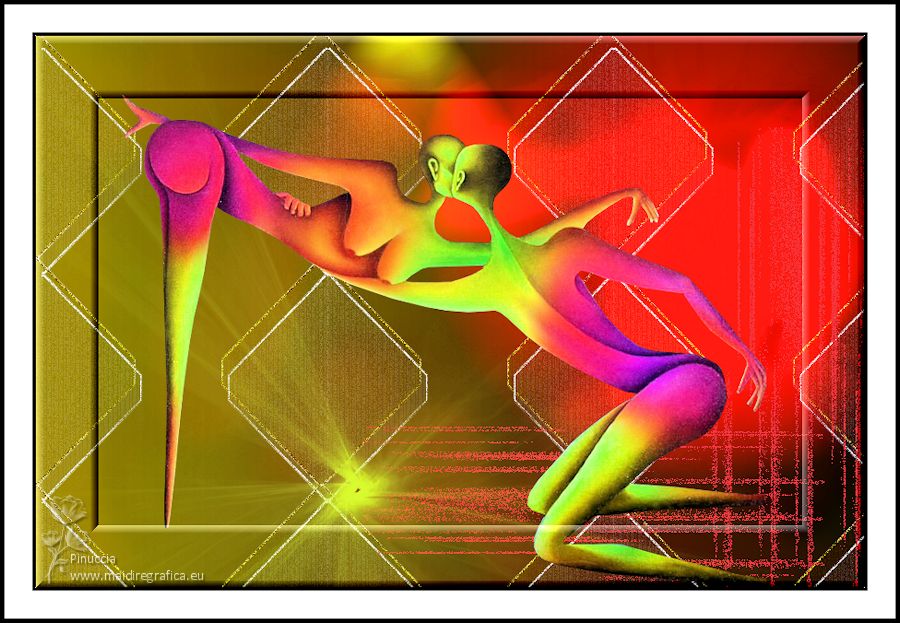
ABSTRACTO 2


Thank you Aliciar for your invitation to translate your tutorials:

This tutorial was written and translated with CorelX7, but it can also be made using other versions of PSP.
Since version PSP X4, Image>Mirror was replaced with Image>Flip Horizontal,
and Image>Flip with Image>Flip Vertical, there are some variables.
In versions X5 and X6, the functions have been improved by making available the Objects menu.
In the latest version X7 command Image>Mirror and Image>Flip returned, but with new differences.
See my schedule here
 French translation here French translation here
 Your versions here Your versions here
Material here
For the tube thanks Guismo.
The rest of the material is by Aliciar.
(The links of the tubemakers here).
Plugins:
consult, if necessary, my filter section here
Filters Unlimited 2.0 here
Balder Olrik - Select sharp here
DSB Flux - Tiler here
Bordermania - Frame#2 here
Filters Balder Olrik can be used alone or imported into Filters Unlimited.
(How do, you see here)
If a plugin supplied appears with this icon  it must necessarily be imported into Unlimited it must necessarily be imported into Unlimited

You can change Blend Modes according to your colors.
In the newest versions of PSP, you don't find the foreground/background gradient (Corel_06_029).
You can use the gradients of the older versions.
The Gradient of CorelX here

Copy the Brush (dossier Pincel) in the Brushes Folder.
Attention, please, the brush is composed by two files, you must place both the files in the folder.
See my notes about Brushes here
Copy the preset Preset Lights Abstract 2 in the Presets Folder.
Copy the script Bordes y Redimensionar aliciar in the Scripts-Trusted Folder.
Copy the Selection in the Selections Folder.
1. Open a new transparent image 900 x 600 pixels.
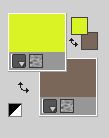
Set your foreground color to #bdb711
and your background color to #7b665a.
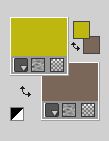
Set your foreground color to a Foreground/Background Gradient, style Linear.
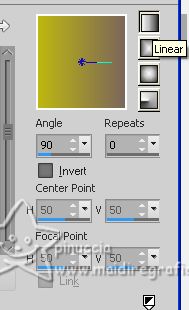
Flood Fill  the transparent image with your Gradient. the transparent image with your Gradient.
2. Open the background image Back Abstracto 2 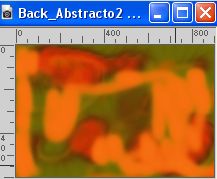
Edit>Copy.
Go back to your work and go to Edit>Paste as new layer.
Change the Blend Mode of this layer to Overlay.
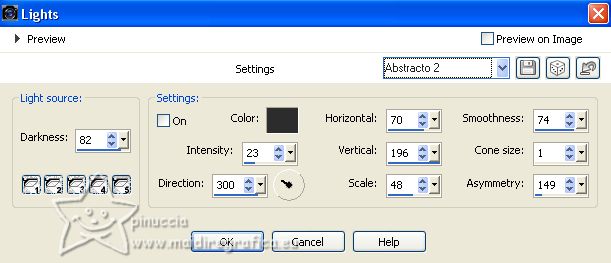
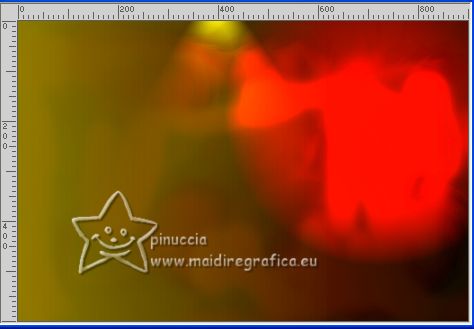
3. Effects>Illumination Effects>Lights - select the preset Abstracto 2.
Result
4. Layers>New Raster Layer.
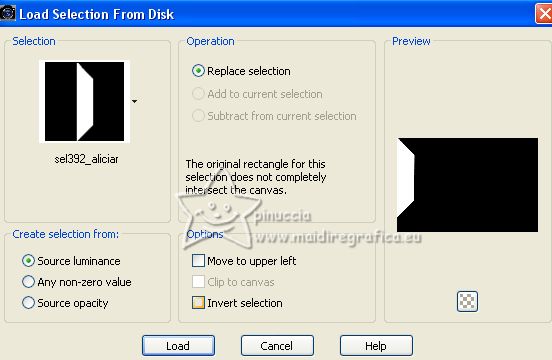
Selections>Load/Save Selection>Load Selection from Disk.
Look for and load the selection sel392_aliciar
Change the Setting of your Gradient, and select Invert.
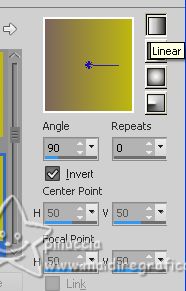
Flood Fill  the selection with your Gradient. the selection with your Gradient.
Selections>Select None.
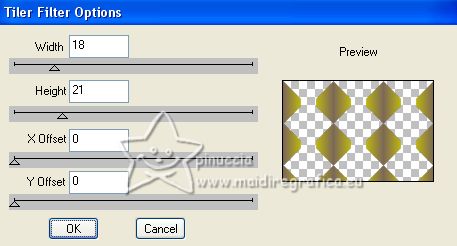
5. Effects>Plugins>Dsb Flux - Tiler.
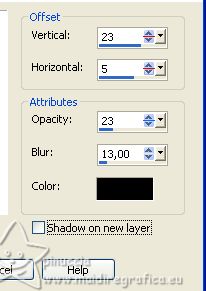
6. Effects>3D Effects>Drop Shadow.
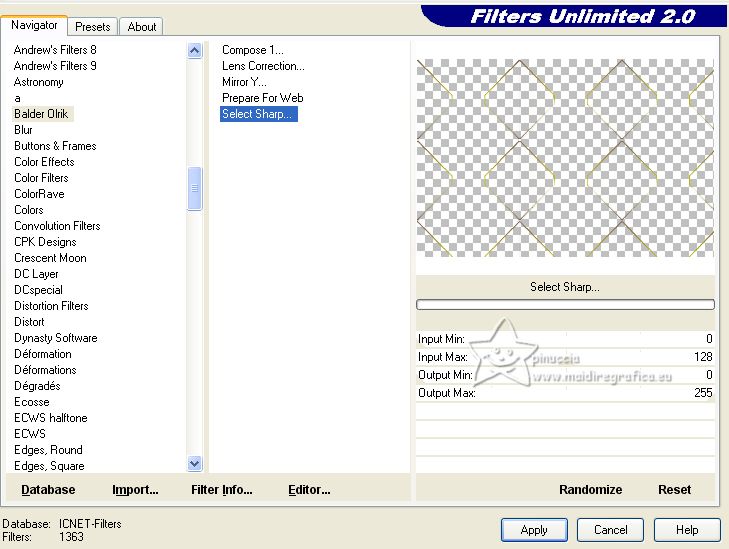
7. Effects>Plugins>Filters Unlimited 2.0 - Balder Olrik - Select Sharp, default settings.
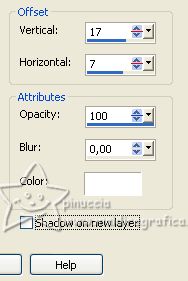
8. Effects>3D Effects>Drop Shadow, color white.
9. Layers>Duplicate.
Layers>Merge>Merge Down.
10. Adjust>Add/Remove Noise>Add Noise.
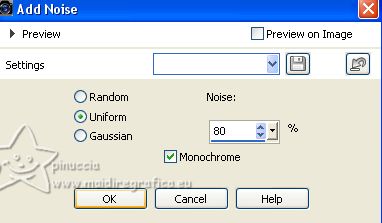
11. Change the Blend Mode of this layer to Hard Light.
12. Open the tube calguisart129 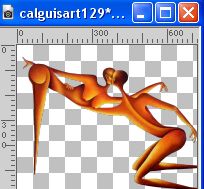
Edit>Copy.
Go back to your work and go to Edit>Paste as new layer.
Move  the tube a little lower. the tube a little lower.
Adjust>One Step Photo Fix.
13. Activate your Hue Up/Down Brush Tool
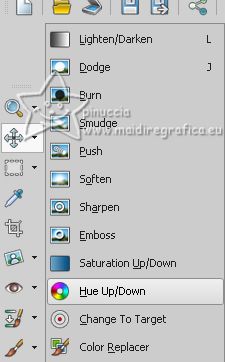
with these settings

14. Apply the brush on the tube by alternating the right and left mouse buttons as you like.
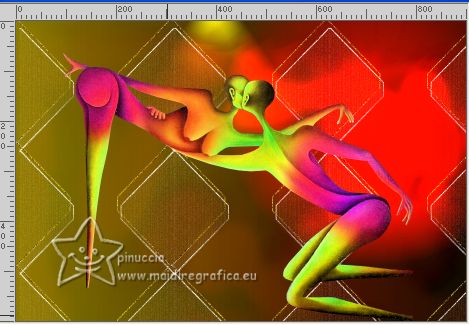
15. Activate the layer below, Raster 3.
Layers>New Raster Layer.
Activate the Brush Tool 
look for and select the brush light_shapes_megapack_by_psdbox.com 016

Choose a color - for me #daf222
Point the mouse at the indicated point
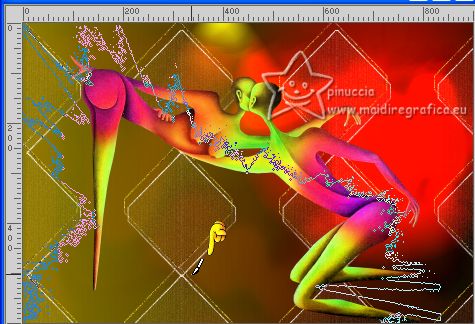
Apply the brush by clicking 2 or more times always on the same point,
without moving the mouse
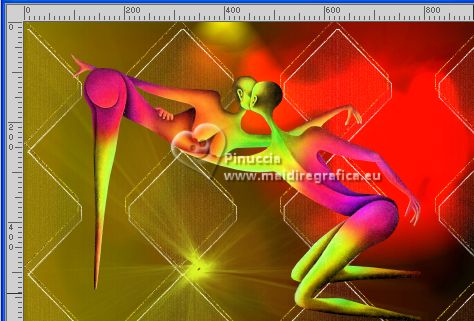
16. Activate again the layer below, Raster 3.
Open the tube elementoabstracto_aliciar 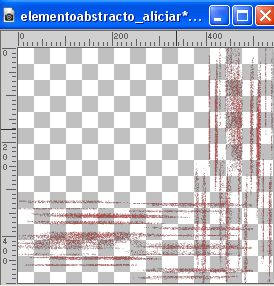
Edit>Copy.
Go back to your work and go to Edit>Paste as new layer.
Move  the tube to the lower right corner. the tube to the lower right corner.
(you can colorize if you use other colors)
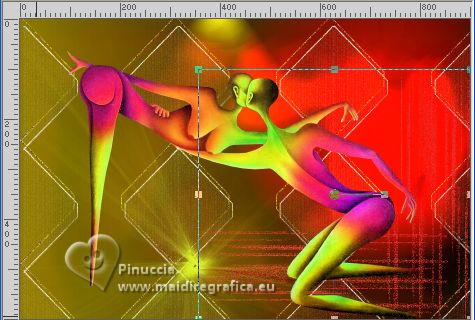
17. Layers>Merge>Merge All.
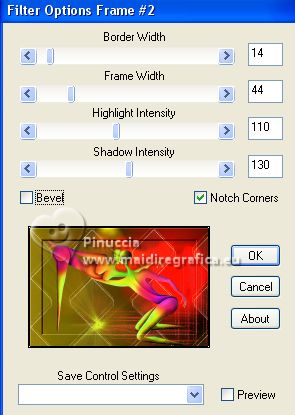
Effects>Plugins>Bordermania - Frame #2.
18. Adjust>One Step Photo Fix.
19. Activate your Script Tool
(if you don't see the Toolbar: View>Toolbars>Script)
Look for and select the script Bordes y redimensionar_aliciar
and click on the blue arrow to run the script.

Note: If you're having trouble with the script,
these are the steps that you can do manually.
Image>Add borders, 3 pixels, symmetric, color black #000000.
Image>Add borders, 30 pixels, symmetric, color white #ffffff.
Image>Add borders, 5 pixels, symmetric, color black #000000.
Image>Resize, 900 pixels width, resize all layers checked
20. Sign your work on a new layer.
Add the author and the translator's watermarks.
Layers>Merge>Merge All, and save as jpg.
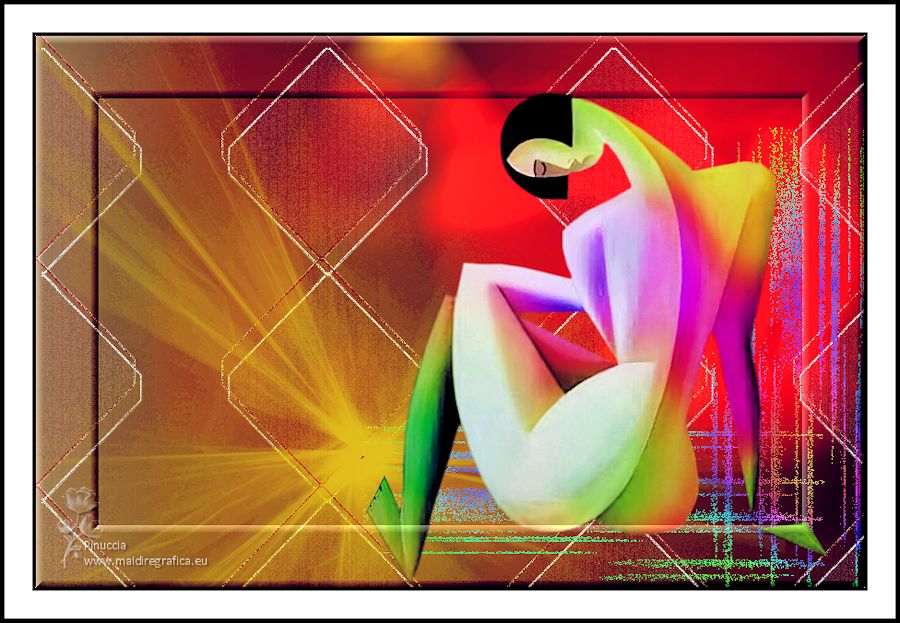
For the tube of this version thanks Luz Cristina.

If you have problems or doubts, or you find a not worked link, or only for tell me that you enjoyed this tutorial, write to me.
3 May 2023

|

