|
NADA ES PARA SIEMPRE
english version

Here you find the original of this tutorial:

This tutorial was written with CorelX19 and translated with CorelX17, but it can also be made using other versions of PSP.
Since version PSP X4, Image>Mirror was replaced with Image>Flip Horizontal,
and Image>Flip with Image>Flip Vertical, there are some variables.
In versions X5 and X6, the functions have been improved by making available the Objects menu.
In the latest version X7 command Image>Mirror and Image>Flip returned, but with new differences.
See my schedule here
italian translation here
your versions qui/here
For this tutorial, you will need:
A woman tube of yours
The rest of the material qui
For the tube not supplied thanks Azalée (Femme-1739-Azalee).
Plugins:
consult, if necessary, my filter section here
Filters Unlimited 2.0 here
Toadies - What are you, Weaver here
VM Natural - Plastic Starfish here
[AFS IMPORT] - sqborder2 here
Mura's Meister - Copies here
Filters AFS IMPORT, VM Natural and Toadies can be used alone or imported into Filters Unlimited.
(How do, you see here)
If a plugin supplied appears with this icon  it must necessarily be imported into Unlimited it must necessarily be imported into Unlimited

You can change Blend Modes according to your colors.
In the newest versions of PSP, you don't find the foreground/background gradient (Corel_06_029).
You can use the gradients of the older versions.
The Gradient of CorelX here
Copy the Selection in the Selections Folder.
1. Set your foreground color to #001156,
and your background color to #809dfb.
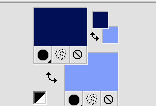
Set your foreground color to a Foreground/Background Gradient, style Radial.

2. Open a new transparent image 950 x 650 pixels.
Flood Fill  the transparent image with your Gradient. the transparent image with your Gradient.
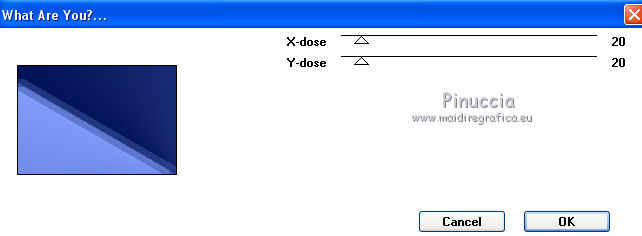
3. Effects>Plugins>Toadies - What are you, default settings.
4. Effects>Plugins>Toadies - Weaver, default settings.
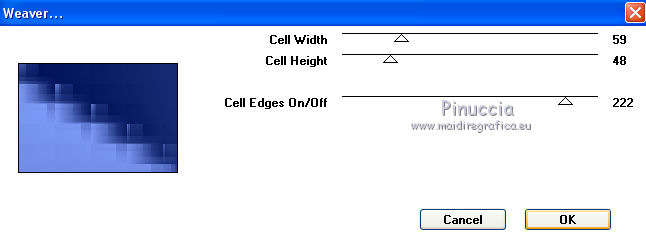
Effects>Edge Effects>Enhance More.
5. Again Effects>Plugins>Toadies - Weaver, default settings.
6. Effects>Geometric Effects>Skew.

7. Effects>Reflection Effects>Rotating Mirror.

8. Effects>Reflection Effects>Rotating Mirror.

9. Again Effects>Geometric Effects>Skew, same settings.
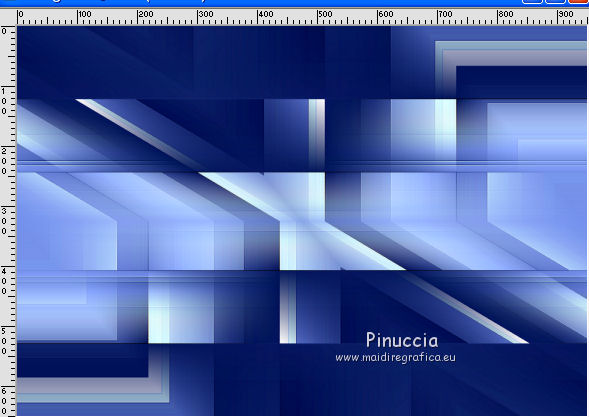
10. Selections>Load/Save Selection>Load Selection from Disk.
Look for and load the selection ©ŠYedralina_Sel402.

Selections>Promote selection to layer.
11. Adjust>Blur>Gaussian blur - radius 20.

Selections>Select None.
12. Effects>3D Effects>Drop shadow, color black.

13. Change the Blend Mode of this layer to Luminance (legacy).

14. Activate the bottom layer, Raster 1.
Layers>Duplicate.
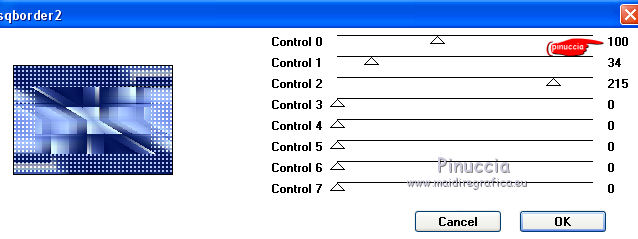
15. Effects>Plugins>[AFS IMPORT] - sqborder2.
16. Effects>Image Effects>Seamless Tiling.

17. Change the Blend Mode of this layer to Overlay.

18. Layers>New Raster Layer.
Selections>Select All.
19. Open the fractal (subflame-10-bd-5-12-13) and go to Edit>Copy.
Go back to your work and go to Edit>Paste as new layer.
Change the color, if it is necessary, with a color according to your image.
I used the Color Changer Tool, with my light background color

In the previous version of PSP this tool gets often bad results,
for my example, made with Corel X, I used:
Adjust>Hue and Saturation>Colorize.

20. Selections>Select None.
21. Effects>Edge Effects>Enhance More.
22. Optionel: Image>Miroir.
23. Change the Blend Mode of this layer to Luminance (legacy), or as you like better

24. Layers>New Raster Layer.
Flood Fill  the layer with your Gradient. the layer with your Gradient.
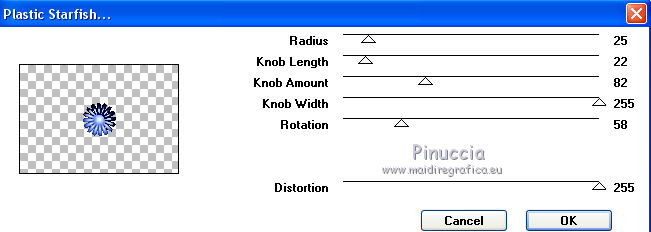
25. Effects>Plugins>VM Natural - Plastic Starfish.
26. Layers>Arrange>Bring to Top.
27. Image>Resize, to 30%, resize all layers not checked.
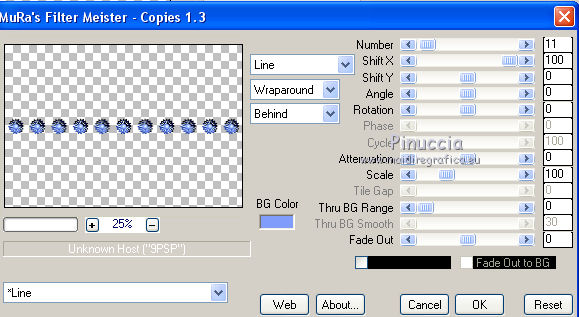
28. Effects>Plugins>Mura's Meister - Copies.
29. Effects>Reflection Effects>Rotating Mirror.

30. Effects>3D Effects>Drop shadow, color black.

31. Open the tube Deco00162©Yedralina and go to Edit>Copy.
Go back to your work and go to Edit>Paste as new layer.
32. Layers>Arrange>Move down.
33. Effects>3D Effects>Drop shadow, color black.

34. Effects>Image Effects>Seamless Tiling.

35. Change the Blend Mode of this layer to Luminance.

36. Activate the bottom layer, Raster 1.
Edit>Copy.
For caution: Edit>Paste as new image and minimize this image.
37. Go back to your work and stay on Raster 1.
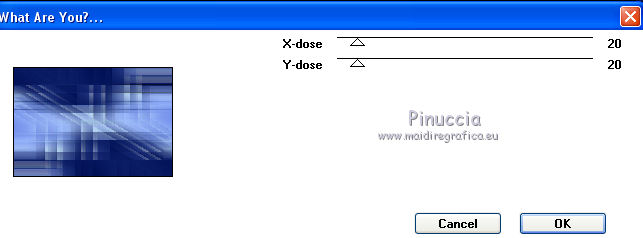
Effects>Plugins>Toadies - What are you, default settings.
38. Effects>Image Effects>Seamless Tiling, same settings.

39. Image>Add borders, 2 pixels, symmetric, light background color.
Image>Add borders, 2 pixels, symmetric, dark foreground color.
40. Selections>Select All.
41. Image>Add borders, 30 pixels, symmetric, whatever color.
Selections>Invert.
Edit>Paste into Selection (the image of step 36 is still in memory).
42. Adjust>Blur>Gaussian Blur - radius 50.

43. Selections>Invert.
Effects>3D Effects>Drop shadow, color black.

Selections>Select None.
44. Activate again the tube Deco00162©Yedralina and go to Edit>Copy.
Go back to your work and go to Edit>Paste as new layer.
45. Objects>Align>Left
If your PSP has not available the menu Objects, use the Move Tool 
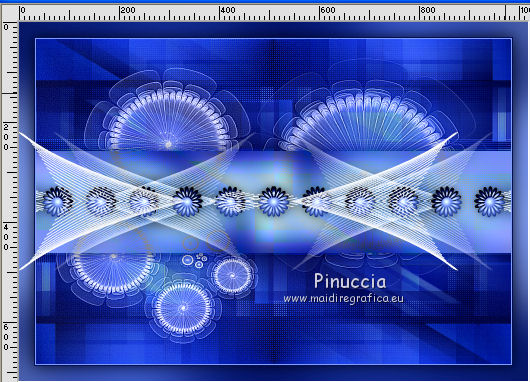
46. Effects>Reflection Effects>Rotating Mirror.

47. Effects>3D Effects>Drop shadow, color black.

48. Change the Blend Mode of this layer to Luminance (legacy).

49. Open your main tube and go to Edit>Copy.
Go back to your work and go to Edit>Paste as new layer.
Place  the tube in the middle, see my example. the tube in the middle, see my example.
Effects>3D Effects>Drop Shadow, at your choice.
50. Sign your work on a new layer.
51. Image>Add borders, 1 pixel, symmetric, dark color.
52. Image>Resize, 950 pixels width, resize all layers checked.
Save as jpg.
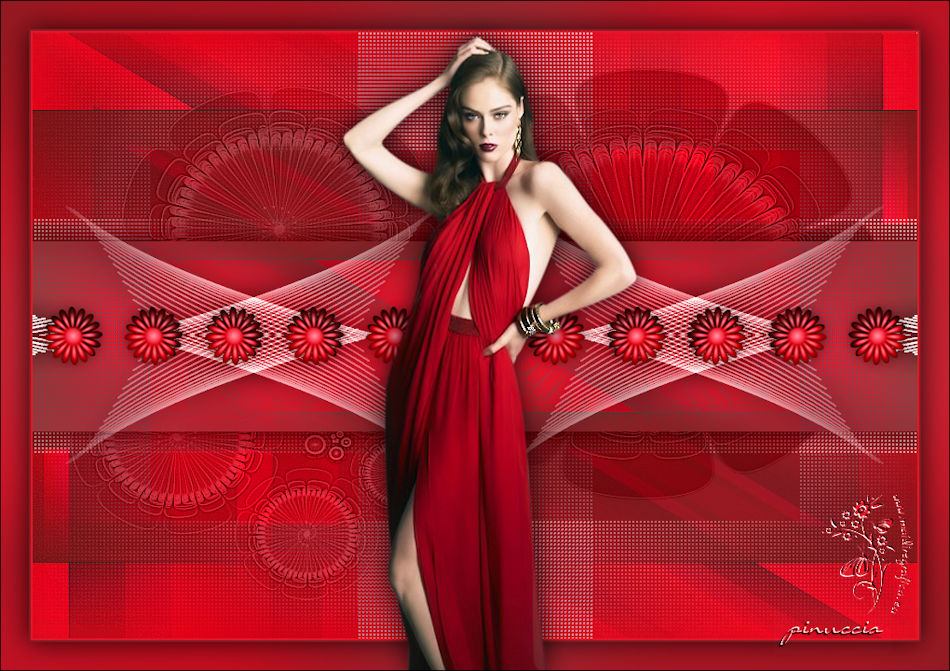
The tube of this version is by Beatriz

If you have problems or doubts, or you find a not worked link, or only for tell me that you enjoyed this tutorial, write to me.
31 July 2017
|

