Thanks Talanat for your permission to translate your tutorials

This tutorial was created using PSP X5 but it may be esecuted using other versions of PSP.
In PSP X4 and X5, there are some variables.
An important difference concerne the options Image>Miroir and Image>Flip.
See my schedule here
I translated this tutorial using PSP X and PSP X2.
I created also a french version here
The original italian here
Your versions here
For this tutorial, you will need:
Material here
All the material is by TalaNat.
Filtres:
Alien Skin Eye Candy 5 Impact qui
Frischluft - Mosaic Plan qui
L&K's Elvida qui
Filters Unlimited 2.0 qui
Photo Aging Kit qui
AP Lines - Lines SilverLining qui
FM Tile Tools - Blend Emboss qui
Your original versions here Thank you very much to all.
if you don't want hear the music press ESC

Copy the selections in the Selections folder.
Open the masks in PSP and minimize with the rest of the material.
1. Set the Foreground color on #d6dcec,
and the Background color on #22202e.

Set the foreground color on Gradient, style Sunburst.

Open a new transparent image 900 x 600 pixels.
Flood Fill  with the gradient.
2. Layers>New Raster Layer - raster 2.
Again set the foreground color to Color.
open the menu of colors e select Color
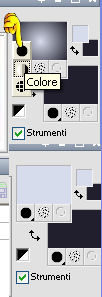
Flood Fill  the layer with the foreground color.
Layers>New Mask layer>From image
Open the menu under the source window and you'll see all the files open.
Select the mask Talanat_mask_04012014:

Layers>Merge>Merge group.
Set the blend mode to Luminance.
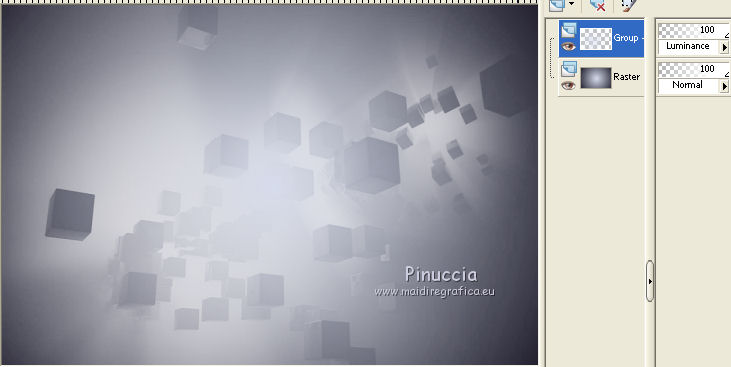
Adjust>Sharpness>Sharpen more.
3. Layers>Duplicate.
Image>Mirror.
Image>Flip.
Set the opacity of this layer to 50%.
Layers>Merge>Merge Down.
4. Layers>New Raster Layer - Raster 2.
Flood Fill  with the dark background color.
Layers>New Mask layer>From image
Open the menu under the source window
and select the mask mask edith40:

Layers>Merge>Merge group.
5. Effects>Plugins>Frischluft - Mosaic Plan.
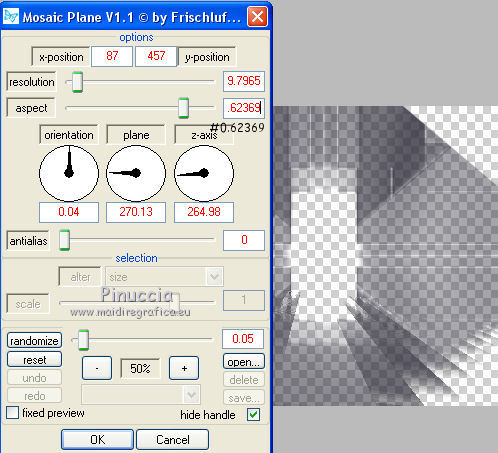
You should have this.
If you're using an earlier version of the filter, you may have a different result.
In this case, use the filter provided before starting the tutorial
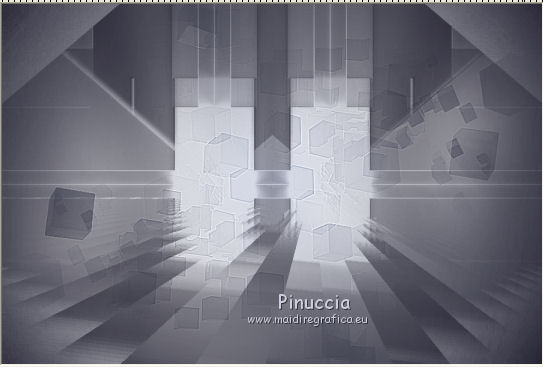
Set the blend mode to Hard light.
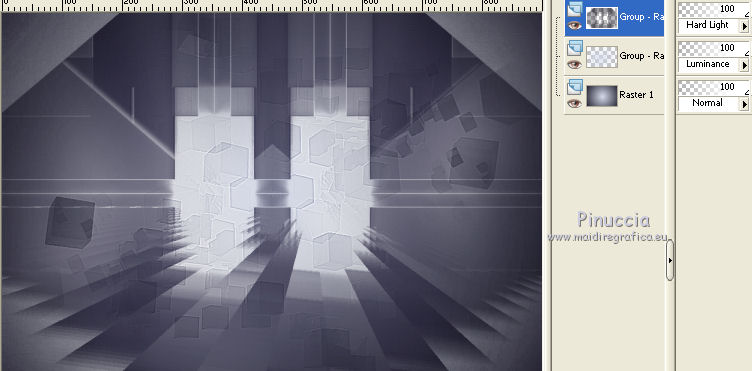
Layers>Merge>Merge visible.
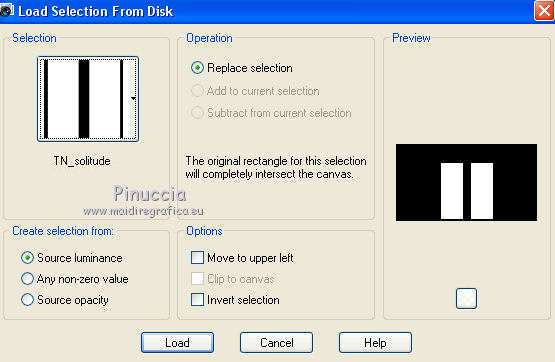
6. Selections>Load/Save selection>Load Selection from disk.
Look for and load the selection TN_solitude.
Layers>New Raster Layer - Raster 1.
Againt set the foreground color on Gradient.

Flood Fill  the layer with the gradient.
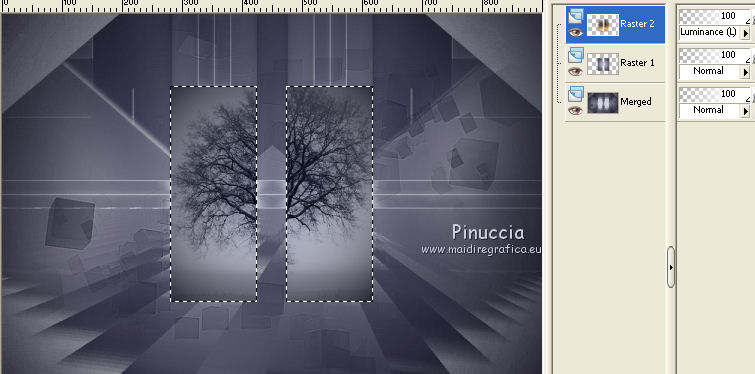
7. Activate the landscape tube, and go to Edit>Copy.
Back to your tag and go to Edit>Paste as new layer.
Image>Resize - 70%, resize all layers not checked.

Selections>Invert.
Clic CANC on the keyboard 
Again Selections>Invert.
Set the blend mode to Luminance (legacy).
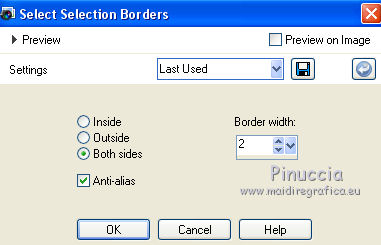
8. Selections>Modify>Select Selection Borders.
9. Layers>New Raster Layer - Raster 3.
Flood Fill  with dark background color.
Selections>Select None.
Effects>3D Effects>Drop Shadow, color white.
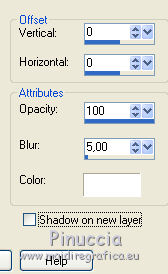
Layers>Duplicate.
Set the blend mode to Hard Light, opacity 70%.
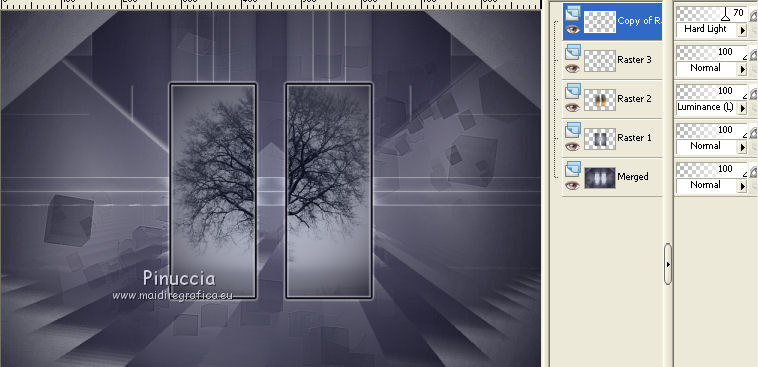
Close the bottom layer.
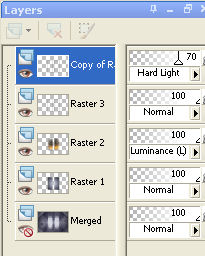
Layers>Merge>Merge visible.
10. Open again the bottom layer,
and remain on the top layer.
Effects>3D Effects>Drop Shadow, color white.
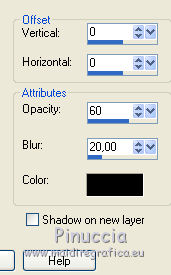
11. Edit>Paste as new layer.
(the paysage is still in memory).
Image>Resize - 70%, resize all layers not checked.

12. Selections>Load/Save selection>Load Selection from disk.
Look for and load the selection TN_solitude1.
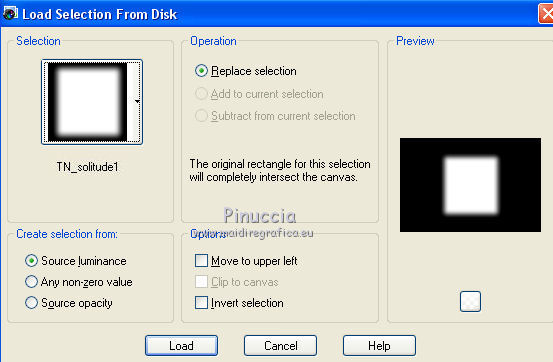
Selections>Invert.
Clic CANC on the keyboard 
Selections>Select None.
Layers>Arrange>Move Down.
Set the blend mode to Luminance (legacy).
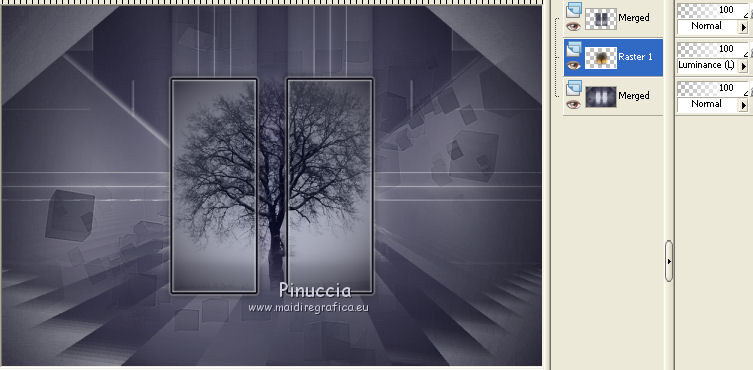
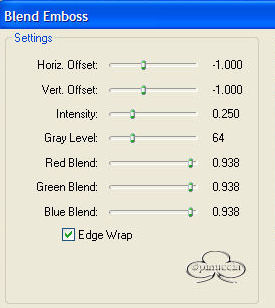
13. Effects>Plugins>FM Tile Tools - Blend Emboss, standard.
Adjust>Sharpness>Sharpen.
14. Activate the bottom layer (merged).
Selections>Load/Save selection>Load Selection from disk.
Look for and load the selection TN_solitude2.
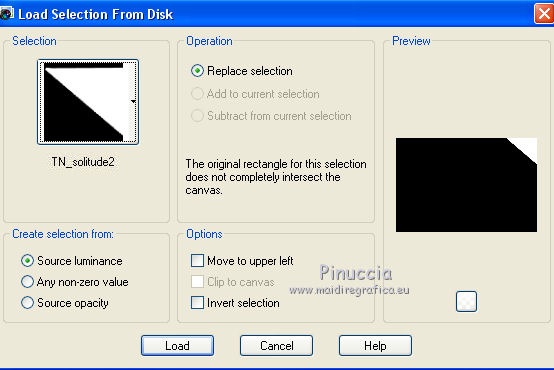
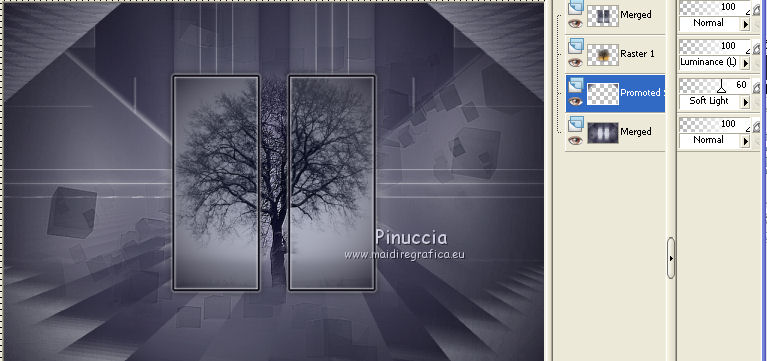
Selections>Promote selection to layer.
Selections>Select None.
15. Effects>Plugins>L&K's - L&K Elvida.
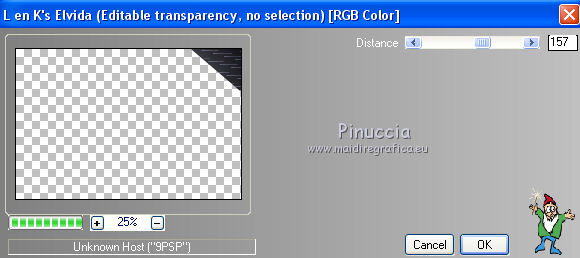
Adjust>Sharpness>Sharpen.
Layers>Duplicate.
Image>Mirror.
Layers>Merge>Merge Down.
Set the blend mode to Soft Light, opacity 60%.
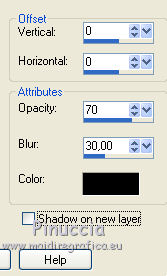
16. Effects>3D Effects>Drop Shadow, color black.
17. Activate the Tool Pen 
Line style Solid, width 3,

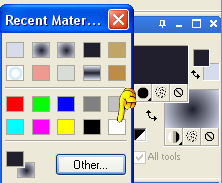
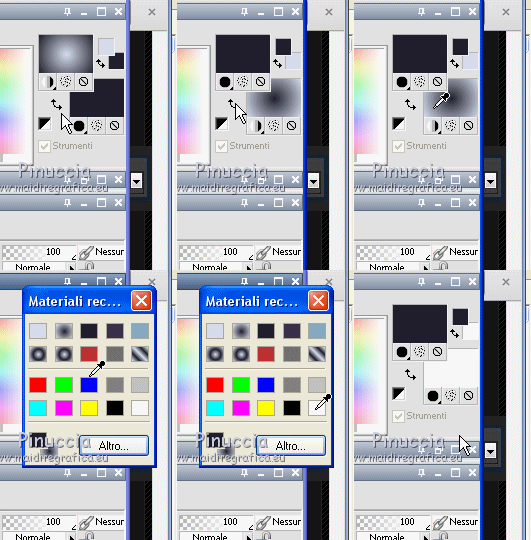
Swap materials to set the dark color to foreground color.

Clic with the right touch of the mouse on the background color palette,
et select the white color (it is always the last color in the table).

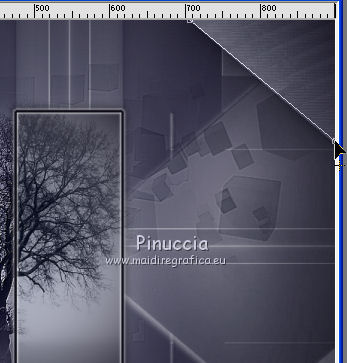
Draw a line along the bottom edge of the triangle.
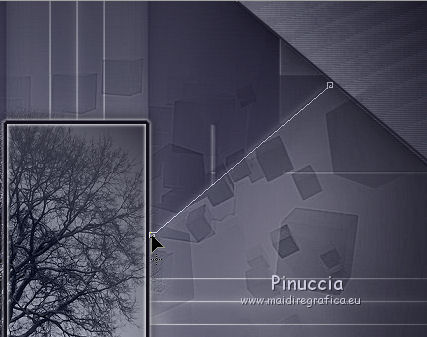
In the same way, draw a line from the triangle to the picture.
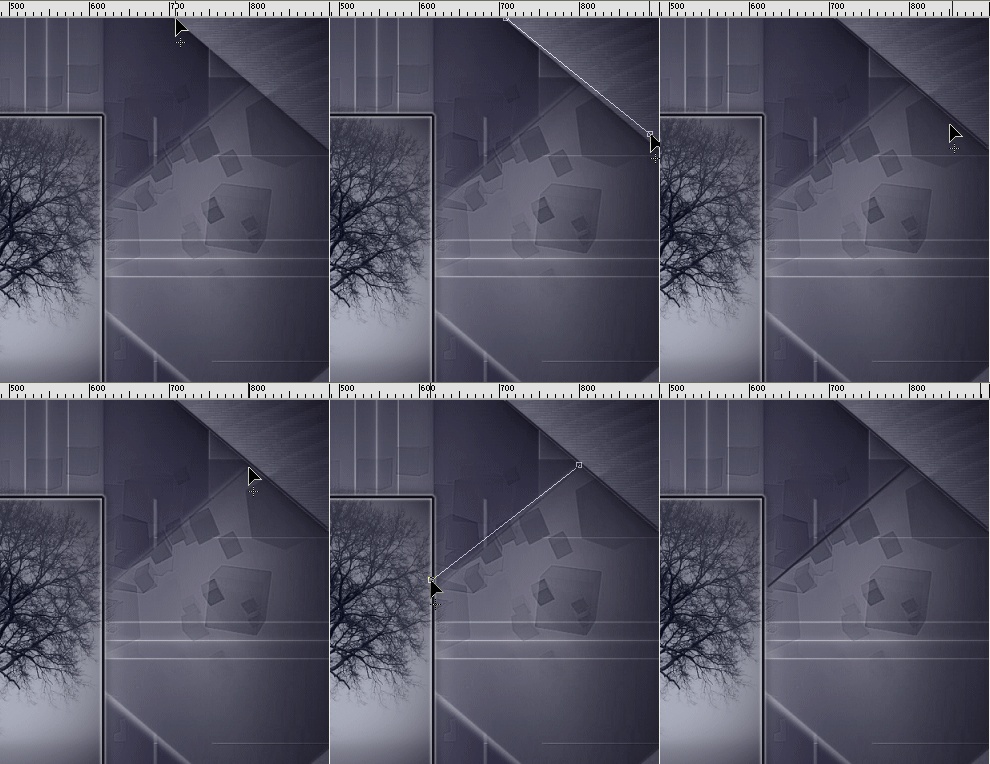
Layers>Convert to Raster Layer.
18. Effects>3D Effects>Drop Shadow, color white.

Layers>Duplicate.
Set the blend mode to Hard Light, opacity 70%.
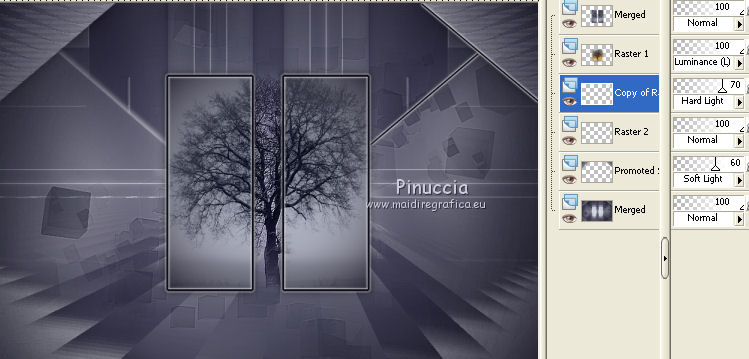
Layer>Merge>Merge Down.
Layers>Duplicate.
Image>Mirror.
Layers>Merge>Merge Down.
19. Activate the bottom layer (Merged).
Selections>Load/Save selection>Load Selection from disk.
Look for and load the selection TN_solitude3.
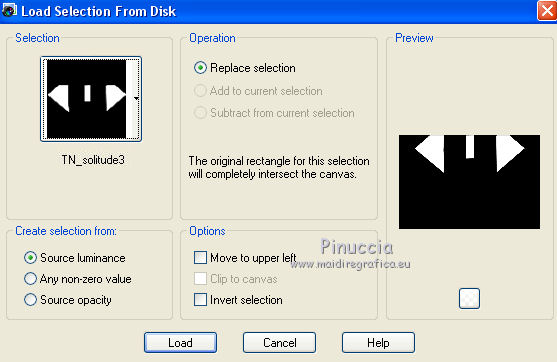
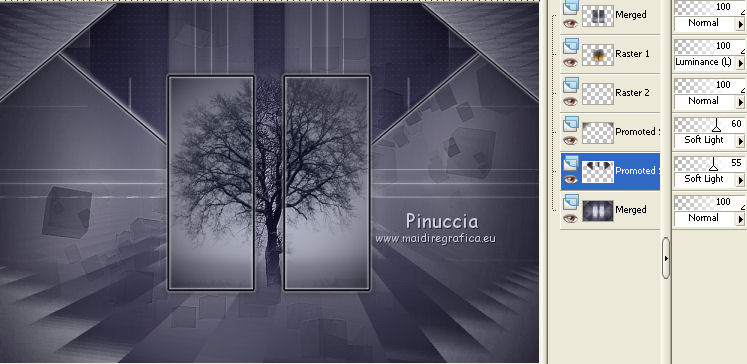
Selections>Promote selection to layer.
20. Effects>Plugins>AP Lines - Lines SilverLining.

Selections>Select None.
Set the blend mode to Soft Light, opacity 55%.
21. Activate the top layer.
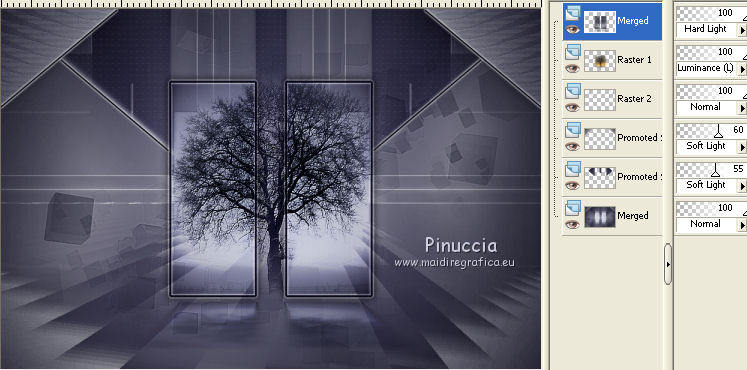
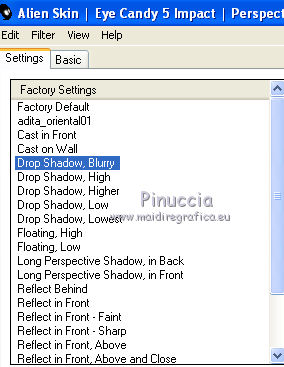
Effects>Plugins>Alien Skin Eye Candy 5 Impact - Perspective Shadow.
Seleziona il preset TalaNat_solitude e ok.
in case of problems, you can copy the settages you see in the screen

Set the blend mode to Hard Light.
22. Activate the tube TN_dekor_solitude and go to Edit>Copy.
Back to your tag and go to Edit>Paste as new layer.
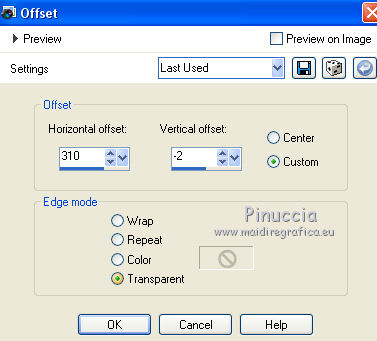
Effets>Image Effects>Offset.
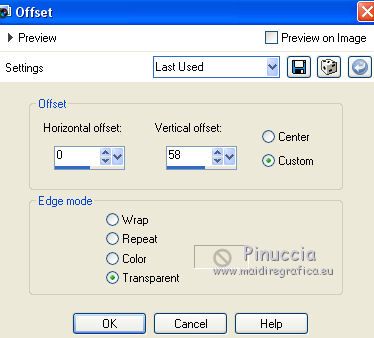
Set the blend mode to Overlay and Opacity to 40%.
Adjust>Sharpness>Sharpen.
Layers>Arrange>Move down - 2 times.
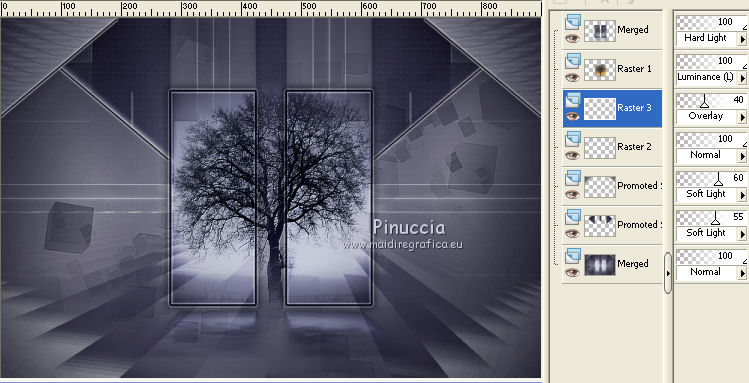
23. Activate the top layer.
Activate the tube TN_dekor_solitude 1 and go to Edit>Copy.
Back to your tag and go to Edit>Paste as new layer.
Effets>Image Effects>Offset.
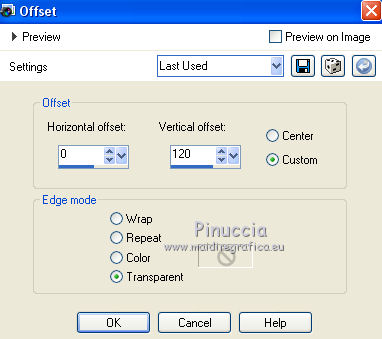
Set the blend mode to Luminance (legacy).
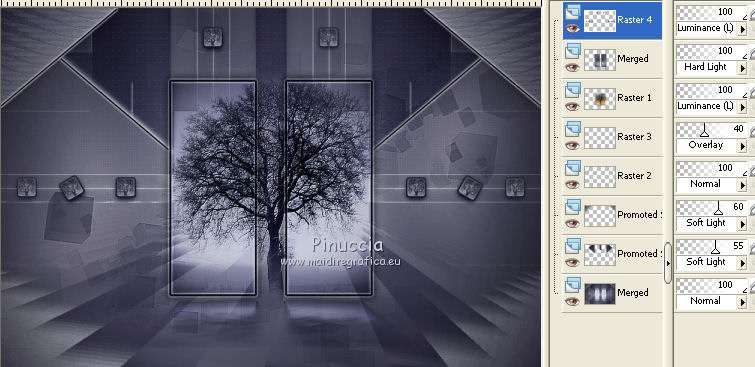
24. Layers>Merge>Merge All.
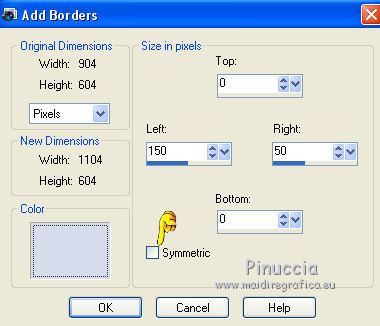
Image>Add borders - 2 pixels, symmetric, with the dark background color.
Image>Add borders - symmetric not checked, with the light foreground color.
25. Activate the Tool Magic Wand 

clic on the borders to select.
Set the initial foreground and background color,
and set the foreground color to Gradient.

Flood Fill  the selections with the gradient.
26. Selections>Promote selection to Layer.
Effects>Plugins>Filters Unlimited 2.0 - Photo Aging Kit - Cracked paper.

Effects>Effects de bords>Enhance.
Set opacity of this layer to 60%.
27. Selections>Invert.
Effects>3D Effects>Drop Shadow, color black.

Selections>Select None.
Layers>Merge>Merge Down.
28. Activate the text TN_Text_solitude and go to Edit>Copy.
Back to your tag and go to Edit>Paste as new layer.
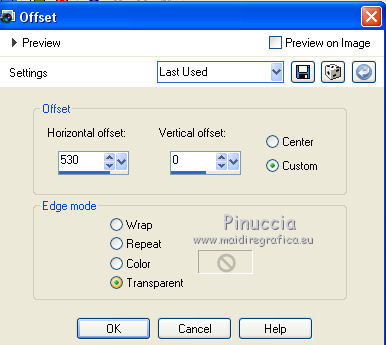
Effets>Image Effects>Offset.
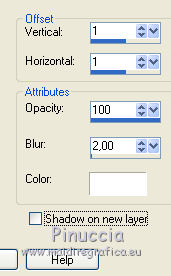
29. Effects>3D Effects>Drop Shadow, color white.
30. Activate the text TN_Text_soletude 1 and go to Edit>Copy.
Back to your tag and go to Edit>Paste as new layer.
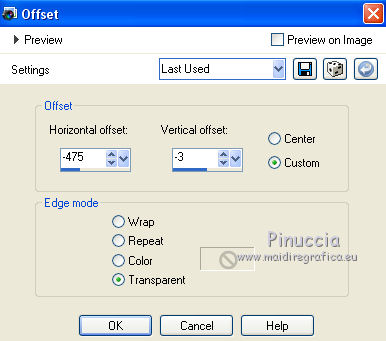
Effets>Image Effects>Offset.
Set the blend mode to Soft Light, and opacity to 60%.
31. Adjust>Sharpness>Sharpen.
Layers>Merge>Merge All.
32. Activate the tube TalaNat_Ledi 251-03012014 and go to Edit>Copy.
Back to your tag and go to Edit>Paste as new layer.
Image>Resize - 65%, resize all layers not checked.
Image>Mirror.
Effets>Image Effects>Offset.
Adjust>Sharpness>Sharpen more.
33. Effects>Plugins>Alien Skin Eye Candy 5 Impact - Perspective Shadow.
Select the preset Drop Shadow Blurry and ok.
Sign your work.
34. Image>Add borders - 2 pixels, symmetric, background color.
Image>Add borders - 2 pixels, symmetric, foreground color.
Image>Add borders - 2 pixels, symmetric, background color.
35. Image>Resize - 900 pixels width, resize all layers checked.
Adjust>Sharpness>Sharpen.
Save as jpg.
The tubes used for these versions are by
Mtfp
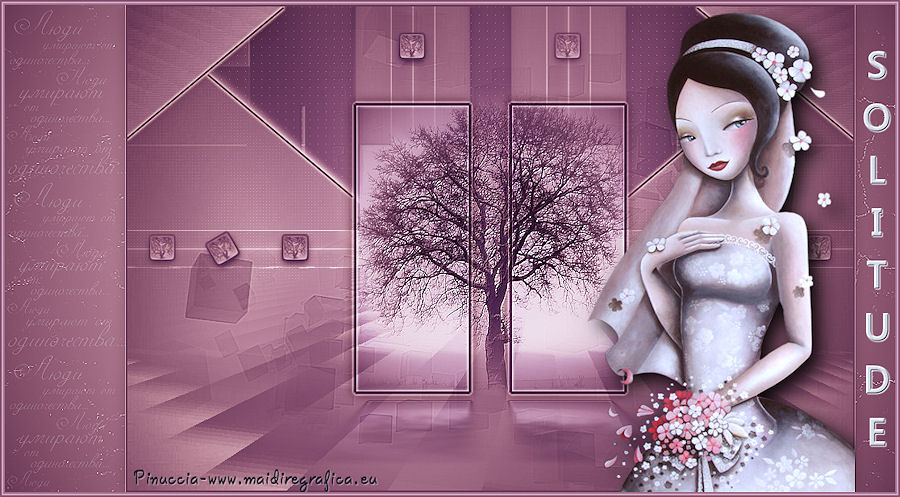
Azalee
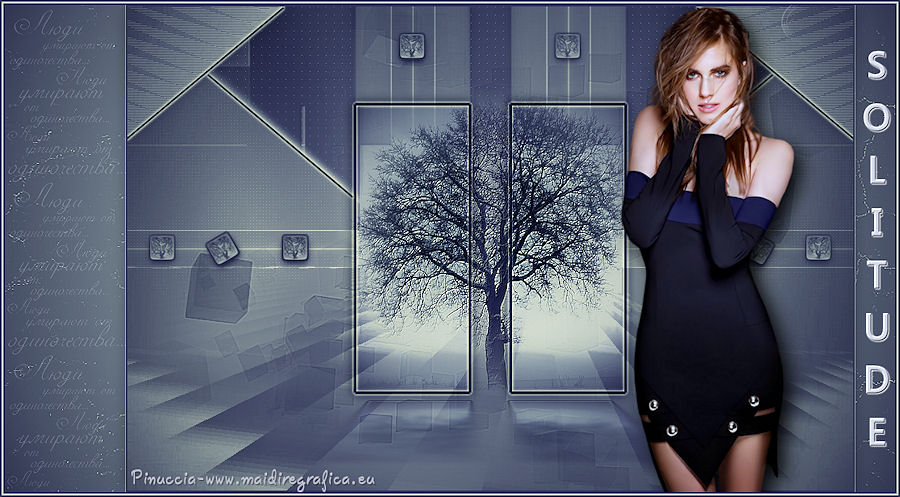
Kris
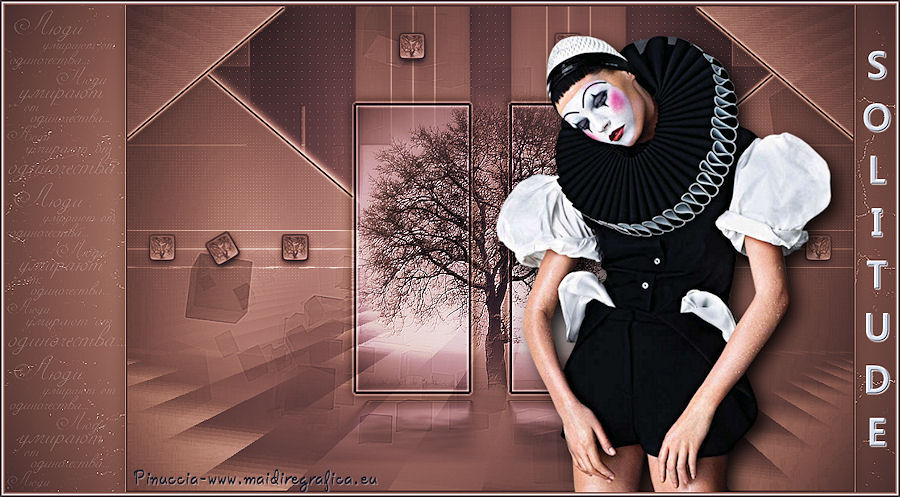
Gabry
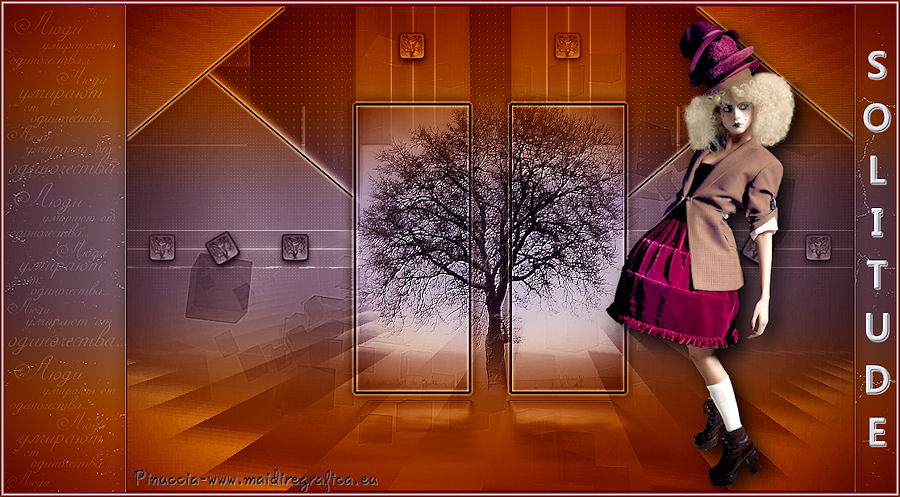

If you have problems or doubt, or you find a not worked link, or only for tell me that you enjoyed this tutorial, write to me.
12 January 2014


