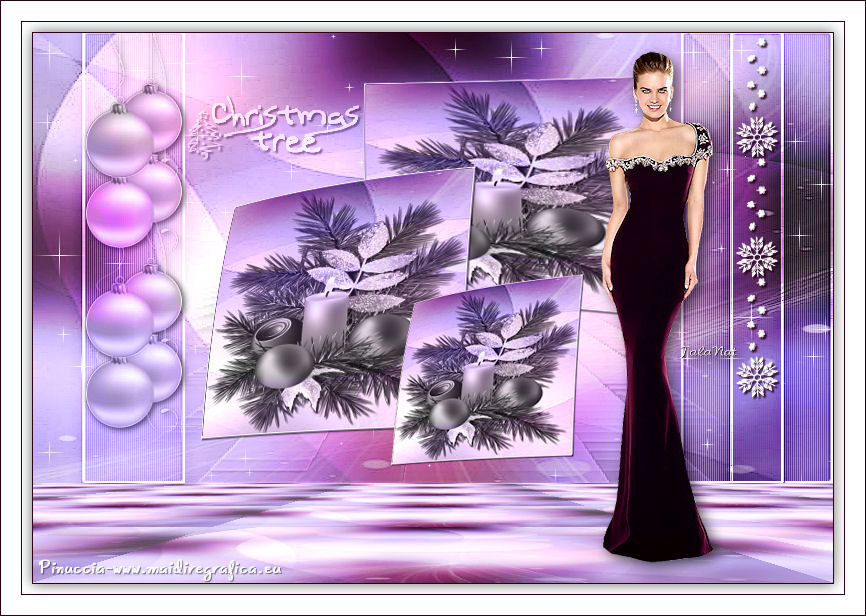
|

CHRISTMAS TREE
english version

<
This tutorial is a creation ©Talanat and cannot be copied on other sites nor be offered for download.
The same applies to my translation.
This tutorial was created using PSP X6 but it can also be made using other versions of PSP.
Since version PSP X4, Image>Mirror was replaced with Image>Flip Horizontal,
and Image>Flip with Image>Flip Vertical, there are some variables.
In versions X5 and X6, the functions have been improved by making available the Objects menu.
In the latest version X7 command Image>Mirror and Image>Flip returned, but with new differences.
See my schedule here
To translate this tutorial I used PSP X et PSP X2.
Italian version here
French version here
Your versions here
For this tutorial, you will need:
Material here
All the material is by TalaNat.
Filtres:
consult, if necessary, my filter section here
Mura's Meister - Perspective Tiling here
VM Natural - Sparkle here
Filters Unlimited 2.0 qui
Graphics Plus - Cross Shadow here
Filters Graphics Plus et VM Natural can be used alone or imported in Filters Unlimited.
How do you see here)
If a filter is provided with this icon  it must necessarily be imported in Filters Unlimited it must necessarily be imported in Filters Unlimited

Copy the masks in the Masks folder.
1. Set the Foreground color to #2e0018,
and the Background color to #0c000c.
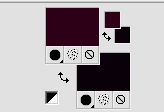
Set the foreground color on Gradient foreground/background, style Sunburst.
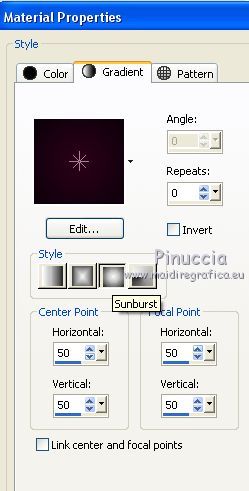
Open a new transparent image 800 x 450 pixels.
Flood Fill  with the gradient. with the gradient.
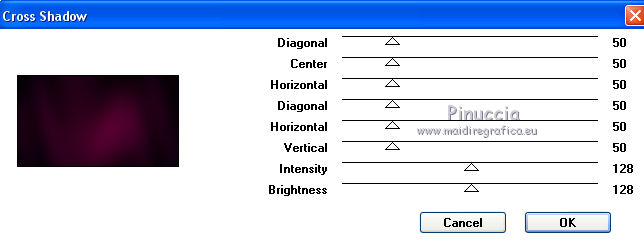
Effects>Plugins>Graphics Plus - Cross Shadow, standard settings.
3. Layers>New Raster Layer.
Selection>Select All.
Open the tube TN-misted2011204 and go to Edit>Copy.
Go back to your work and go to Edit>Paste into selection.
Selections>Select None.
4. Effects>Image Effects>Seamless Tiling, standard.

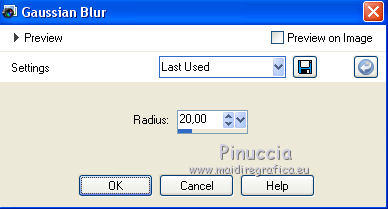
Adjust>Blur>Gaussian Blur - radius 20.
Set the opacity of this layer to 80%.
Layers>New Raster Layer.
Set the Background color with the color white #ffffff.
Flood Fill  the layer with Background color #ffffff. the layer with Background color #ffffff.
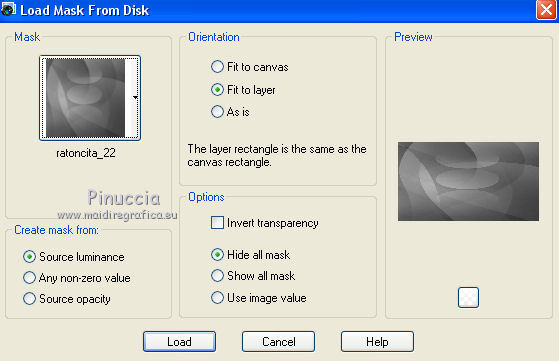
Layers>Load/Save Mask>Load Mask from Disk.
Load mask ratoncita 22.
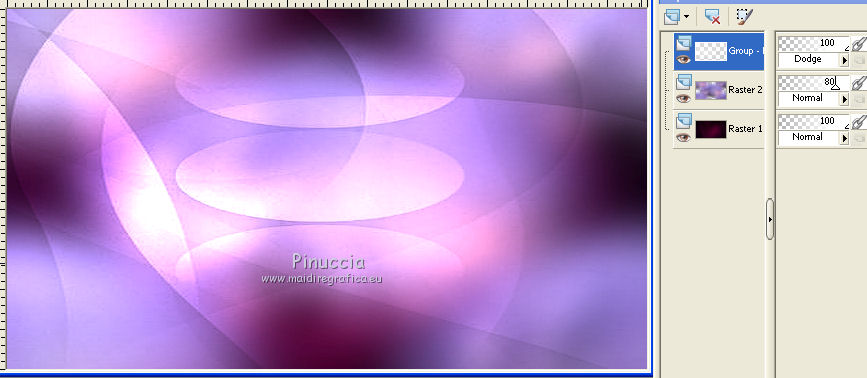
Layers>Merge>Merge Group.
Effects>Edge Effects>Enhance.
Set the Blend Mode to Dodge, opacity 100.
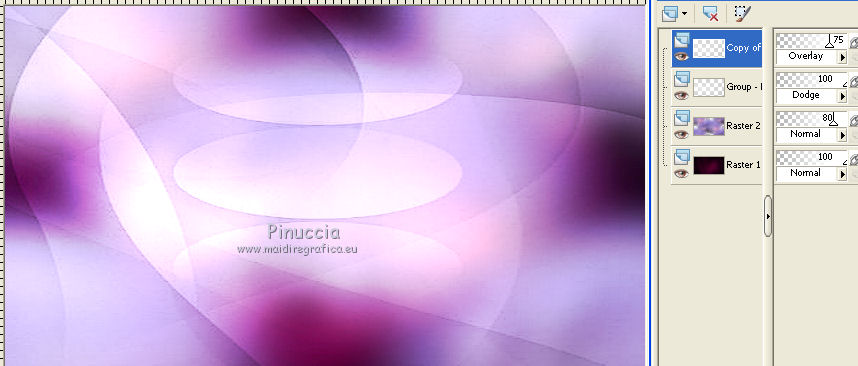
Layers>Duplicate.
Set the Blend Mode to Overlay, opacity 75%.
6. Layers>New Raster Layer.
Flood Fill  the layer with Background color #ffffff. the layer with Background color #ffffff.
Layers>Load/Save Mask>Load Mask from Disk.
Load mask ratoncita 23.
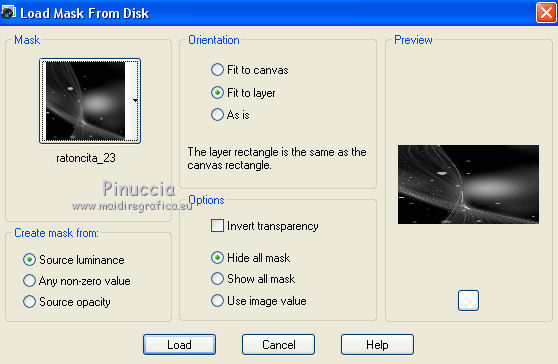
Layers>Merge>Merge Group.
Effects>Edge Effects>Enhance.
Image>Mirror.
Set the Blend Mode to Screen, opacity 75%.
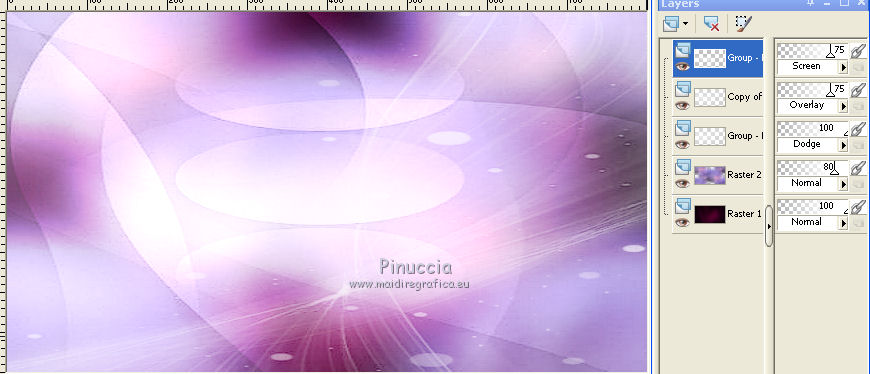
7. Layers>Merge>Merge visible.
Window>Duplicate, or keyboard shift+D to make a copy.
Minimize this copy that you will use later.
8. Go back to your work.
Layers>New Raster Layer.
Selection Tool 
(no matter the type of selection, because with custom selection you always get a rectangle)
click on the Custom selection 
and set the following settings.
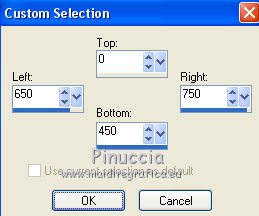
Set the Foreground Color again to Color.
Set opacity of Flood Fill Tool to 50.
Flood Fill  the selection with Foreground color #2e0018. the selection with Foreground color #2e0018.
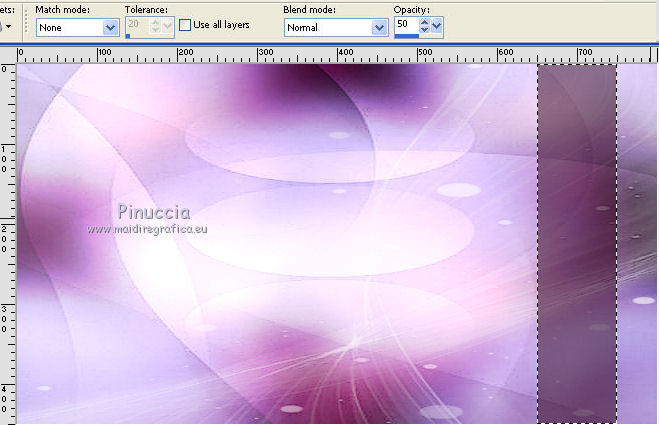
Effects>Texture Effects>Blinds, color white.
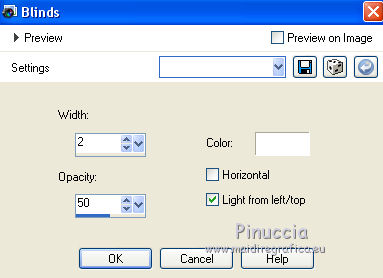
Effects>Edge Effects>Enhance.
Set the Blend Mode to Overlay, opacity 40%.
9. Selections>Modify>Select Selection Borders.
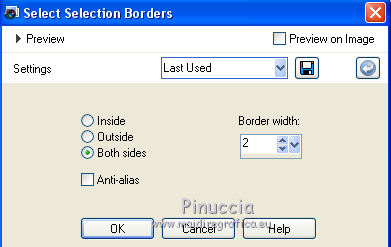
Layers>New Raster Layer.
Set again the opacity of Flood Fill Tool to 100.
Flood Fill  the layer with the white color. the layer with the white color.
Effects>3D Effects>Inner bevel.
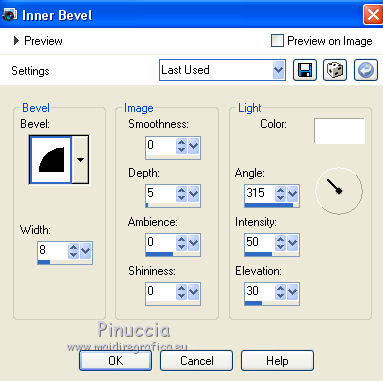
Selections>Select None.
Calques>Merge>Merge down.
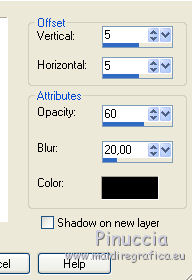
10. Effects>3D Effects>Drop Shadow, color black.

Layers>Duplicate.
Image>Mirror.
Again Layers>Duplicate.
Layers>Arrange>Move down.
Effects>Image Effects>Offset.
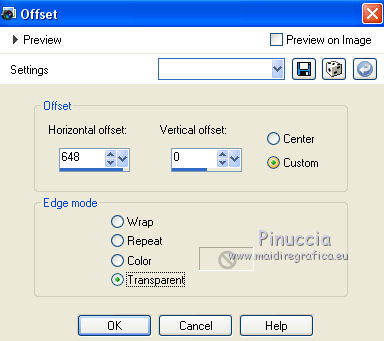
You should have this.
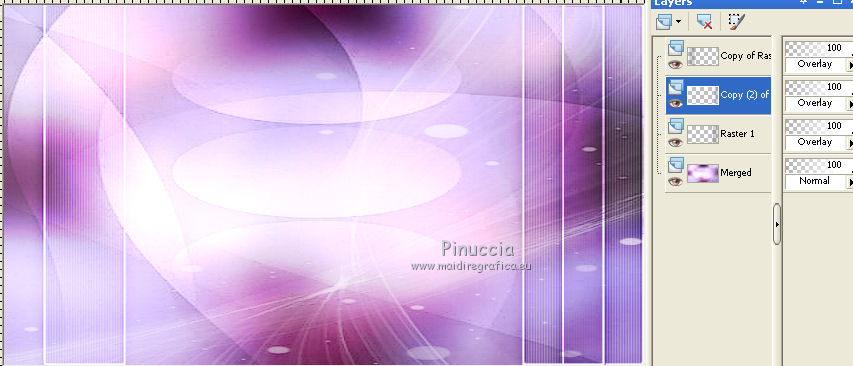
11. Activate the bottom layer - Merged.
Custom selection 
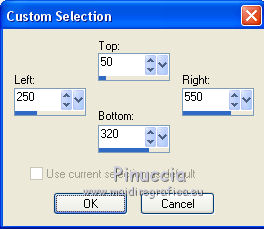
Selections>Promote selection to layer.
Layers>New Raster Layer.
Flood Fill  with the white color. with the white color.
Selections>Modify>Contract 2 pixels.
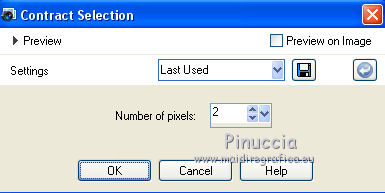
Clic CANC on the keyboard 
12. Layers>New Raster Layer.
Open the tube "Christmas tree" and go to Edit>Copy.
Back to your work and Edit>Paste in the selection.
Layers>Arrange>Mode Down.
Set the Blend Mode to Luminance (Legacy).
Selections>Selection None.
13. Effects>3D Effects>Drop Shadow, color black #000000.
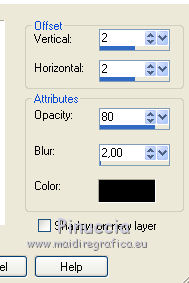
14. Activate the up layer of little bord.
Effects>3D Effects>Inner bevel, same settings.

Layers>Merge>Merge Down - 2 times.
Effects>3D Effects>Drop Shadow, foreground color #2e0018.
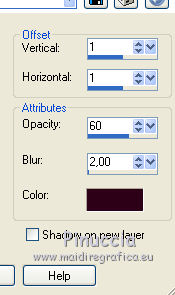
Adjust>Sharpness>Sharpen.
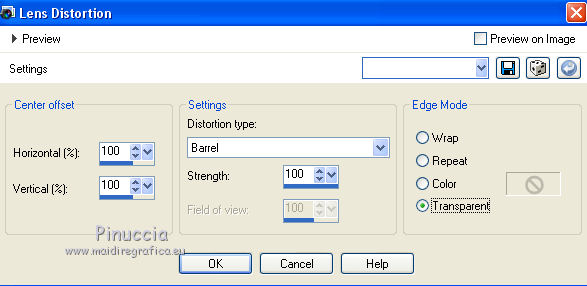
15. Layers>Duplicate.
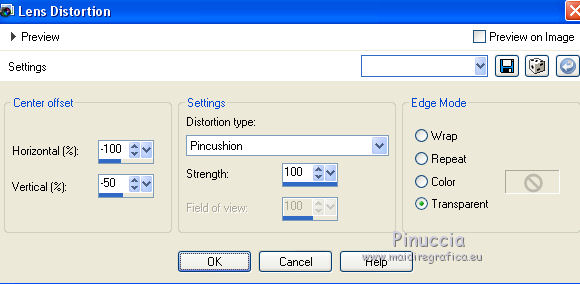
Effects>Distortion Effects>Lens Distortion.
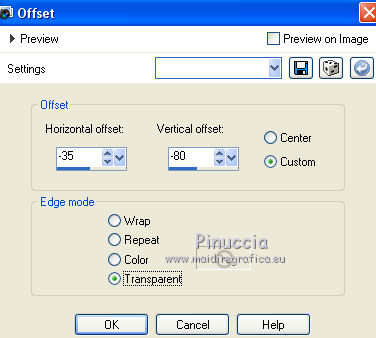
Effects>Image Effects>Offset.
16. Activate the below layer of the original.
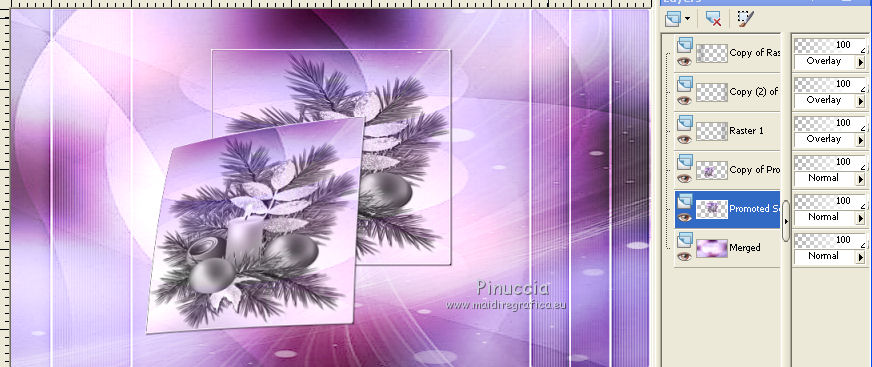
Effects>Distortion Effects>Lens Distortion.
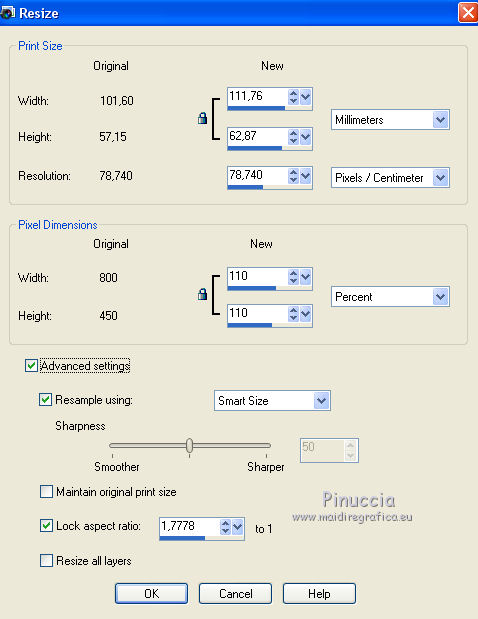
Image>Resize, 110%, resize all layers not checked.
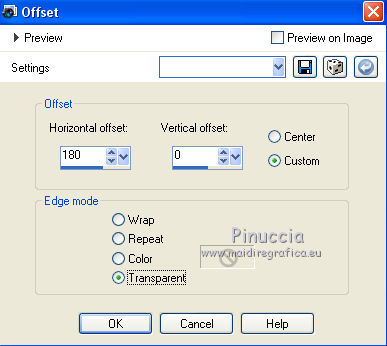
Effects>Image Effects>Offset.
17. Again activate the level above of the copy.
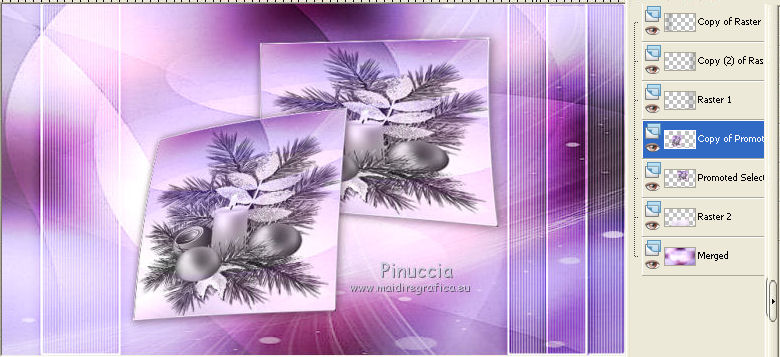
Layers>Duplicate.
Image>Resize, 70%, resize all layers not checked.
Effects>Image Effects>Offset.
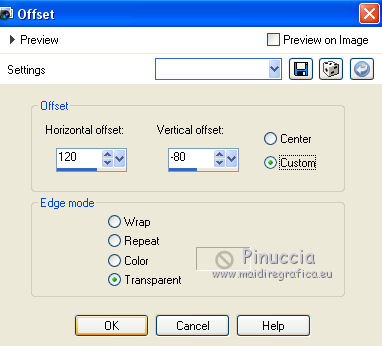
18. Activate the bottom layer - Merged.
Open the tube TN-dekor 3 - Edit>Copy.
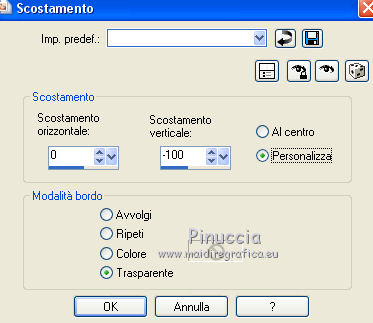
Back to your work and go to Edit>Paste as new layer.
Effects>Image Effects>Offset.
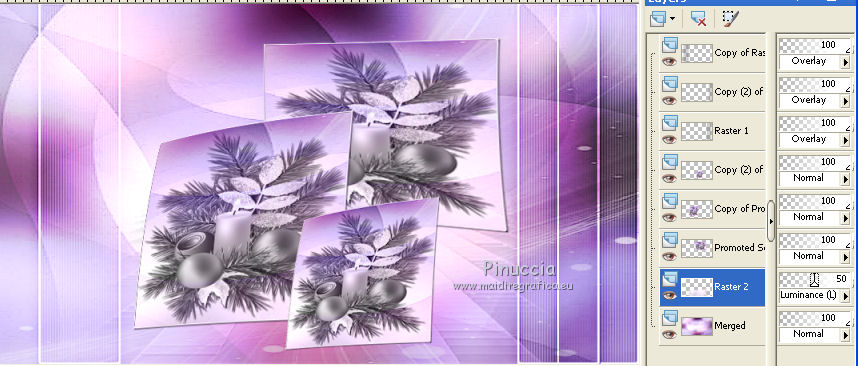
I set Blend Mode to Luminance (Legacy) and opacity to 50.
If you want, you can change opacity and mode to Overlay or other.
Adjust>Sharpness>Sharpen.
19. Activate the top layer.
Open the tube TN-dekor1 - Edit>Copy.
Back to your work and go to Edit>Paste as new layer.
Effects>Image Effects>Offset.
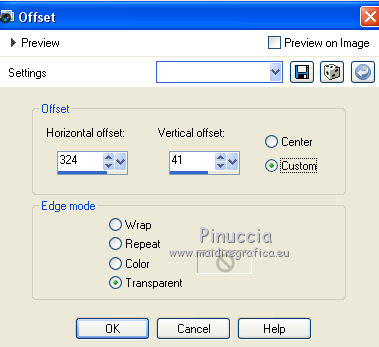
Effects>3D Effects>Drop Shadow, foreground color #2e0018.
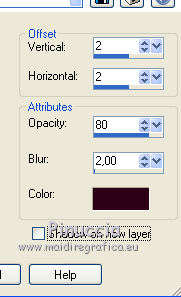
Open the tube TN-dekor 1-3, - Edit>Copy.
Back to your work and go to Edit>Paste as new layer.
Effects>Image Effects>Offset.
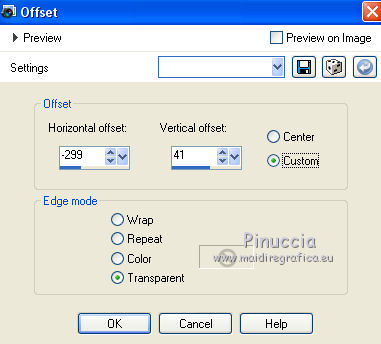
Set the Blend Mode to Luminance (Legacy).
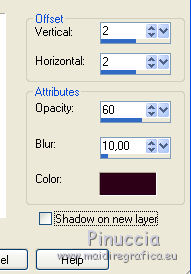
Effects>3D Effects>Drop Shadow, foreground color #2e0018.
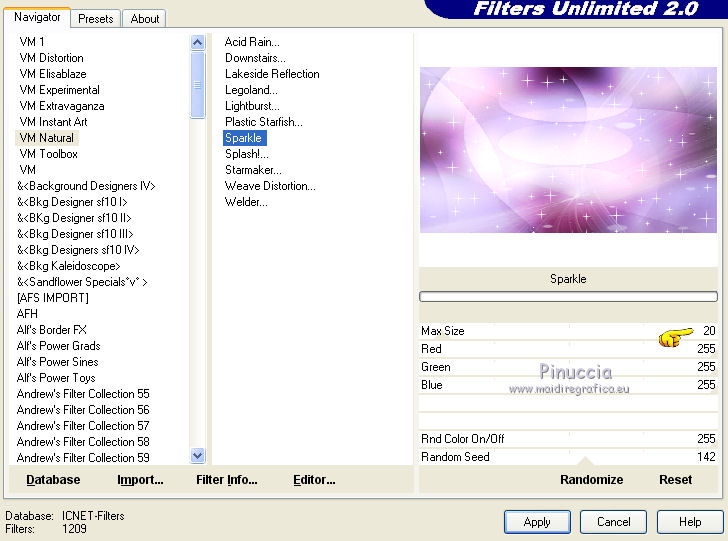
21. Activate the bottom layer - Merged.
Effects>Plugins>Filters Unlimited 2.0 - VM Natural - Sparkle.
22. Layers>Merge>Layers visibles.
Image>Canvas size - 800 x 550 pixels.
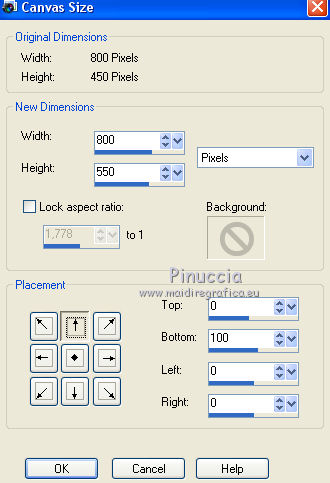
23. Activate the Tool Magic Wand 
clic on the transparent space to select.
Layers>New Raster Layer.
Activate the image duplicated at point 7.
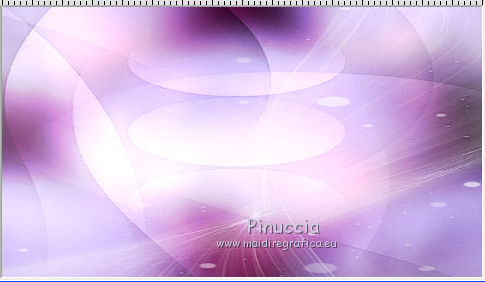
Edit>Copy.
Back to your work and go to Edit>Paste into Selection.
24. Effects>Plugins>Mura's Meister - Perspective Tiling, standard settings.
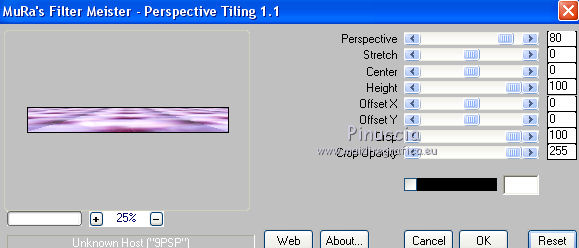
Selections>Select None.
Activate again the background layer - Merged.
Calques>Duplicate.
Set the Blend Mode to Multiply, opacity 50%.
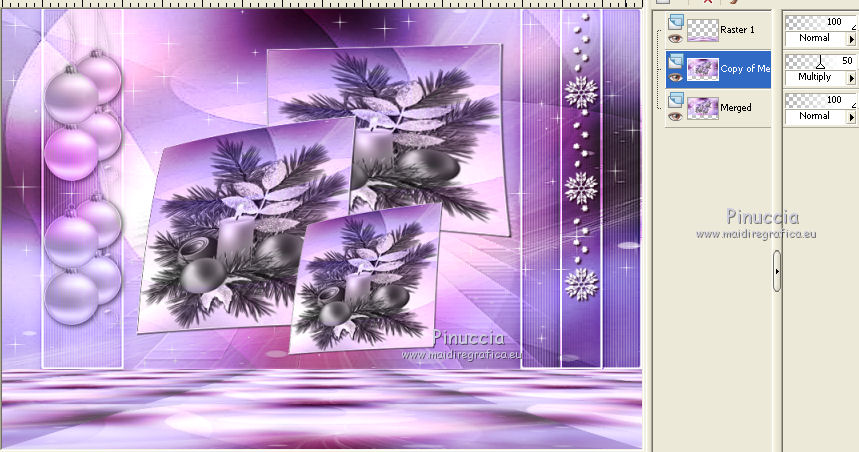
25. Activate the top layer.
Open the tube TN-ledi 20112014 and go to Edit>Copy.
Go back to your work and go to Edit>Paste as new layer.
Image>Resize, à 65%, resize all layers not checked.
Adjust>Sharpness>Sharpen.
26. Effects>3D Effects>Drop Shadow, color black #000000.
27. Open the tube Text, and go to Edit>Copy.
Go back to your work and go to Edit>Paste as new layer.
Move  the text where you want. the text where you want.
For my exemple, I set Blend mode to Luminance (Legacy), opacity 85%.
28. Image>Add borders - 1 pixel, symmetric, foreground color.
Selections>Select All.
Image>Add borders - 10 pixels, symmetric, color white.
Effects>3D Effects>Drop Shadow, color black #000000.

Selections>Select None.
Image>Add borders - 1 pixel, symmetric, foreground color.
Image>Add borders - 20 pixels, symmetric, color white.
Image>Add borders - 1 pixel, symmetric, foreground color.
29. Sign your work on a new layer.
Layers>Merge>All.
Adjust>Sharpness>Sharpen.
Save as jpg.
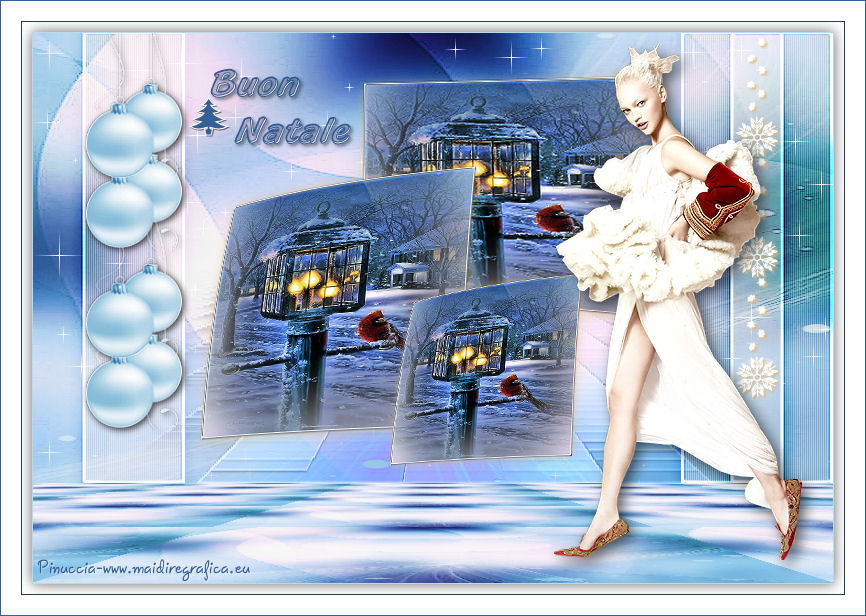
The tubes of these version are by Coline and Gabry.

If you have problems or doubt, or you find a not worked link, or only for tell me that you enjoyed this tutorial, write to me.
12 January 2014
|
