|
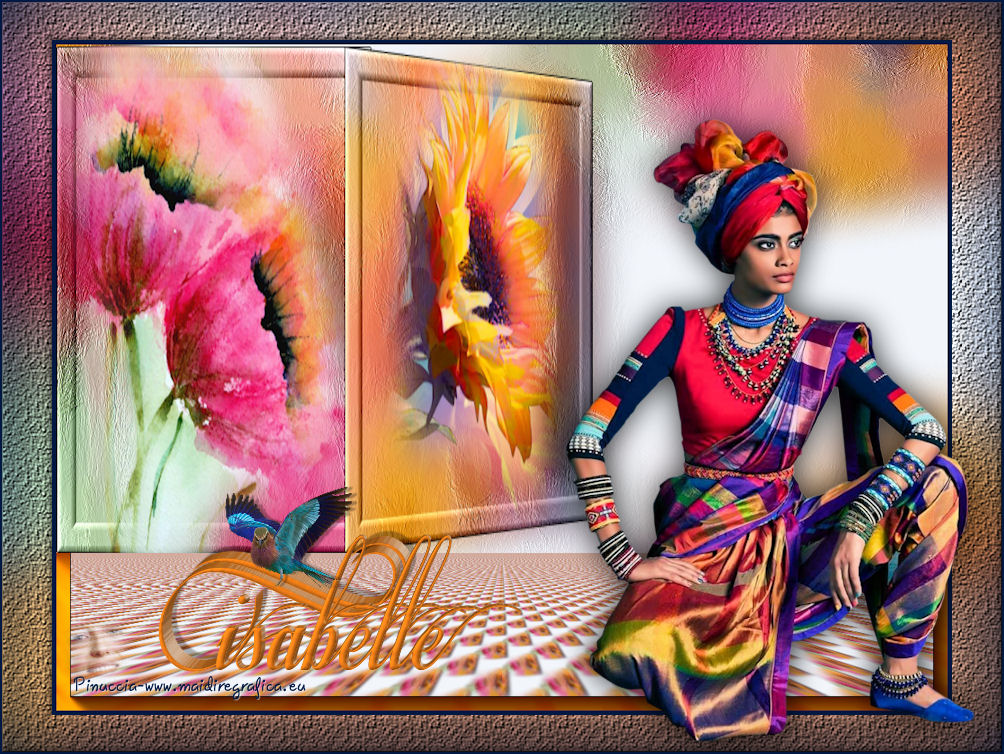
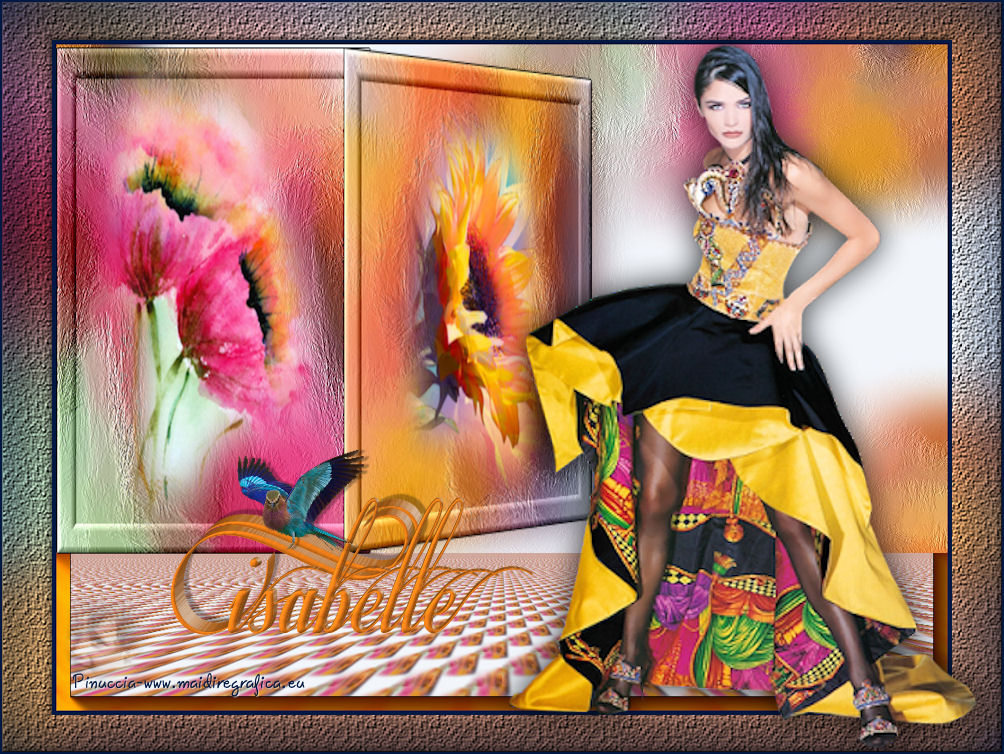
TOP ISABELLE
ENGLISH VERSION
Here you find the original of this tutorial:

This tutorial was translated with PSPX3 but it can also be made using other versions of PSP.
Since version PSP X4, Image>Mirror was replaced with Image>Flip Horizontal,
and Image>Flip with Image>Flip Vertical, there are some variables.
In versions X5 and X6, the functions have been improved by making available the Objects menu.
In the latest version X7 command Image>Mirror and Image>Flip returned, but with new differences.
See my schedule here
French translation here
Your versions here
For this tutorial, you will need:
Material here
Tube FA0035 by Isa
Fleur misted jewel 0042
Fleur misted jewel 0043
Tube nicole-oiseau2
Texto Isabelle_nines
A
Textura/Amber001_mdh
Plugins
consult, if necessary, my filter section here
Mura's Meister - Perspective Tiling here
AAA Frames - Foto Frame here
Bordermania - Frame#2 here

Copy the Texture in the Textures Folder.
1. Open a new transparent image 350 x 550 pixels.
2. Set your foreground color to #f2f6fb.
Flood Fill  the transparent image with your foreground color #f2f6fb. the transparent image with your foreground color #f2f6fb.
3. Open the tube Fleur misted Jewel 0042 - erase the watermark - Edit>Copy.
go back to your work and go to Edit>Paste as new layer.
4. Adjust>Blur>Gaussian Blur - radius 15.

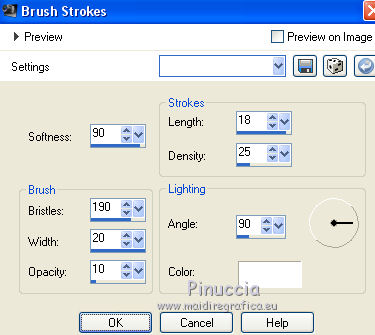
5. Effects>Art Media Effects>Brush Strokes, colore white.
6. Layers>Merge>Merge visible.
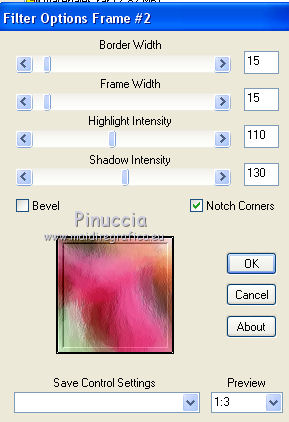
7. Effects>Plugins>Bordemania - Frame#2.
8. Edit>Paste as new layer (the tube Fleur misted jewel 0042 is still in memory).
Image>Resize, to 50%, resize all layers not checked.
9. Layers>Merge>Merge visible, and minimize this work.
10. Open a new transparent image 350 x 550 pixels.
Flood Fill the transparent image with your foreground color #f2f6fb.
11. Open the tube Fleur misted jewel 0043 - erase the watermark - Edit>Copy.
go back to your work and go to Edit>Paste as new layer.
12. Adjust>Blur>Gaussian Blur - radius 15.
Effects>Art Media Effects>Brush Strokes, same settings.
Layers>Merge>Merge visible.
Effects>Plugins>Bordemania - Frame#2, same settings.
13. Edit>Paste as new layer (the tube Fleur misted jewel 0043 is still in memory).
Image>Resize, 50%, resize all layers not checked.
Image>Mirror.
14. Layers>Merge>Merge visible and minimize this work.
15. Open a new transparent image 1000 x 750 pixels.
16. Activate the first frame of step 9 - Edit>Copy.
Go back to your work and go to Edit>Paste as new layer.
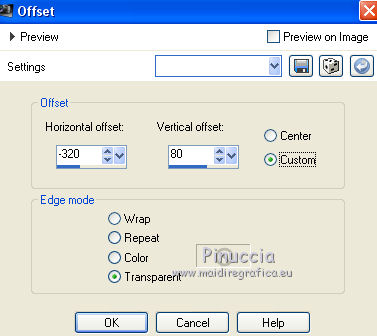
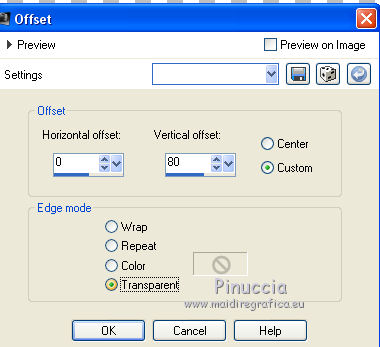
17. Effects>Image Effects>Offset.
18. Activate the second frame of step 14 - Edit>Copy.
go back to your work and go to Edit>Paste as new layer.
19. Effects>Image Effects>Offset.
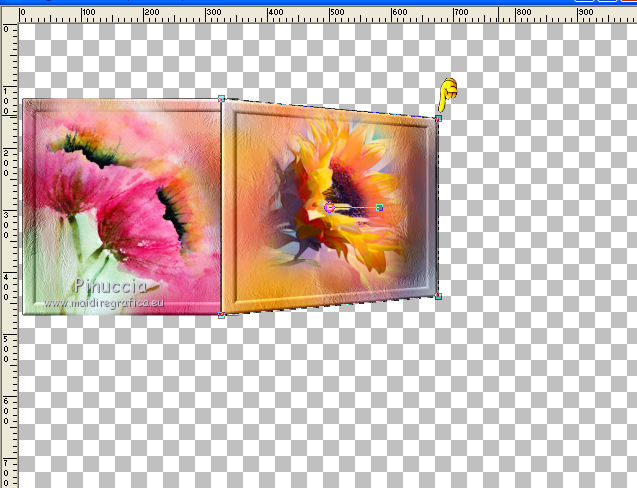
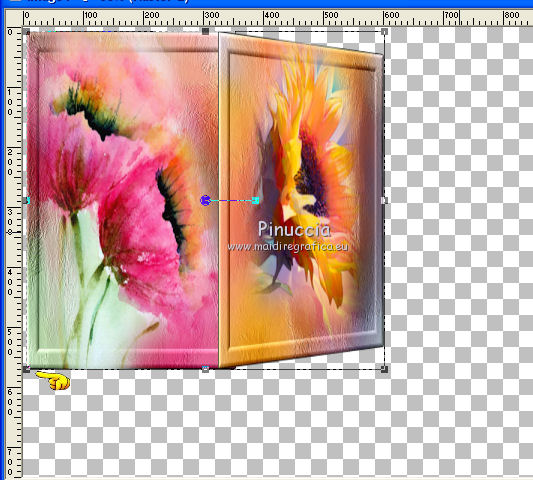
20. K key to activate the Pick Tool 
with PSP 9 D key to activate the Deformation Tool 
mode Perspective 
push the right top node down (the opposite node will move symmetrically)
as below.
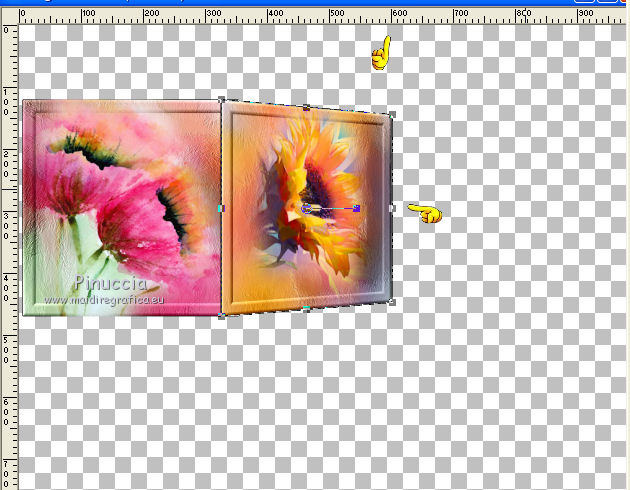
Mode Scale 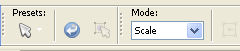
push the central node to the left, as below.
21. Layers>Merge>Merge visible.
Pick Tool
and use the central nodes to extend the image as below.
22. Layers>Duplicate.
Close this layer and activate the layer below of the original.
23. Effects>Image Effects>Seamless Tiling, default settings.

24. Adjust>Blur>Gaussian Blur - rayon 15.
25. Effects>Art Media Effects>Brush Strokes, same settings.
26. Layers>New Raster Layer.
Layers>Arrange>Send to bottom.
Flood Fill with your foreground color #f2f6fb.
27. Layers>Merge>Merge visible.
28. Layers>Duplicate.
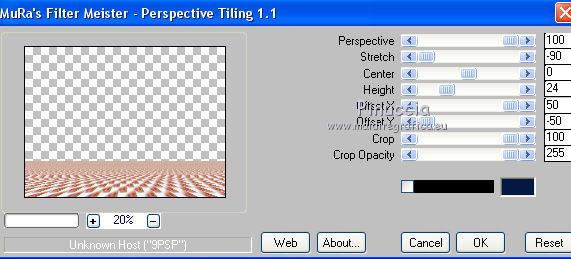
29. Effects>Plugins>Mura's Meister - Perspective Tiling.
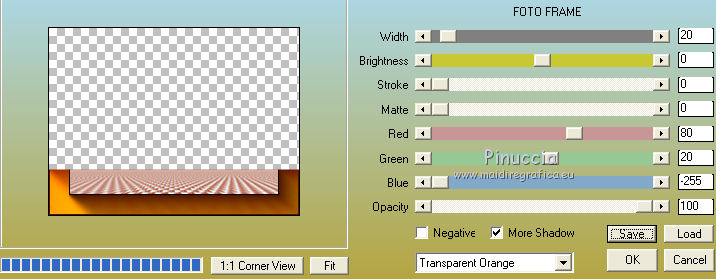
30. Effects>Plugins>AAA Frames - Foto Frame
Transparent Orange and More Shadow coché.
31. Re-open and activate the top layer.
Layers>New Raster Layer.
Set your foreground color to #021943
Flood Fill the layer with your foreground colore #021943.
32. Selections>Select All.
Selections>Modify>Contract - 5 pixels.
Press CANC on the keyboard 
Selections>Select None.
33. Layers>Merge>Merge visible.
Edit>Copy.
34. Image>Resize, 90%, resize all layers not checked.
Activate the Magic Wand tool 
click on the transparente part to select it.
Edit>Paste into Selection.
35. Adjust>Blur>Gaussian Blur - radius 30.

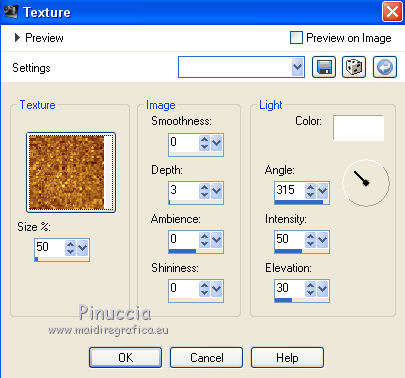
36. Effects>Texture Effects>Texture - texture Amber001_mdh.
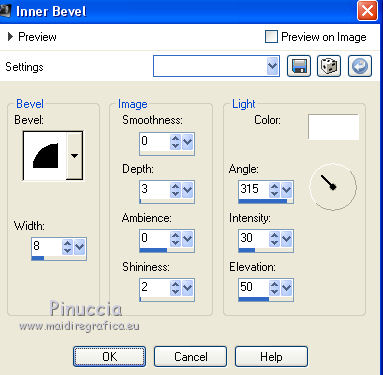
37. Effects>3D Effects>Inner Bevel.
Selections>Select None.
38. Open the tube FA0035 by Isa - Edit>Copy.
go back to your work and go to Edit>Paste as new layer.
Image>Resize, 80%, resize all layers not checked.
Move  the tube at the bottom right. the tube at the bottom right.
39. Effects>3D Effects>Drop Shadow, colore black.

40. Open the text Isabelle_nines - Edit>Copy.
go back to your work and go to Edit>Paste as new layer.
41. Layers>Merge>Merge All.
Image>Add borders, 2 pixels, symmetric, foreground color #021943.
42. Sign your work and save as jp.

If you have problems or doubt, or you find a not worked link, or only for tell me that you enjoyed this tutorial, write to me.
25 March 2017
|


