|
TAG TIME OF COFFEE
 ENGLISH VERSION ENGLISH VERSION

Here you find the original of this tutorial:

This tutorial was translated with PSPX2 but it can also be made using other versions of PSP.
Since version PSP X4, Image>Mirror was replaced with Image>Flip Horizontal,
and Image>Flip with Image>Flip Vertical, there are some variables.
In versions X5 and X6, the functions have been improved by making available the Objects menu.
In the latest version X7 command Image>Mirror and Image>Flip returned, but with new differences.
See my schedule here
French translation here
your versions ici
For this tutorial, you will need:
Material here
tubeclaudiaviza-mix256
Narah_Mask_1291
Narah_Mask_1277
Texto Time 0f Cofee_nines
(you find here the links to the material authors' sites)
Plugins
consult, if necessary, my filter section here
Filters Unlimited 2.0 here
Ap Lines - Lines SilverLining here
Simple - Left Right Wrap (bonus) here
Filters Simple can be used alone or imported into Filters Unlimited.
(How do, you see here)
If a plugin supplied appears with this icon  it must necessarily be imported into Unlimited it must necessarily be imported into Unlimited

You can change Blend Modes according to your colors.
In the newest versions of PSP, you don't find the foreground/background gradient (Corel_06_029).
You can use the gradients of the older versions.
The Gradient of CorelX here
Copy the preset Emboss 3 in the Presets Folder.
Open the mask in PSP and minimize it with the reste of the material.
1. Open a new transparent image 400 x 400 pixels.
2. Set your foreground color to #9b643d,
and your background color to #552d23.
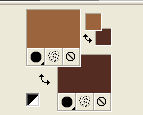
Set your foreground color to a Foreground/Background Gradient, style Linear.
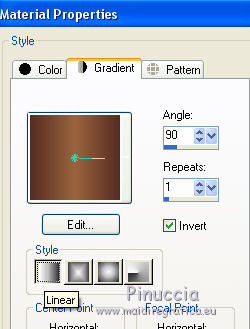
Flood Fill  the transparent image with your gradient. the transparent image with your gradient.
3. Activate the mask Narah_Mask_1291.
Image>Free Rotate - 90 degrees to right.

Minimize the mask and go back to your work.
Layers>New Mask layer>From image
Open the menu under the source window and you'll see all the files open.
Select the mask Narah_Mask_1291.
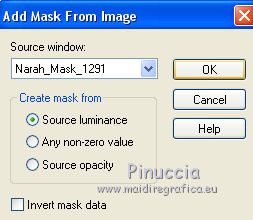
Layers>Merge>Merge Group.
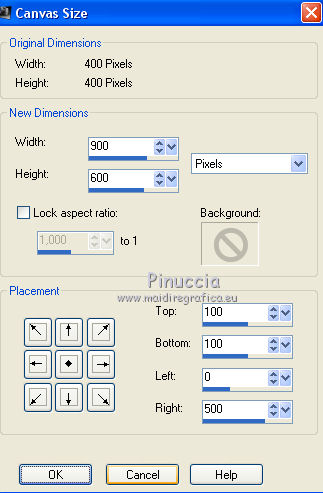
4. Image>Canvas Size - 900 x 600 pixels.
5. Layers>Duplicate.
Layers>Merge>Merge Down.
6. Effects>Modules Externes>Ap_Lines - Lines SilverLining.
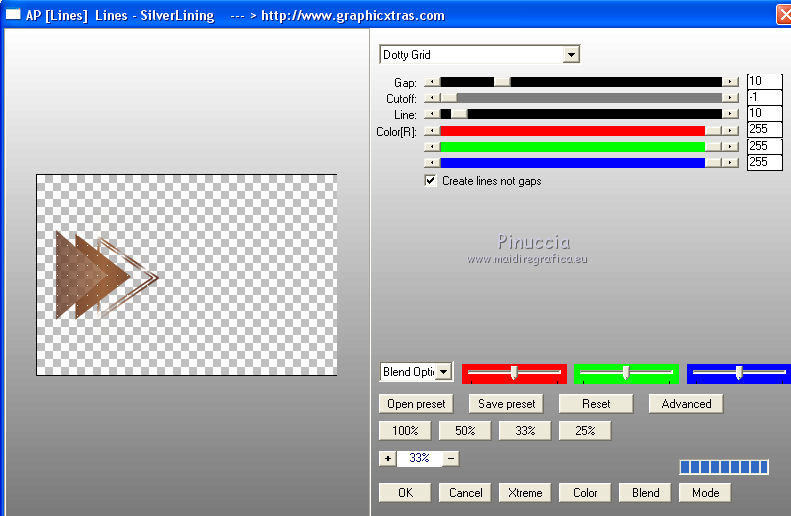
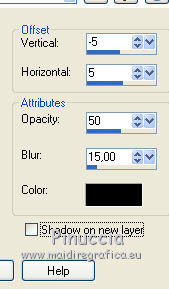
7. Effects>3D Effects>Drop Shadow, color black.
8. Layers>Duplicate.
Image>Miroir.
Layers>Merge>Merge Down.
9. Effects>User Defined Filter - select the preset Emboss 3 and ok.

10. Layers>New Raster Layer.
Layers>Arrange>Send to Bottom.
Swap the colors of your Gradient, clicking on the little arrow between the little palettes.
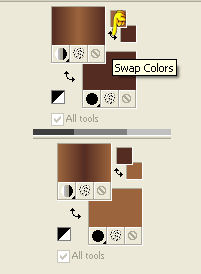
Flood Fill  the layer with your Gradient. the layer with your Gradient.
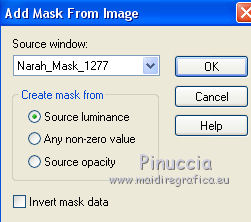
11. Layers>New Mask layer>From image
Open the menu under the source window and select the mask Narah_Mask_1277.
Layers>Merge>Merge Group.
12. Effects>3D Effects>Drop Shadow, same settings.

13. Layers>Duplicate.
14. Layers>Merge>Merge Down.
15. Effects>User Defined Effects - select the preset Emboss 3 and ok.

16. Selection Tool 
(no matter the type of selection, because with the custom selection your always get a rectangle)
clic on the Custom Selection 
and set the following settings.
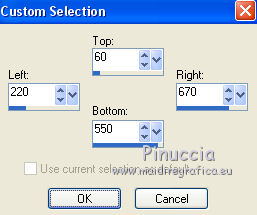
17. Layers>New Raster Layer.
Layers>Arrange>Send to Bottom.
Open the tube tubeclaudiaviza-mix256 - Edit>Copy.
Go back to your work and go to Edit>Paste into Selection.
18. Adjust>Blur>Radial Blur.
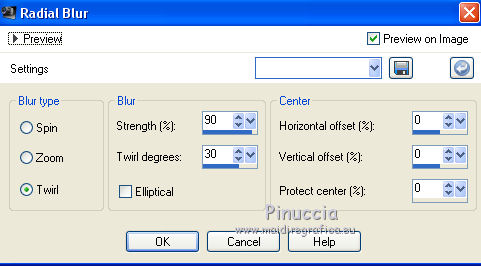
Selections>Select None.
19. Edit>Paste as new layer (the tubeclaudiaviza-mix256 is still in memory).
Image>Resize, à 80%, resize all layers not checked.
Move  the tube a bit down the tube a bit down
Layers>Arrange>Move Up.
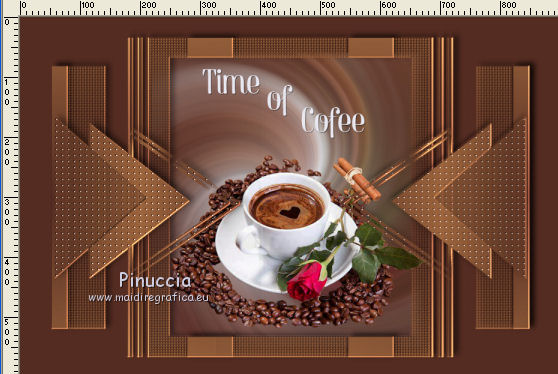
20. Layers>New Raster Layer.
Layers>Arrange>Send to Bottom.
Flood Fill  with your background color #552d23. with your background color #552d23.
21. Activate the top layer.
Open Texto Time 0f Cofee_nines - Edit>Copy.
Go back to your work and go to Edit>Paste as new layer.
Move  the tube at the top the tube at the top
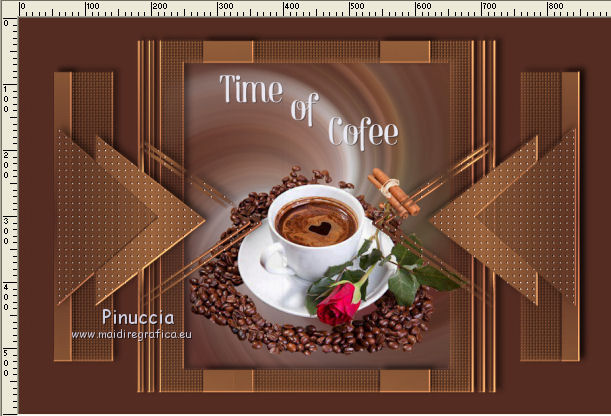
22. Layers>Merge>Merge All.
23. Image>Add borders, 2 pixels, symmetric, color #9b643d.
Image>Add borders, 5 pixels, symmetric, color #552d23
Image>Add borders, 30 pixels, symmetric, #ffffff.
24. Activate the Magic Wand Tool 
and click on the white border to select it.
Swap again the colors of your Gradient.
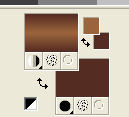
Flood Fill  the selection with your Gradient. the selection with your Gradient.
25. Effects>Modules Externes>Filters Unlimited 2.0 - Simple - Left Right Wrap.
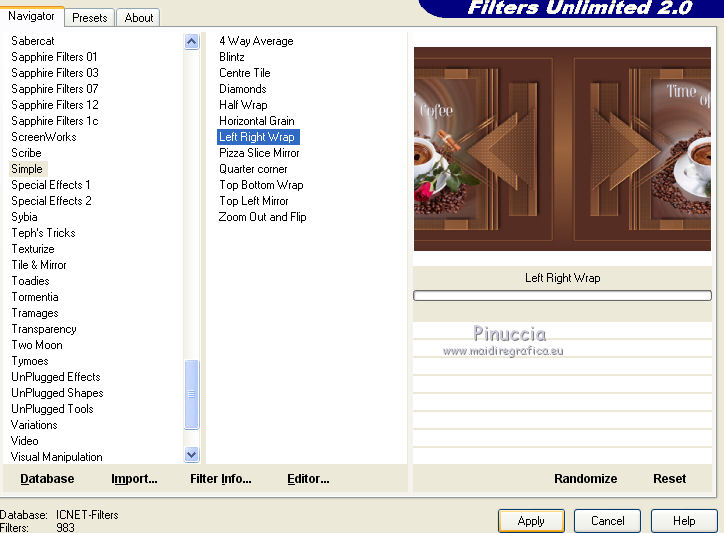
Selections>Select None.
26. Image>Add borders, 20 pixels, symmetric, foreground color #e9e8f1.
Image>Add borders, 1 pixel, symmetric, background color #552d23.
28. Sign your work and save as.
Your versions here

If you have problems or doubts, or you find a not worked link, or only for tell me that you enjoyed this tutorial, write to me.
1 September 2018
|
 ENGLISH VERSION

 ENGLISH VERSION
