|
TOP PINUCCIA
 ENGLISH VERSION ENGLISH VERSION
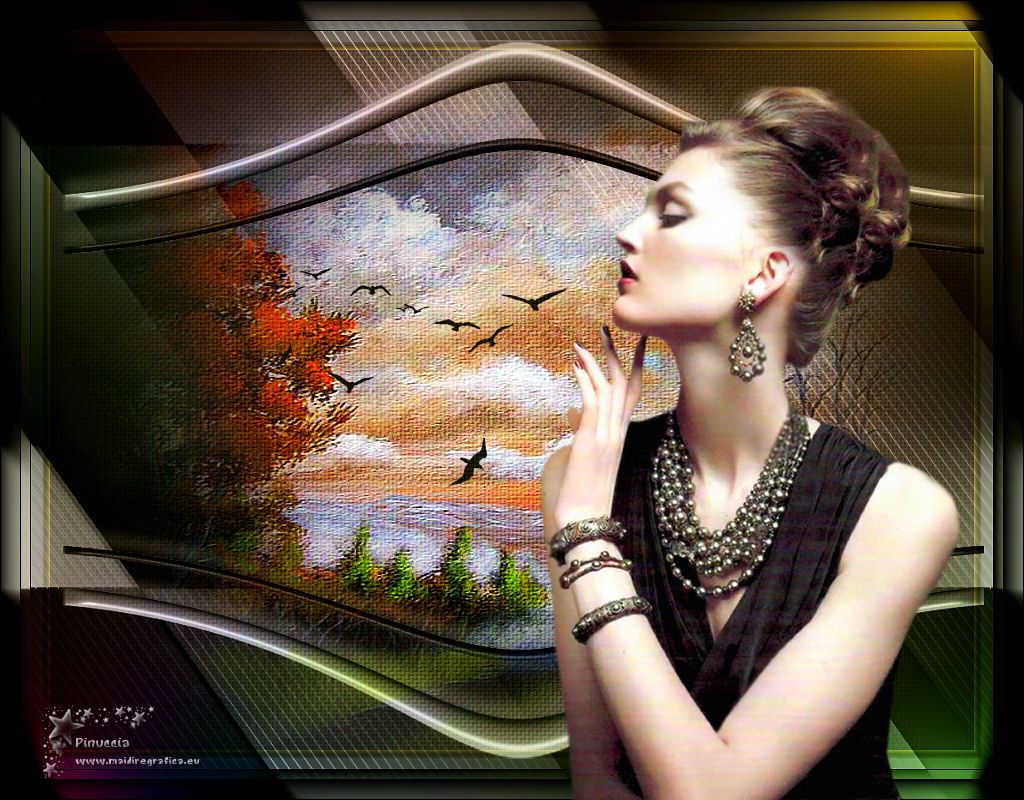
Here you find the original of this tutorial:

This tutorial was created with PSPX8 and translated with PSPX7, but it can also be made using other versions of PSP.
Since version PSP X4, Image>Mirror was replaced with Image>Flip Horizontal,
and Image>Flip with Image>Flip Vertical, there are some variables.
In versions X5 and X6, the functions have been improved by making available the Objects menu.
In the latest version X7 command Image>Mirror and Image>Flip returned, but with new differences.
See my schedule here
French translation here
your versions ici
For this tutorial, you will need:
Material here
Thanks for the material:
Tubes: 5057-luzcristina \ 5034-luzcristina
Brush: bird_arquivonet
Deco_Ildiko_create_deco (120)
(you find here the links to the material authors' sites)
Plugins
consult, if necessary, my filter section here
Distort - Shear here
DSB Flux - Electrosphere here
AAA Frames - Foto Frame/AAA Filters - Custom here
Plugin Galaxy - Instant Mirror here

You can change Blend Modes according to your colors.
In the newest versions of PSP, you don't find the foreground/background gradient (Corel_06_029).
You can use the gradients of the older versions.
The Gradient of CorelX here
Copy the Selection in the Selections Folder.
1. Open a new transparent image 1000 x 700 pixels.
Set your foreground color to #211916,
and your background color to #ac9e5f.
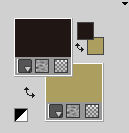
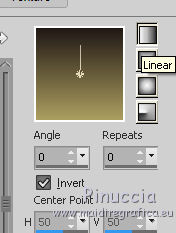
2. Set your foreground color to a Foreground/Background Gradient, style Linear.
3. Selections>Load Save Selection>Load Selection from Disk.
Look for and load the selection ladanca.
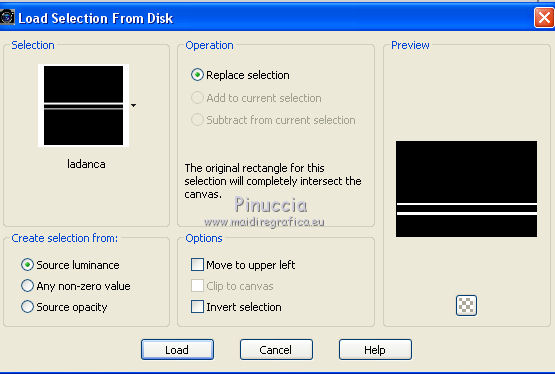
Flood Fill  the sélection with your gradient. the sélection with your gradient.
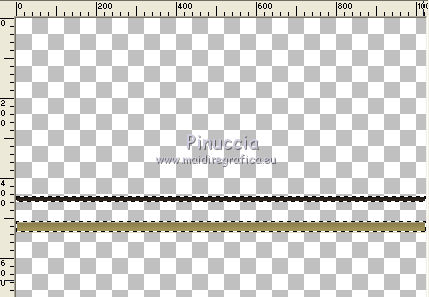
4. Effects>3D Effects>Inner Bevel.
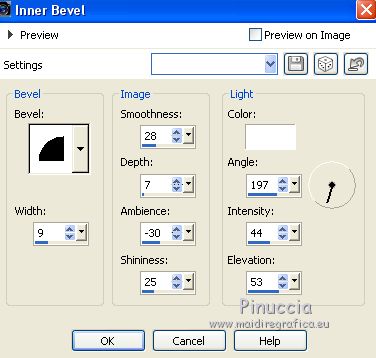
Selections>Select None.
Image>Rotate Left.
5. Effects>Plugins>Distort - Shear
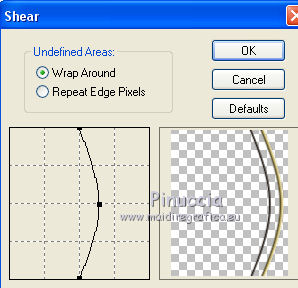
Image>Rotate Right.
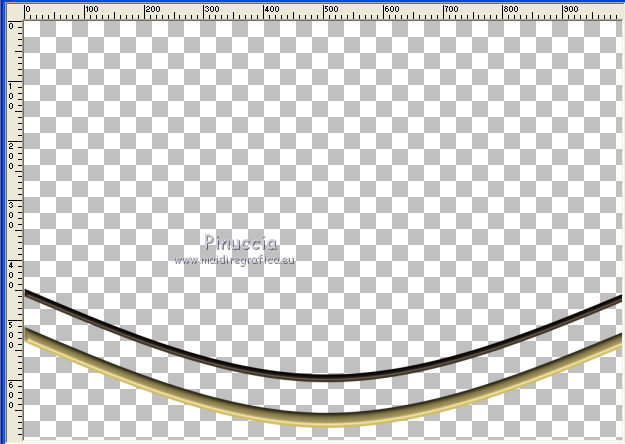
6. Effects>Distortion Effects>Pinch

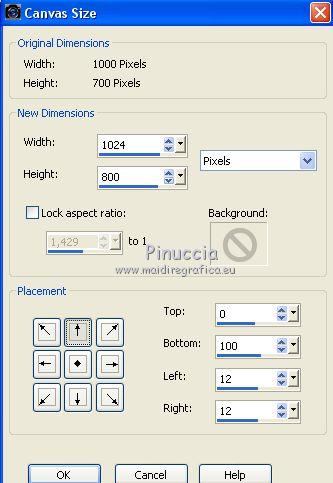
7. Image>Canvas Size - 1024 x 800 pixels.
Layers>Duplicate.
Image>Flip.
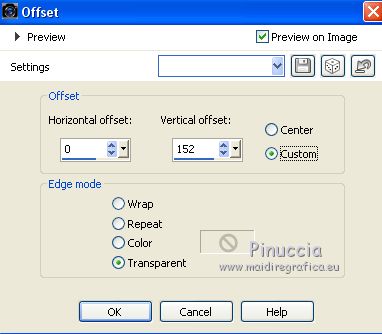
Effects>Image Effects>Offset.
Layers>Duplicate.
Image>Flip.
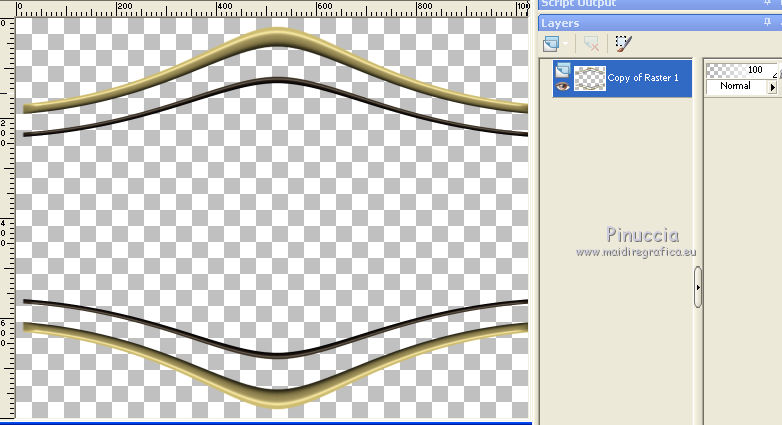
Layers>Merge>Merge down.
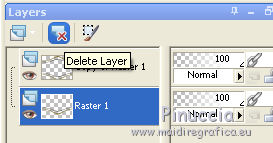
Delete the layer Raster 1.
8. Effects>3D Effects>Drop Shadow, background color #ac9e5f.
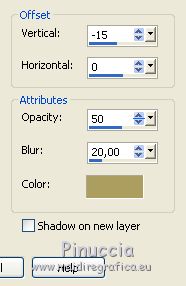
Image>Resize, to 90%, resize all layers not checked.
Selections>Modify>Contract - 50 pixels.
9. Layers>New Raster Layer.
Effects>3D Effects>Chisel - color #ac9e5f.
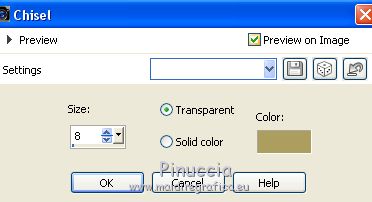
10. Change the settings of your gradient to style Sunburst.
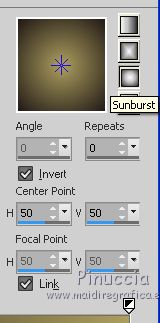
Reduce the opacity of the Flood Fill Tool to 30%.
Flood Fill  the selection with your Gradient. the selection with your Gradient.
11. Effects>Texture Effects>Weave.
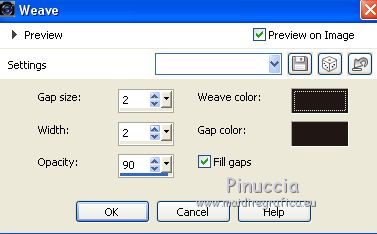
Selections>Select None.
12. Layers>New Raster Layer.
Layers>Arrange>Send to Bottom.
Set the opacity of Flood Fill Tool to 100
Flood Fill  the layer with your Gradient. the layer with your Gradient.
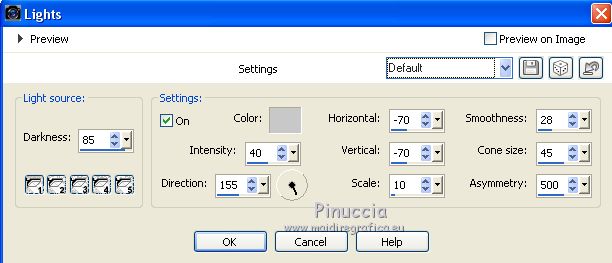
13. Effects>Illumination Effects>Lights, default settings.
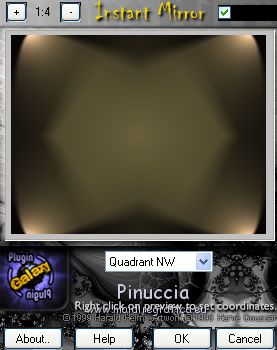
14. Effects>Plugins>Plugin Galaxy
15. Layers>Duplicate.
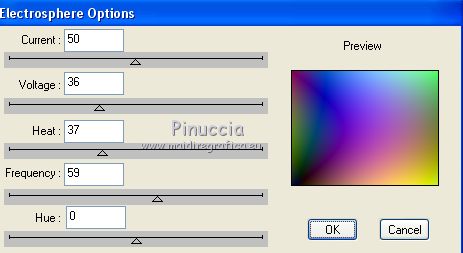
Effects>Plugins>DSB Flux - Electrosphere.
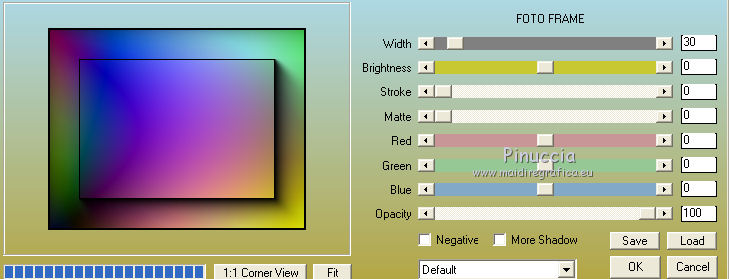
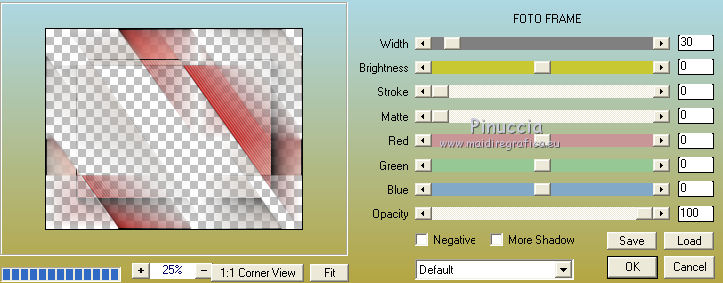
Effets>Frame>AAA Frames - Foto Frame.
Image>Flip (optional).
16. Layers>New Raster Layer.
Selections>Select All.
Open the tube Ildiko_create_deco (120) - Edit>Copy.
Go back to your work and go to Edit>Paste into Selection.
Selections>Select None.
Repeat Effects>Plugins>AAA Frames - Foto Frame.
Your image and your layers (Blend Mode and opacity as yoy prefer)
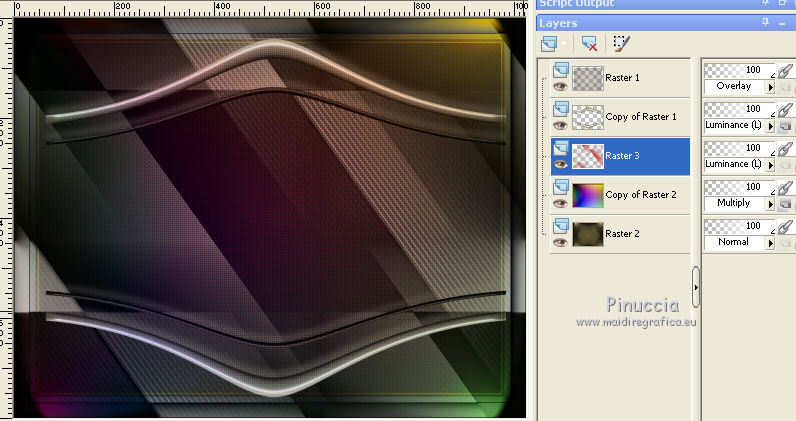
17. Keep this layer selected.
Open the tube 5034-luzcristina - Edit>Copy.
Go back to your work and go to Edit>Paste as new layer.
For me, I extended the image with Pick Tool 
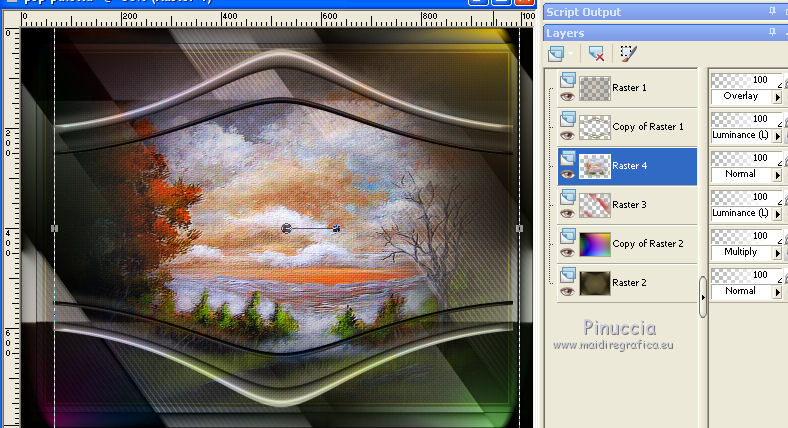
18. Keep this layer selected.
Open the tube avesarquivonet - Edit>Copy.
Go back to your work and go to Edit>Paste as new layer.
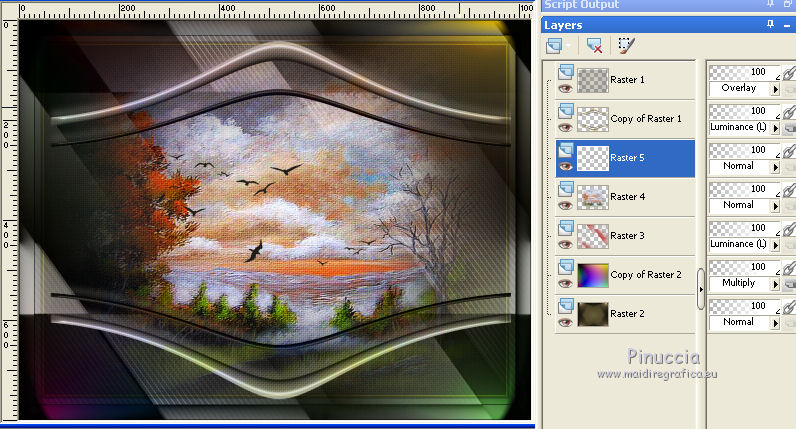
19. Layers>Merge>Merge visible.
20. Effects>Plugins>AAA Filters - Custom - click on Landscape and ok (optional).
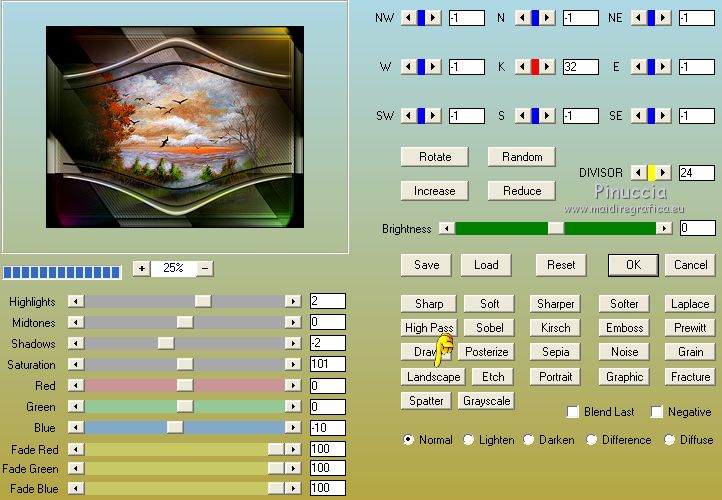
Effects>Plugins>AAA Frames - Foto Frame.
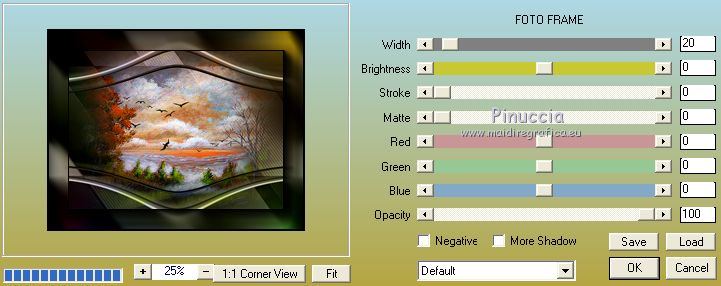
21. Open the tube 5057-luzcristina - Edit>Copy.
Go back to your work and go to Edit>Paste as new layer.
Image>Mirror.
Move  the tube to the right side. the tube to the right side.
Sign your work on a new layer.
little note about the watermark:
I don't ask to put watermark on the versions made by my translations.
But if you decide to use the watermark supplied by the author, I would appreciate that my work as translator was also respected.
For that, I added my watermark to the material (in english and in french).
22. Layers>Merge>Merge All and save as jpg.
The tubes of this version are by Beatriz and Jewel
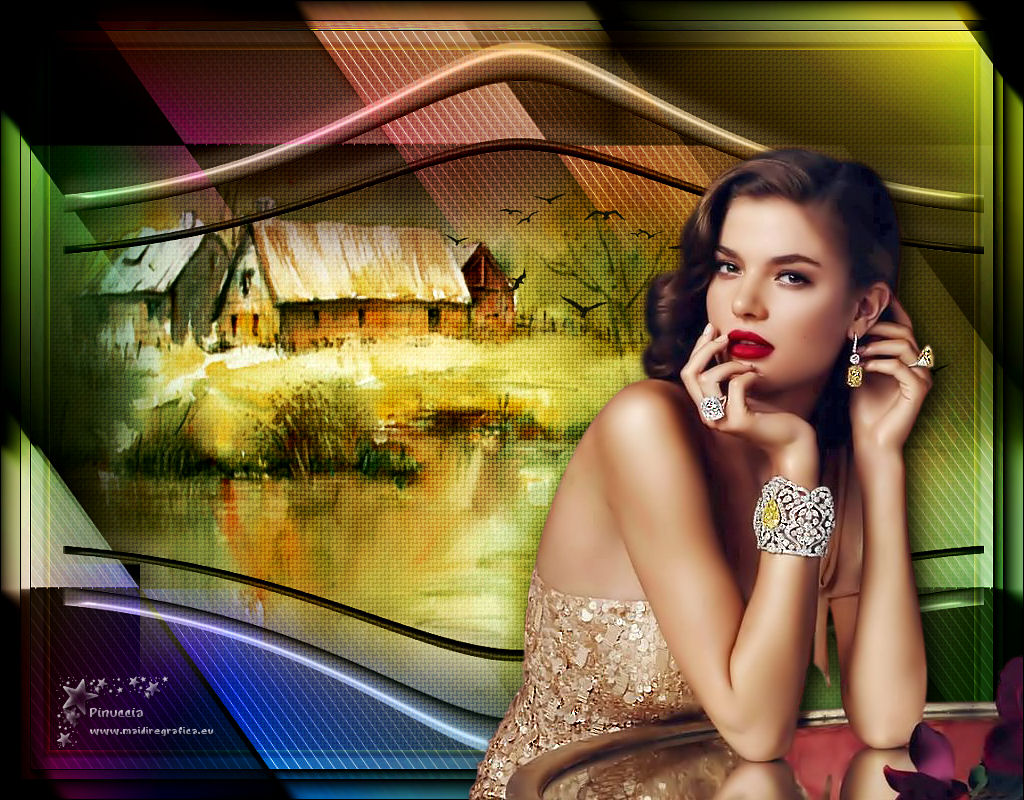
Your versions here

If you have problems or doubts, or you find a not worked link, or only for tell me that you enjoyed this tutorial, write to me.
My mail is in the menu on the top of the page.
31 October 2018
|
 ENGLISH VERSION

 ENGLISH VERSION
