|
TOP ILLUSION
 ENGLISH VERSION ENGLISH VERSION
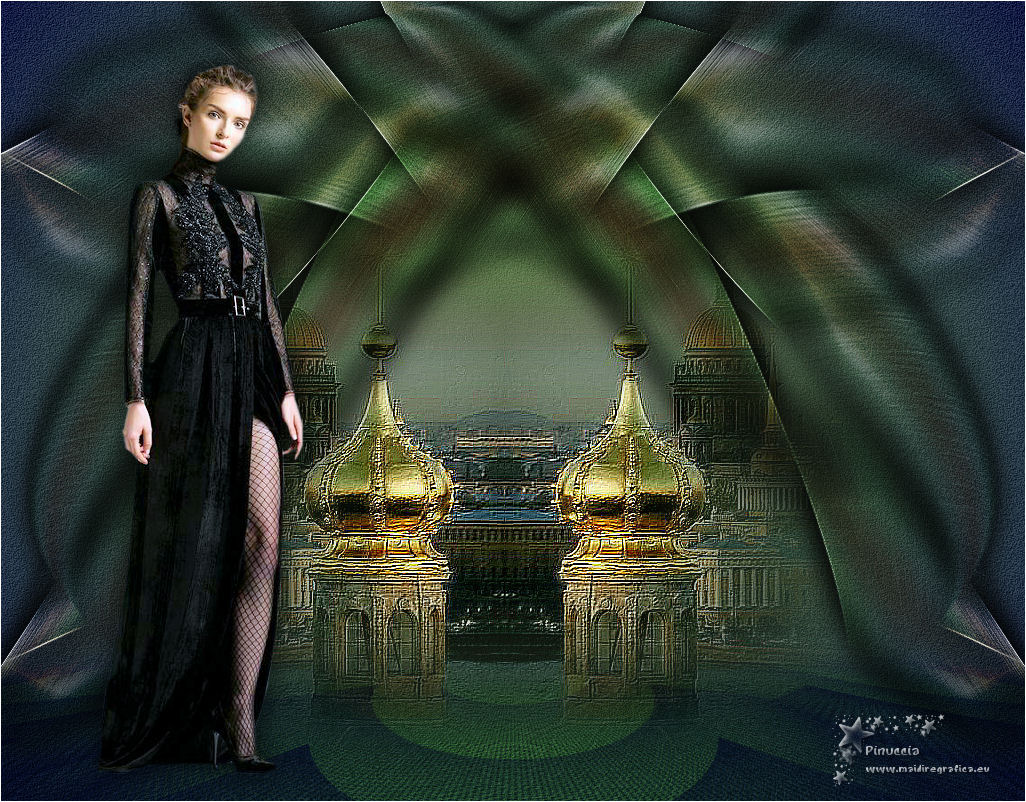
Here you find the original of this tutorial:

This tutorial was created with PSPX8 and translated with PSPX3, but it can also be made using other versions of PSP.
Since version PSP X4, Image>Mirror was replaced with Image>Flip Horizontal,
and Image>Flip with Image>Flip Vertical, there are some variables.
In versions X5 and X6, the functions have been improved by making available the Objects menu.
In the latest version X7 command Image>Mirror and Image>Flip returned, but with new differences.
See my schedule here
French translation here
your versions ici
For this tutorial, you will need:
Material here
Pour les tubes merci Luz Cristina (5061-luzcristina/3774-luzcristina) et Beatriz (2840-woman-LB TUBES)
(you find here the links to the material authors' sites)
Plugins
consult, if necessary, my filter section here
Filters Unlimited 2.0 here
Mehdi - Wavy Lab here
VM Instant Art - Tripolis here
Mura's Meister - Pole Transforme here
Mura's Meister - Perspective Tiling here
FM Tile Tools - Blend Emboss here
AAA Filters - Custom here
Filters Tramages et Mura's Seamless can be used alone or imported into Filters Unlimited.
(How do, you see here)
If a plugin supplied appears with this icon  it must necessarily be imported into Unlimited it must necessarily be imported into Unlimited

You can change Blend Modes according to your colors.
In the newest versions of PSP, you don't find the foreground/background gradient (Corel_06_029).
You can use the gradients of the older versions.
The Gradient of CorelX here
1. Set your foreground color to #80b856,
and your background color to #0d1543.
Set your foreground color to a Foreground/Background Gradient, style Sunburst.
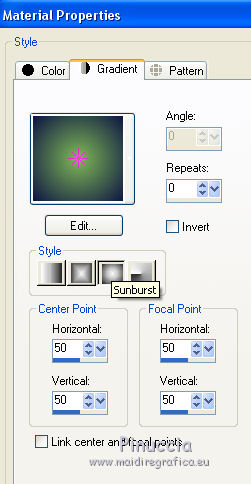
Open a new transparent image 1024 x 600 pixels.
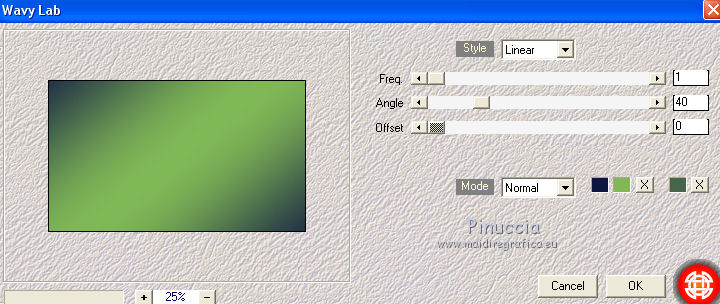
Effects>Plugins>Mehdi - Wavy Lab
This filters creates gradients with the colors of your palette.
The first is your background color, the second is your foreground color.
Keep the third color created by the filter.
2. Selections>Select All.
Open the tube 2840-woman-LB TUBES and go to Edit>Copy.
Go back to your work and go to Edit>Paste into Selection
(I chose a tube with light colors).
Selections>Select None.
Effects>Image Effects>Seamless Tiling, default settings.

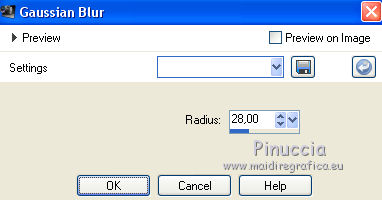
Adjust>Blur>Gaussian Blur - radius 28.
3. If you don't see the rules go to View>Rules.
Activate the Pick Tool 
mode Scale 
and push the bottom node upward, until 225 pixels.
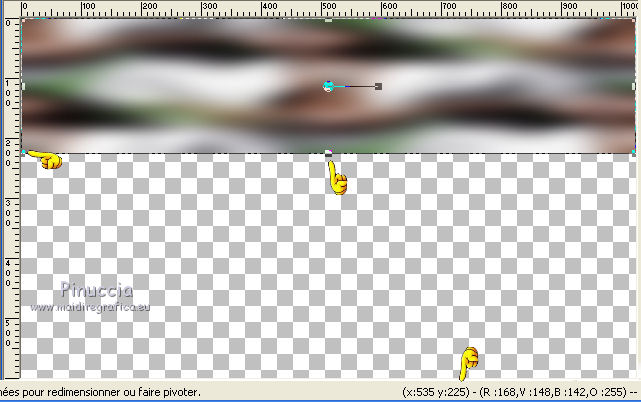
M key to deselect the Tool.
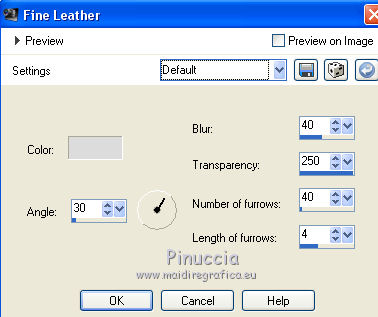
Effects>Texture Effects>Fine Leather, default settings.
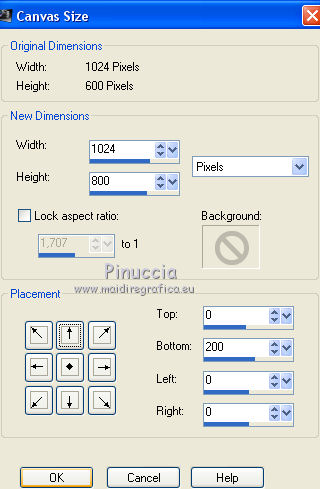
4. Image>Canvas Size - 1024 x 800 pixels
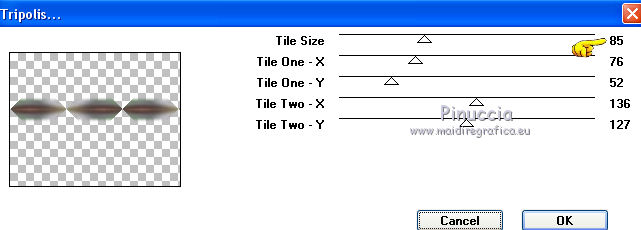
5. Effects>Plugins>VM Instant Art - Tripolis.
Effects>Edge Effects>Enhance.
Adjust>Blur>Motion Blur.
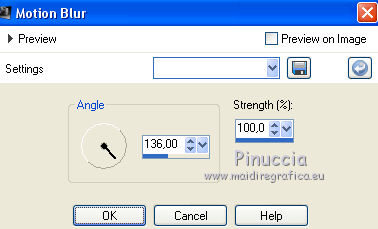
Adjust>Sharpness>Sharpen More.
6. Effects>Distortion Effects>Wave.
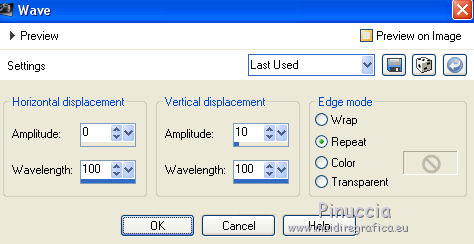
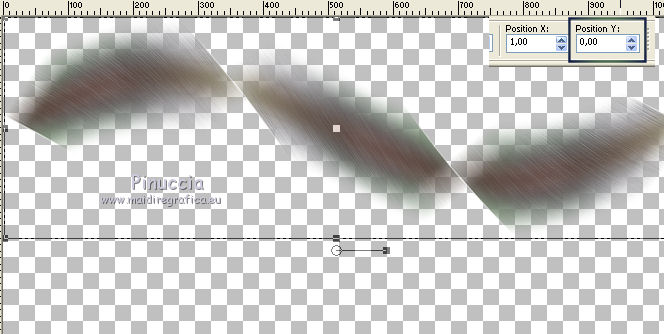
Objects>Align>Top.
If you are working with a previous version that doesn't make Objects menu available,
activate the Pick Tool 
and set Position Y to 0,00
Effects>3D Effects>Drop Shadow, at your choice.
Layers>Duplicate.
Image>Mirror.
Change the Blend Mode of this layer to Hard Light.
Layers>Merge>Merge Down.
Change the Blend Mode of this layer to Hard Light.
Layers>Duplicate.
7. Effects>Geometric Effects>Skew.
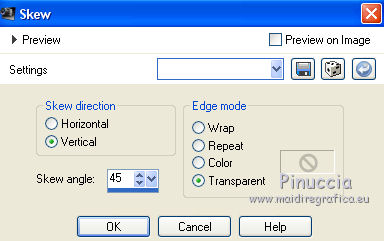
8. Layers>Duplicate.
Image>Mirror.
Layers>Merge>Merge Down.
Layers>Arrange>Move Down.
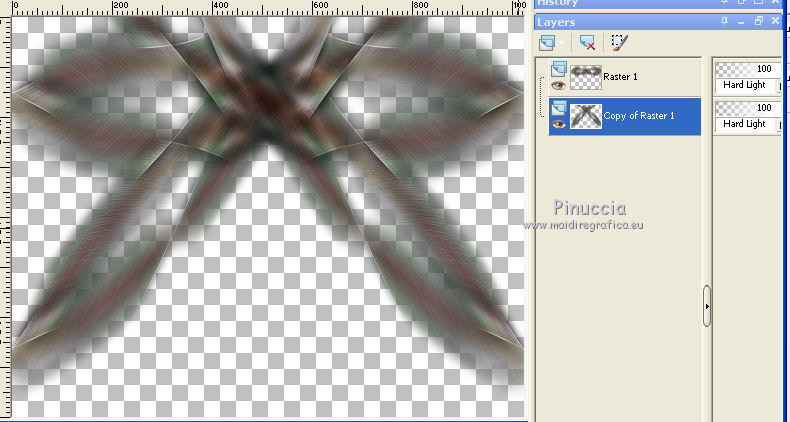
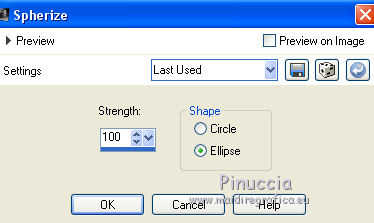
8. Effects>Geometric Effects>Spherize.
Effects>3D Effects>Drop Shadow, at your choice.
9. Layers>New Raster Layer.
Layer>Arrange>Send to Bottom.
Flood Fill  the layer with your Gradient. the layer with your Gradient.
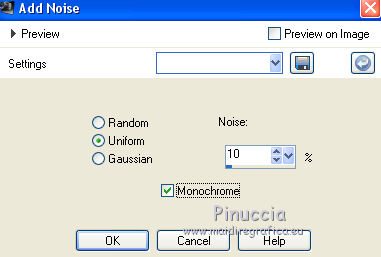
Adjust>Add/Remove Noise>Add Noise.
Effects>Plugins>FM Tile Tools - Blend Emboss, default settings.

Layers>Duplicate.
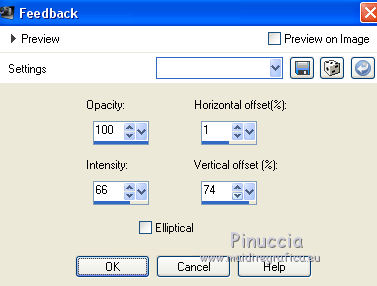
10. Effects>Reflection Effects>Feedback.
11. Effects>Texture Effects>Weave
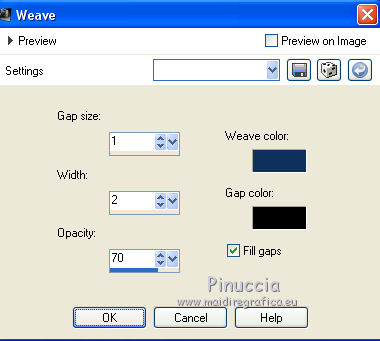
12. Effects>Plugins>Mura's Meister - Pole Transform, default settings.
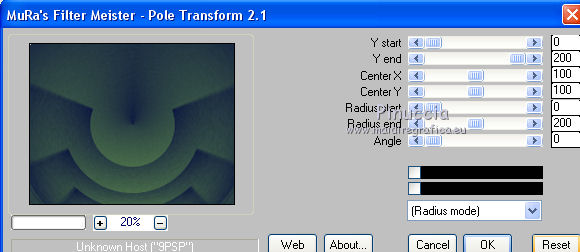
13. Effects>Plugins>Mura's Meister - Perspective Tiling .
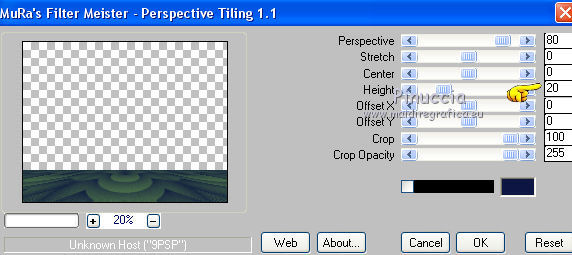
Activate your Magic Wand Tool  , feather 70, , feather 70,
and click on the transparent partie to select it.
Press 5/6 times CANC on the keyboard  to soften the border. to soften the border.
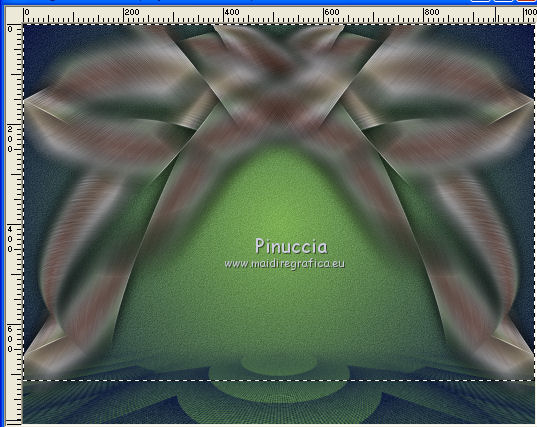
Selections>Select None.
Change the Blend Mode of this layer to Overlay.
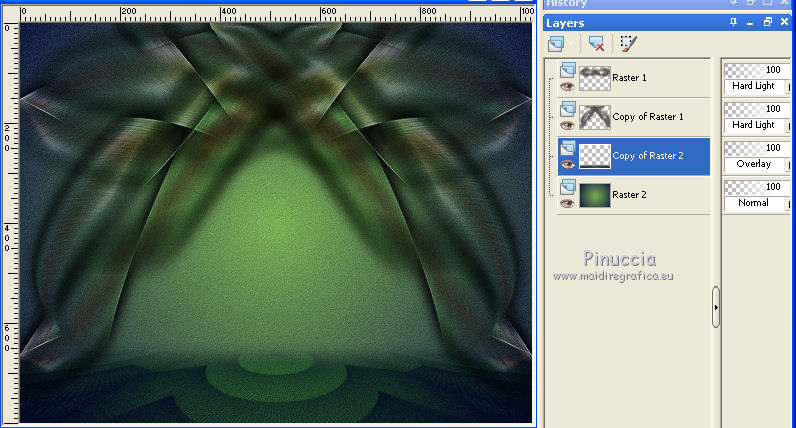
14. Keep the layer copy of Raster 2 selected.
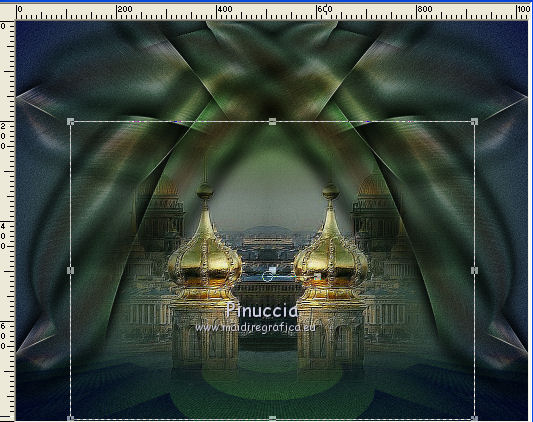
Open the tube 3774-luzcristina and go to Edit>Copy.
Go back to your work and go to Edit>Paste as new layer.
Move  / / the tube down. the tube down.
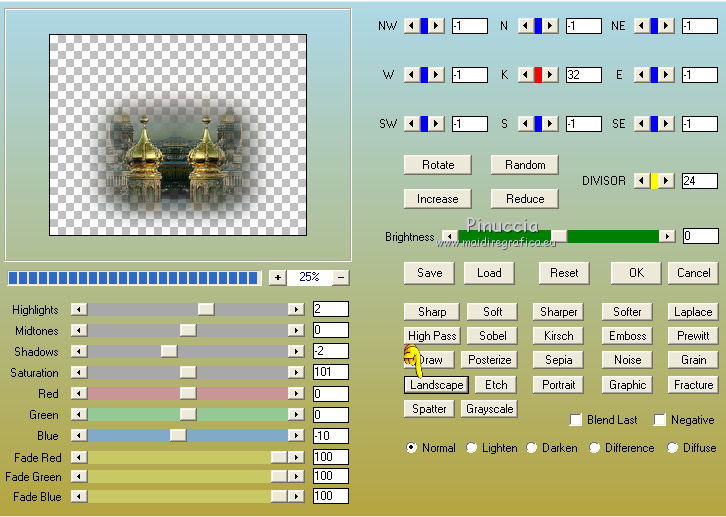
Optional: Effects>Plugins>AAA Filters - Custom - click on Landscape and ok.
15. Activate the top layer Raster 1.
Open the tube 5061-luzcristina and go to Edit>Copy.
Go back to your work and go to Edit>Paste as new layer.
Move  the tube to the left side. the tube to the left side.
16. Sign your work on a new layer.
little note about the watermark:
I don't ask to put watermark on the versions made by my translations.
But if you decide to use the watermark supplied by the author, I would appreciate that my work as translator was also respected.
For that, I added my watermark to the material (in english and in french).
17. Image>Add borders, 1 pixel, symmetric, color white #ffffff.
Save as jpg.
The tube of this version is by Thafs; the tube of the landscape is mine
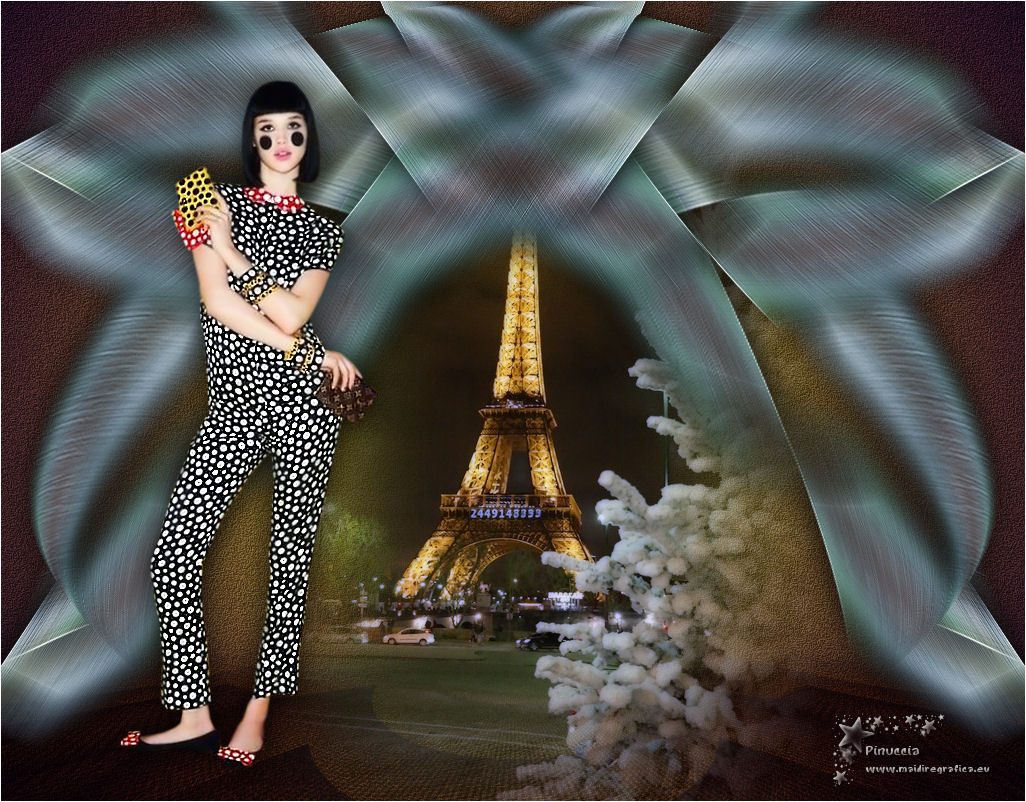
Your versions here

If you have problems or doubts, or you find a not worked link, or only for tell me that you enjoyed this tutorial, write to me.
My mail is in the menu on the top of the page.
28 November 2018
|
 ENGLISH VERSION

 ENGLISH VERSION
