|
TOP ESSENCIA
 ENGLISH VERSION ENGLISH VERSION
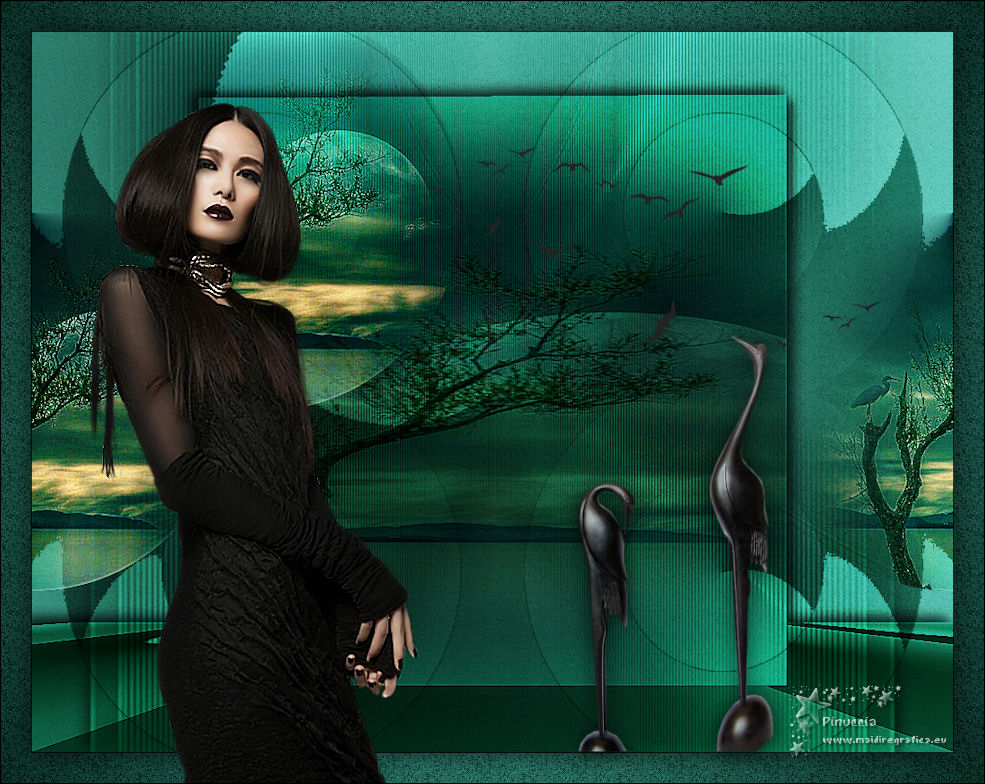
Here you find the original of this tutorial:

This tutorial was created with PSPX8 and translated with PSPX3, but it can also be made using other versions of PSP.
Since version PSP X4, Image>Mirror was replaced with Image>Flip Horizontal,
and Image>Flip with Image>Flip Vertical, there are some variables.
In versions X5 and X6, the functions have been improved by making available the Objects menu.
In the latest version X7 command Image>Mirror and Image>Flip returned, but with new differences.
See my schedule here
French translation here
your versions ici
For this tutorial, you will need:
Material here
For the tubes thanks
Beatriz (2822-woman-LB TUBES), Syl (SvB Zee 69 misted) et Guismo (decoguismo).
(you find here the links to the material authors' sites)
Plugins
consult, if necessary, my filter section here
Filters Unlimited 2.0 here
&<Bkg Kaleidoscope> (to import in Unlimited) here
VanDerLee - Unplugged X here
Mura's Meister - Perspective Tiling here
AAA Filters - Custom here

You can change Blend Modes according to your colors.
In the newest versions of PSP, you don't find the foreground/background gradient (Corel_06_029).
You can use the gradients of the older versions.
The Gradient of CorelX here
Copy the Selection in the Selections Folder.
Open the mask in PSP and minimize it with the rest of the material.
1. Set your foreground color to #224a42,
and your background color to #7db9af.
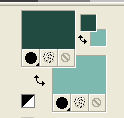
Set your foreground color to a Foreground/Background Gradient, style Radial.
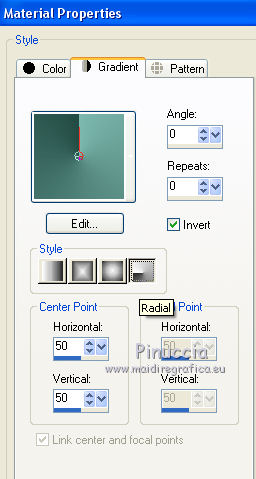
Open a new transparent image 1024 x 800 pixels.
Flood Fill  the transparent image with your Gradient. the transparent image with your Gradient.
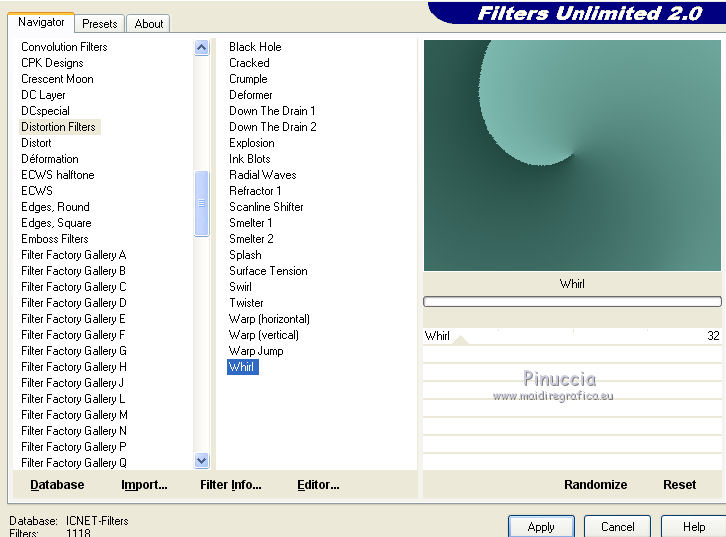
2. Effects>Plugins>Filters Unlimited 2.0 - Distortion Filters - Whirl, default settings
Layers>Duplicate.
3. Effects>Plugins>Filters Unlimited 2.0 - &<Bkg Kaleidoscope> - Radial Mirror, default settings.
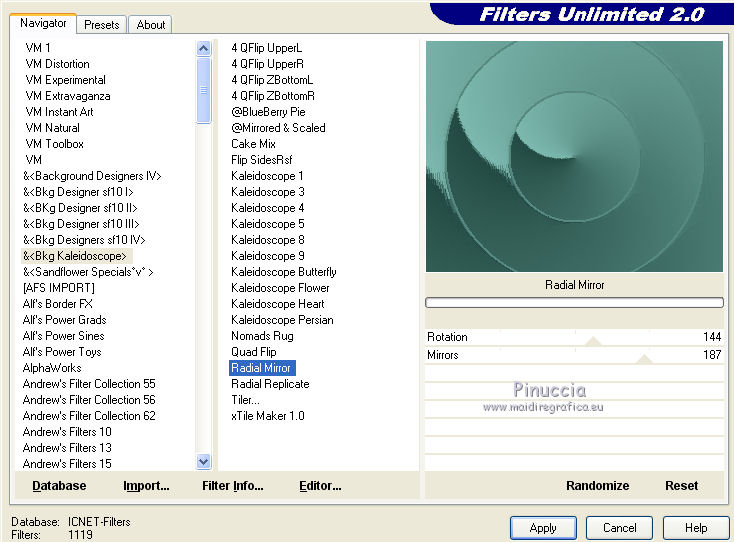
4. Effects>Plugins>Filters Unlimited 2.0 - Paper Textures - Mineral Paper, Sandstone
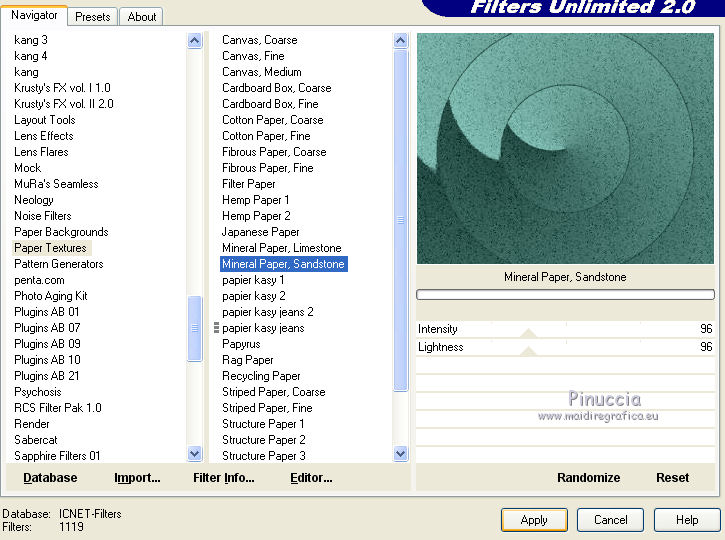
5. Effects>Plugins>Filters Unlimited 2.0 - &<Bkg Kaleidoscope> - Mirrored & Scaled.
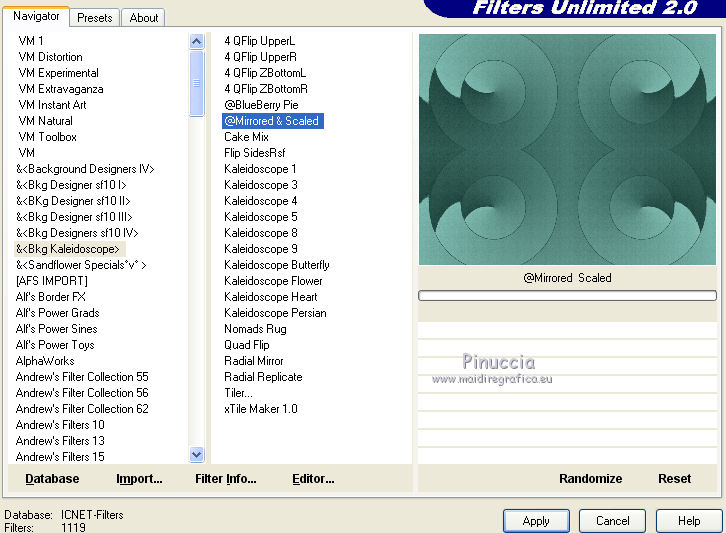
Change the Blend Mode of this layer to Overlay.
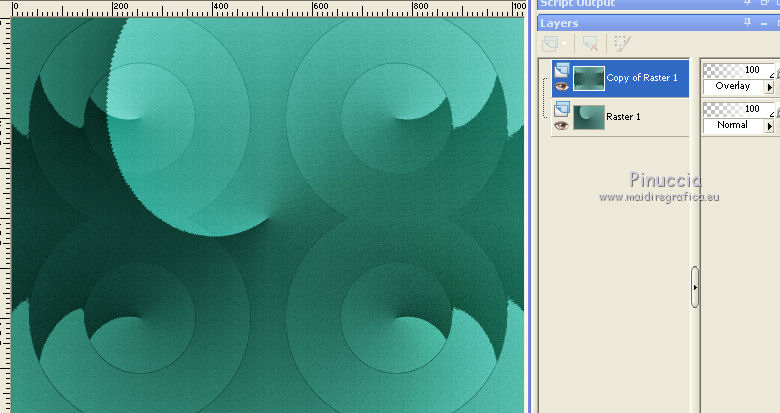
6. Layers>New Raster Layer.
Flood Fill  with your background color #7db9af. with your background color #7db9af.
Layers>New Mask layer>From image
Open the menu under the source window and you'll see all the files open.
Select the mask maskfield.
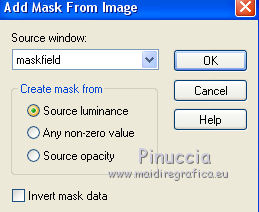
Layers>Merge>Merge Group.
Adjust>Sharpness>Sharpen More.
Effects>3D Effects>Drop Shadow, color #000000.
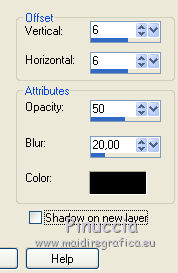
Repeat Drop Shadow, but vertical and horizontal -6.
Change the Blend Mode of this layer to Overlay.
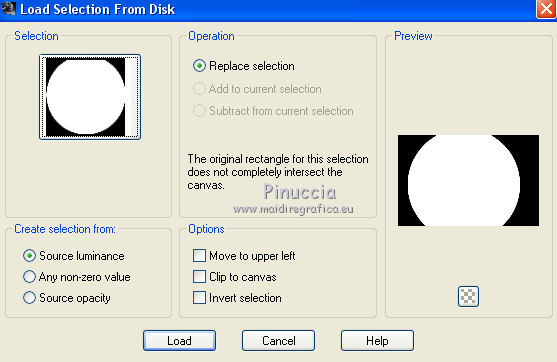
7. Selections>Load/Save Selection>Load Selection from Disk.
Look for and load the selection "circulo".
8. Open the tube SvB Zee 69 misted and go to Edit>Copy.
Go back to your work and go to Edit>Paste as new layer.
Place  the tube on the selection at your choice. the tube on the selection at your choice.
little note: according to the position of your tube, the results of the next steps can be different
Selections>Invert.
Press CANC on the keyboard 
Selections>Select None.
9. Effects>Image Effects>Seamless Tiling.
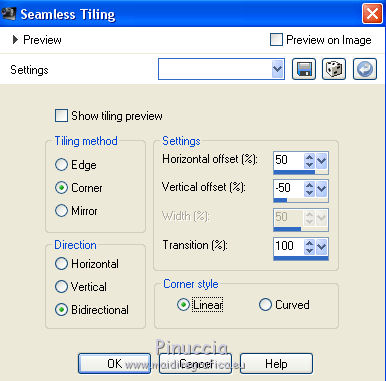
Change the Blend Mode of this layer to Hard Light.
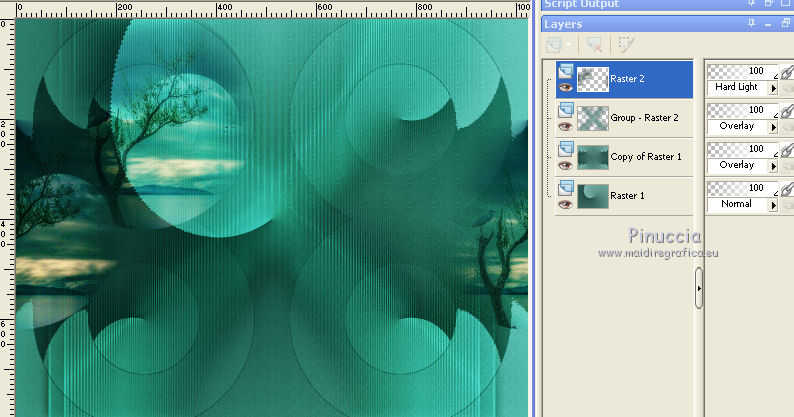
10. Activate the layer Raster 1.
Layers>Duplicate.
Effects>Plugins>Mura's Meister - Perspective Tiling.
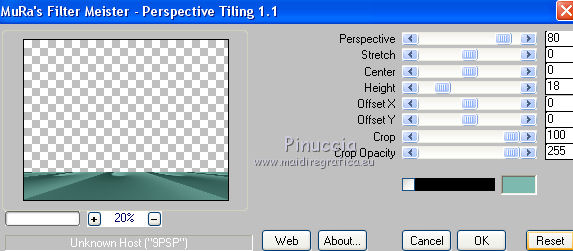
11. Keep this layer selected.
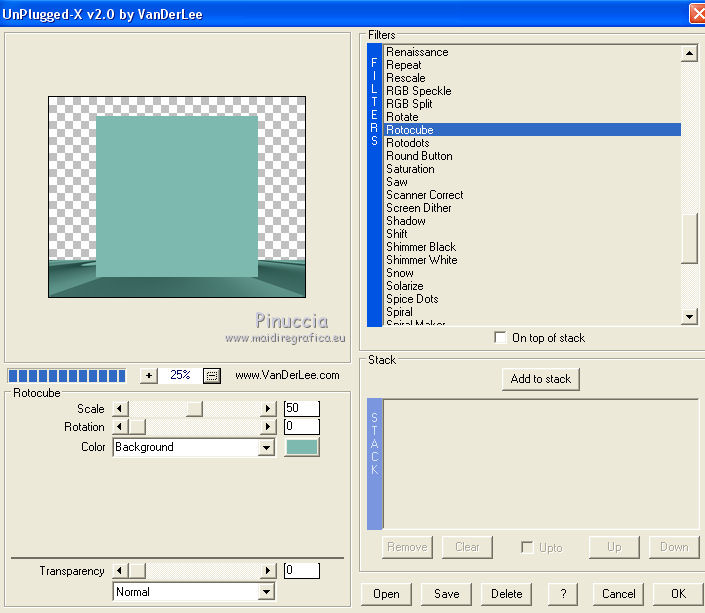
Effects>Plugins>VanDerLee - Unplugged-X - Rotocube,
background color #7db9af
12. Effects>Plugins>VanDerLee - Unplugged-X - Factorize, default settings.
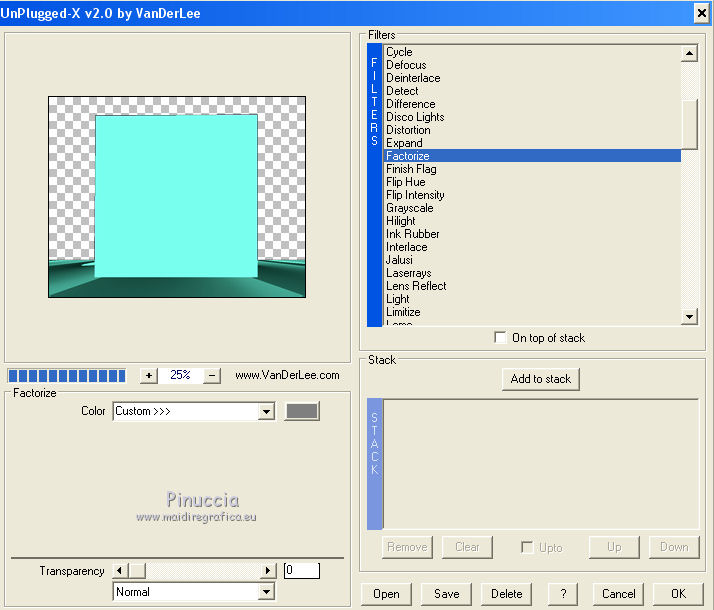
Change the Blend Mode of this layer to Multiply.
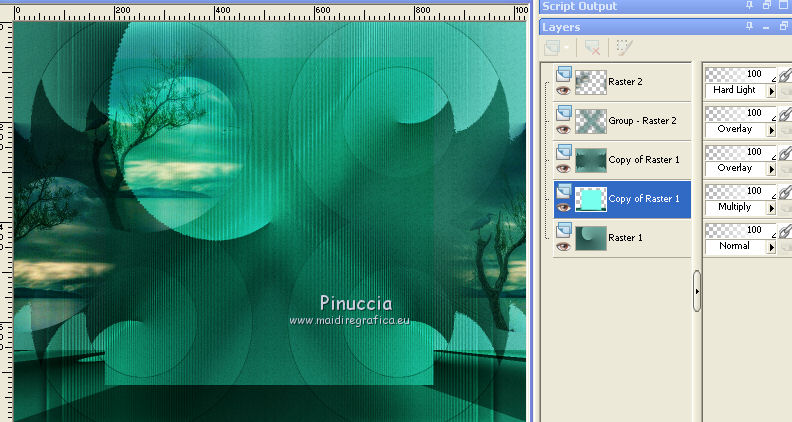
Activate the Magic Wand Tool 
and click on the external part to select it.
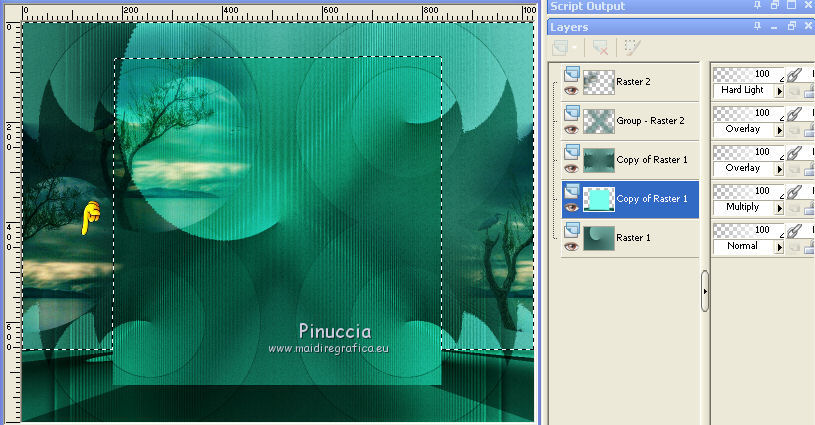
Selections>Invert.
13. Effects>3D Effects>Drop Shadow, last settings
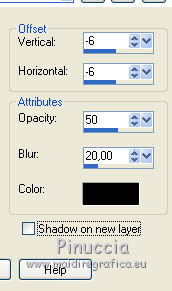
Repeat Drop Shadow, vertical and horizontal 6.

14. Edit>Paste into Selection (the tube SvB Zee 69 misted is still in memory).
Selections>Select None.
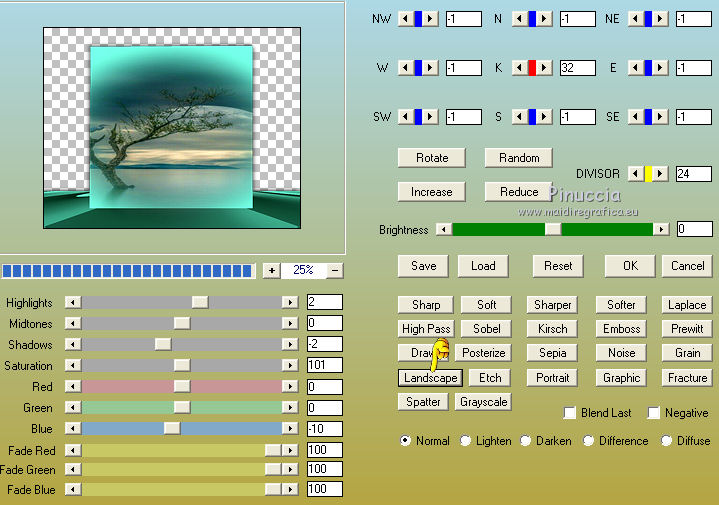
Effects>Modules Externes>AAA Filters - Custom
click on Landscape and ok
Adjust>Sharpness>Sharpen More.
Activate the layer Copy of Raster 1 (the mised)
Repeat Effects>Modules Externes>AAA Filters - Custom - Landscape.
Adjust>Sharpness>Sharpen More.
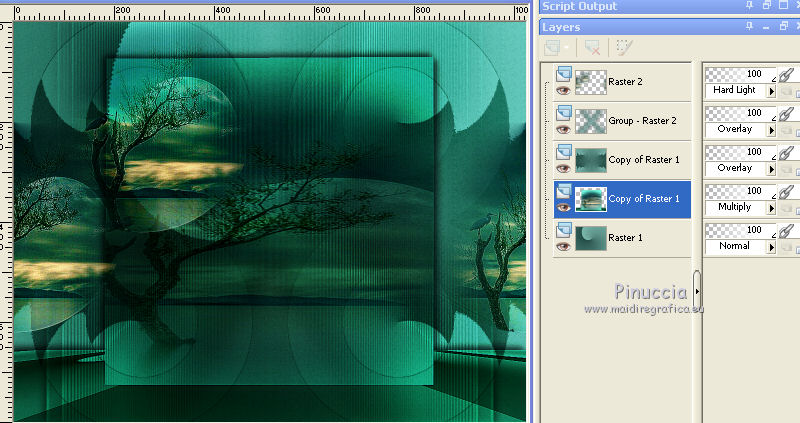
You should have this
15. Activate the top layer.
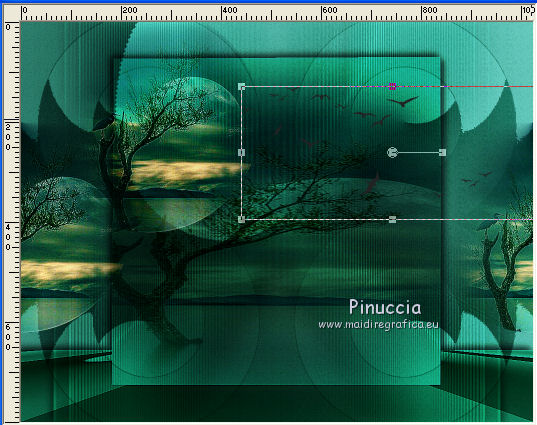
Open the tube "aves" and go to Edit>Copy.
Go back to your work and go to Edit>Paste as new layer.
Place  rightly the tube. rightly the tube.
16. Image>Add borders, 1 pixel, symmetric, color #000000.
Image>Resize, to 90%, resize all layers cheched.
17. Image>Add borders, 30 pixels, symmetric, background color #7db9af.
Activate the Magic Wand Tool 
and click on the bord to select it.
18. Change the style of your Gradient to Sunburst.
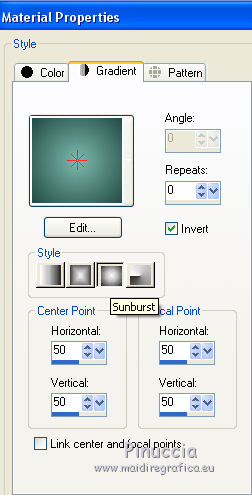
Flood Fill  the selection with your Gradient. the selection with your Gradient.
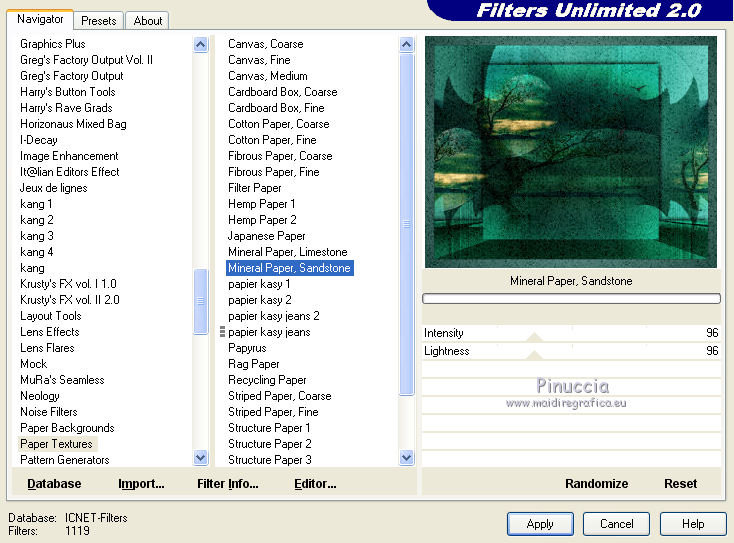
19. Effects>Plugins>Filters Unlimited 2.0 - Paper Textures
Effects>Plugins>VanDerLee - Unplugged-X - Factorize, default settings.
Selections>Invert.
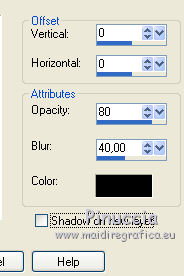
Effects>3D Effects>Drop Shadow, color #000000.
20. Open the tube 2822-woman-LB TUBES and go to Edit>Copy.
Go back to your work and go to Edit>Paste as new layer.
Image>Resize, if necessary (for me to 110%), resize all layers not checked.
Move  the tube to the left side. the tube to the left side.
Adjust>Sharpness>Sharpen More.
21. Open the tube decoguismo and copy the layer 1.
Go back to your work and go to Edit>Paste as new layer.
Image>Resize, to 75%, resize all layers not checked.
Move  the tube to the right side. the tube to the right side.
22. Sign your work on a new layer.
little note about the watermark:
I don't ask to put watermark on the versions made by my translations.
But if you decide to use the watermark supplied by the author, I would appreciate that my work as translator was also respected.
For that, I added my watermark to the material (in english and in french).
22. Image>Add borders, 1 pixel, symmetric, color #000000.
Save as jpg.
The tubes of this version are by Louise and Thafs
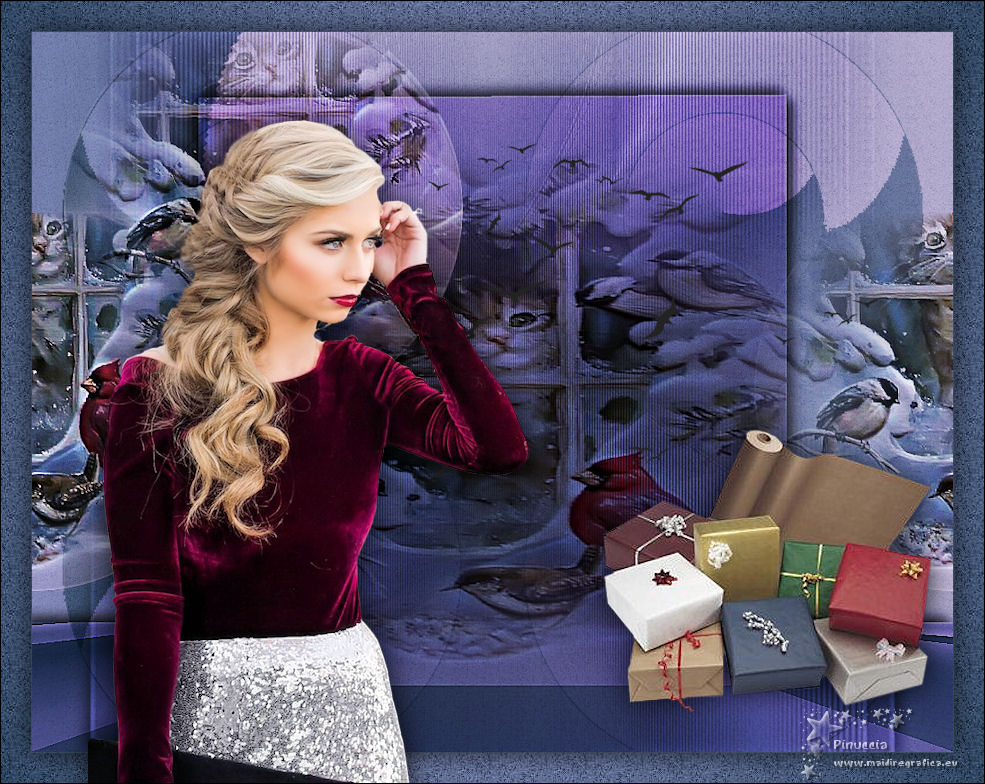
Your versions here

If you have problems or doubts, or you find a not worked link, or only for tell me that you enjoyed this tutorial, write to me.
My mail is in the menu on the top of the page.
16 December 2018
|
 ENGLISH VERSION
