|
TOP CARMELITA
 ENGLISH VERSION ENGLISH VERSION
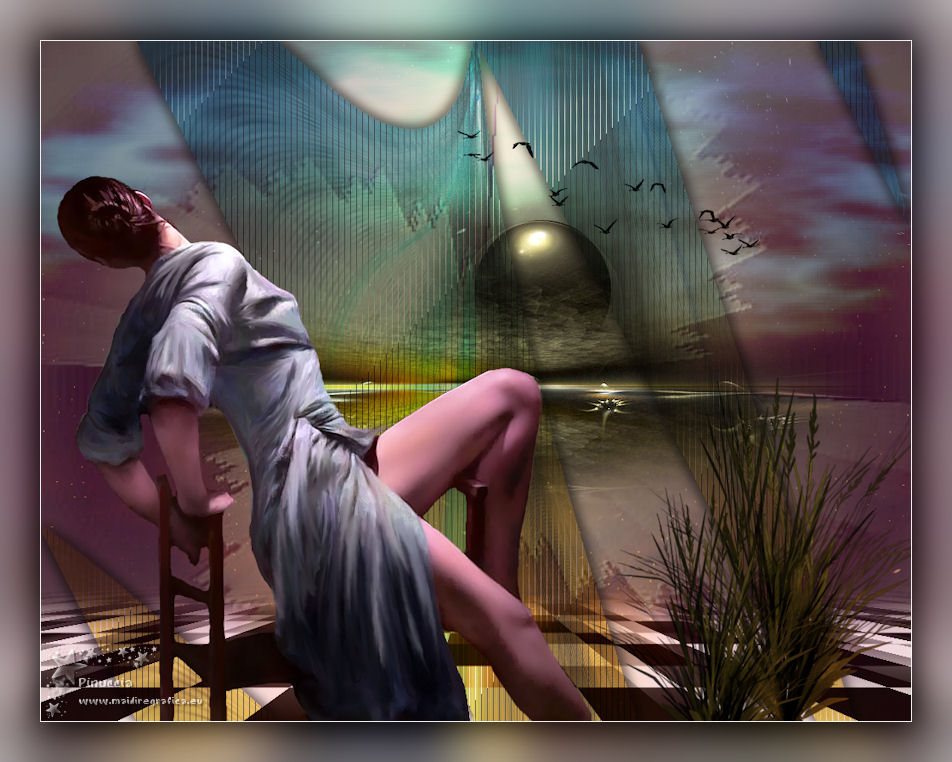
Here you find the original of this tutorial:

This tutorial was created with PSPX8 and translated with PSPX3, but it can also be made using other versions of PSP.
Since version PSP X4, Image>Mirror was replaced with Image>Flip Horizontal,
and Image>Flip with Image>Flip Vertical, there are some variables.
In versions X5 and X6, the functions have been improved by making available the Objects menu.
In the latest version X7 command Image>Mirror and Image>Flip returned, but with new differences.
See my schedule here
French translation here
your versions ici
For this tutorial, you will need:
Material here
Thanks for the material:
Tubes: pspcybertubes2012-203
nicole-mist-paysage-20-2012
Pinceau: bird_brushes_II_by_lpdragonfly_5
Deco_decograma Nik-Windmill 9 arquivo net
Back: backlc
(you find here the links to the material authors' sites)
Plugins
consult, if necessary, my filter section here
Filters Unlimited 2.0 here
Flaming Pear - Glitterato here
Ulead Effects - Particle here
Mura's Seamless - Emboss at Alpha here
Mura's Meister - Perspective Tiling here
Tramages - Tow the line here
VanDerLee - Unplugged-X here
Nik Software - Color Efex Pro here
Filters Tramages et Mura's Seamless can be used alone or imported into Filters Unlimited.
(How do, you see here)
If a plugin supplied appears with this icon  it must necessarily be imported into Unlimited it must necessarily be imported into Unlimited

You can change Blend Modes according to your colors.
Copy the preset Emboss 3 in the Presets Folder.
Copy the Gradient in the Gradients Folder.
1. Set your foreground color to Gradient and select the Gradient ES Chic 11, style Linear.
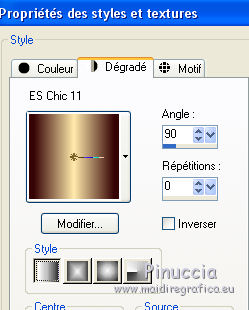
2. Open a new transparent image 1024 x 800 pixels.
Flood Fill  the transparent image with your Gradient. the transparent image with your Gradient.
3. Layers>New Raster Layer.
Effects>Plugins>Flaming Pear - Glitterato
to change the colors random, click on the dice, until you see the result you like better
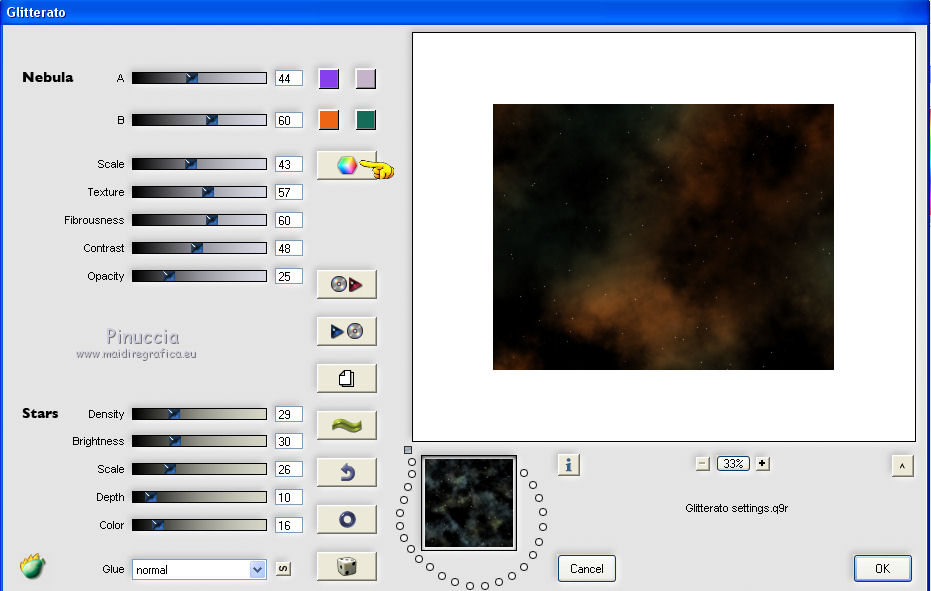
My result
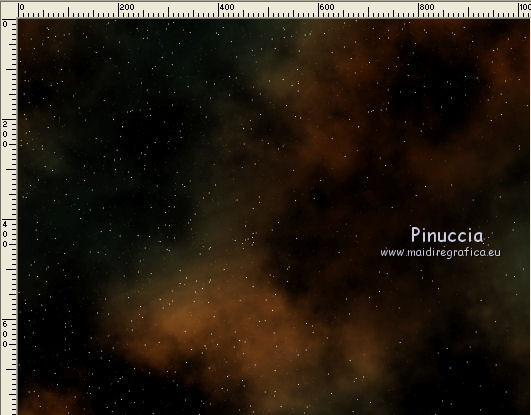
3. Activate the Selection Tool  , circle, , circle,
and design a circle in the middle of your image
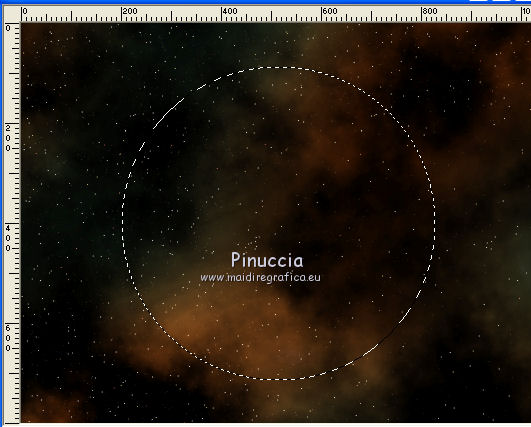
4. Effects>Distortion Effects>Warp.
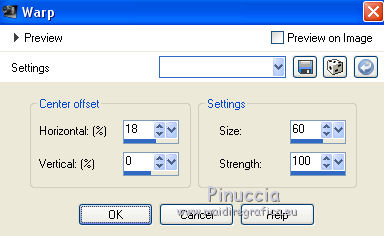
Selections>Select None.
5. Effects>Image Effects>Seamless Tiling.

Effects>Plugins>Mura's Seamless - Emboss at Alpha, default settings.
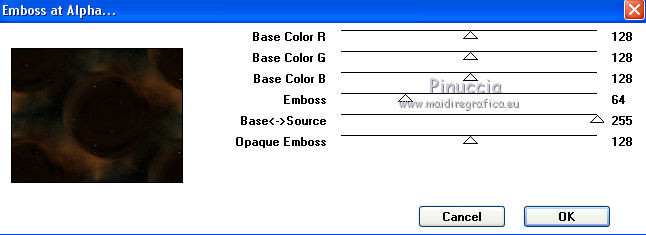
6. Keep this layer selected.
Effects>Plugins>Ulead Effects - Particle
Select Cloud and click on Load
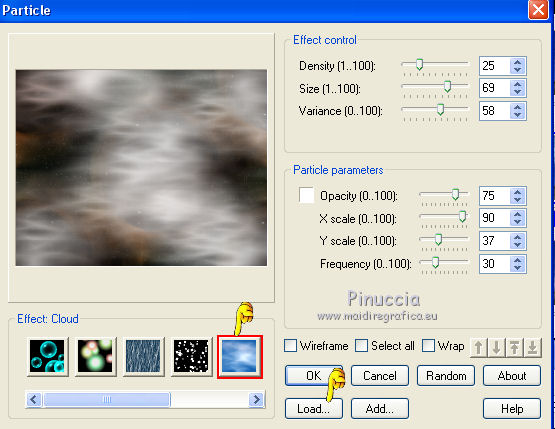
Choose Cloud 3
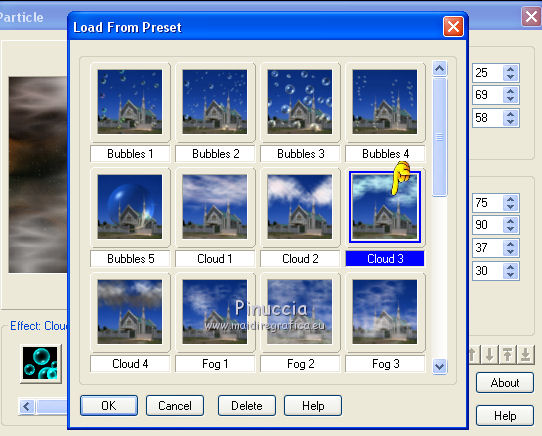
click on Ok to apply
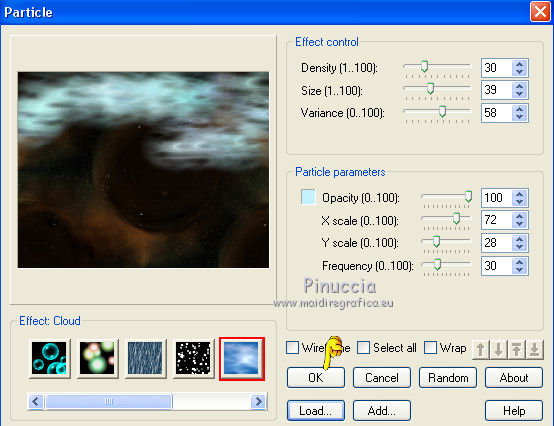
Change the Blend Mode of this layer to Hard Light and reduce the opacity to 46%.
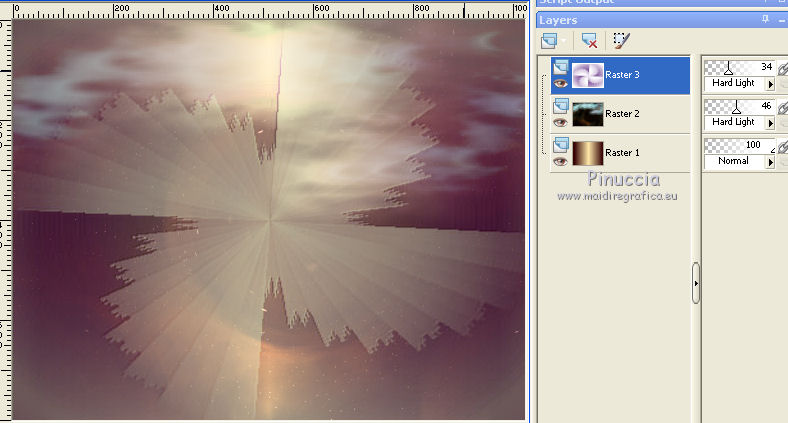
7. Layers>New Raster Layer.
Selections>Select All.
Open Nik Windmill - Edit>Copy.
Go back to your work and go to Edit>Paste into Selection.
Selections>Select None.
Effects>User Defined Filter - select the preset Emboss 3 and ok.

Change the Blend Mode of this layer to Hard Light and reduce the opacity to 34%.
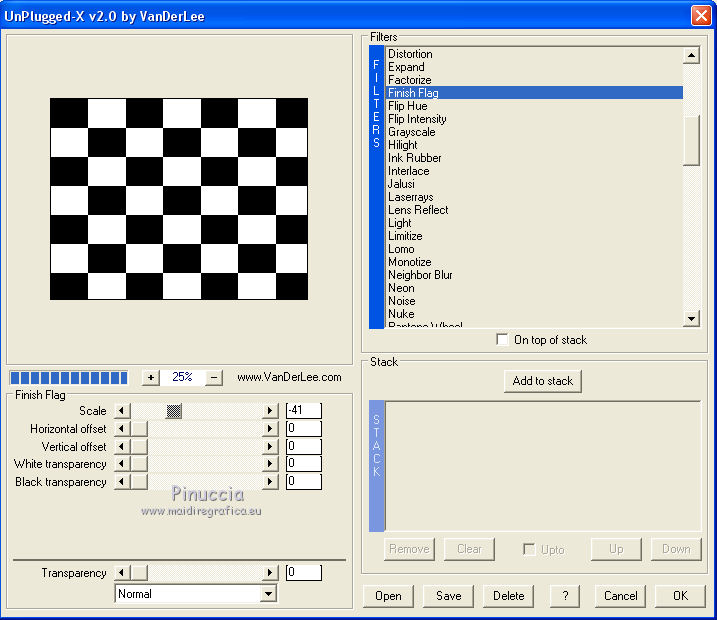
8. Layers>New Raster Layer (Raster 4).
Set your foreground color to #ffffff.
Flood Fill  the layer with color #ffffff. the layer with color #ffffff.
Effects>Plugins>VanDerLee - Unplugged-X - Finish Flag.
9. Effects>Image Effects>Seamless Tiling, same settings.
10. Effects>Plugins>Mura's Meister - Perspective Tiling.
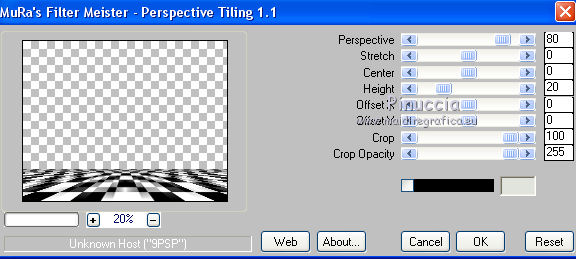
Activate the Magic Wand Tool  , tolerance 20 and feather 60 , tolerance 20 and feather 60

click on the transparent zone to select it.
Press 6/7 times CANC on the keyboard  pour adoucir l'effet. pour adoucir l'effet.
Selections>Select None.
Change the Blend Mode of this layer to Luminance (héritée) and reduce the opacity to 81%.
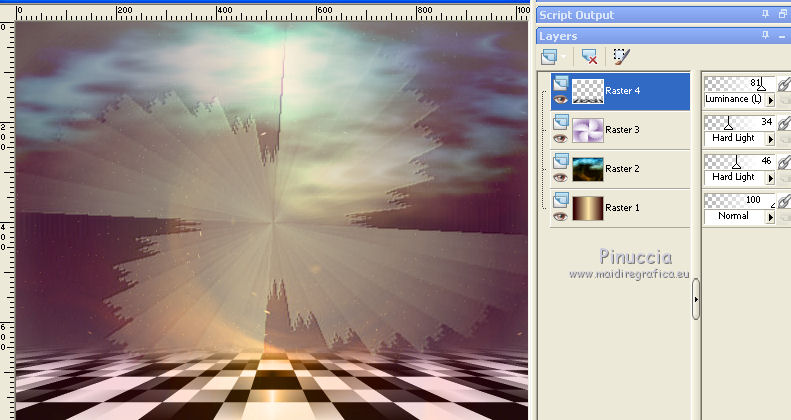
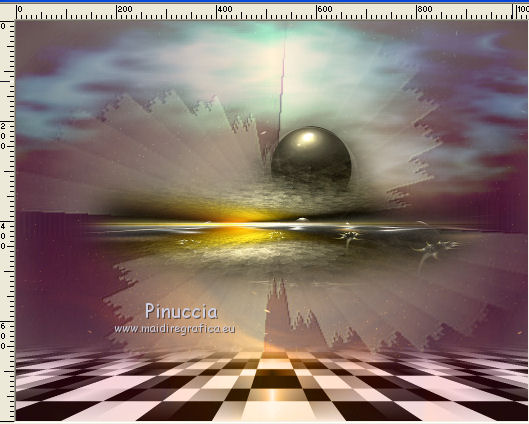
11. Open the tube nicole-mist-paysage-20-2012 - Edit>Copy.
Go back to your work and go to Edit>Paste as new layer.
Place  rightly the tube. rightly the tube.
12. Layers>New Raster Layer.
Selections>Select All.
Open the tube Backlc - Edit>Copy.
Go back to your work and go to Edit>Paste into Selection.
Selections>Select None.
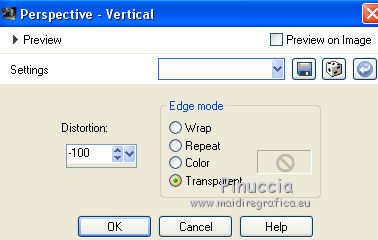
13. Effects>Geometric Effects>Perspective vertical.
14. Effects>Distortion Effects>Pinch

15. Effects>Geometric Effects>Skew.
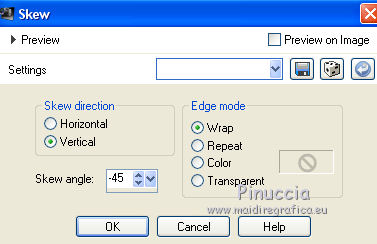
Edit>Repeat Skew.
16. Effects>Plugins>Filters Unlimited 2.0 - Tramages - Tow the line, default settings
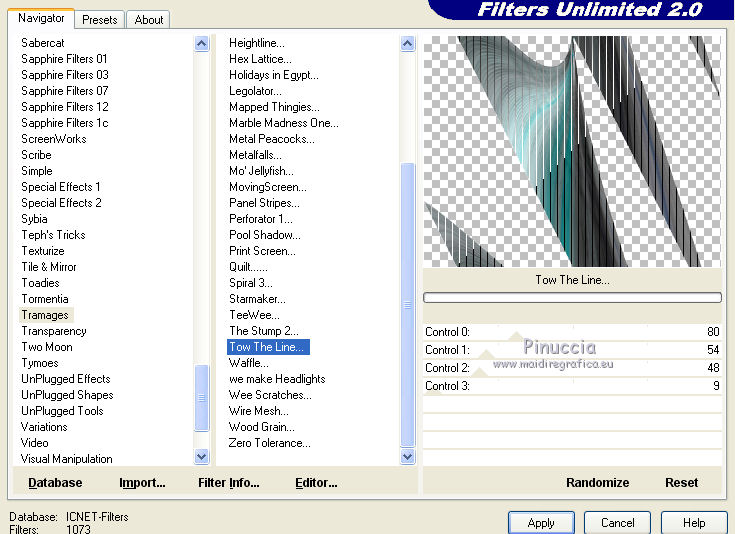
Effects>3D Effects>Drop Shadow, color #000000.
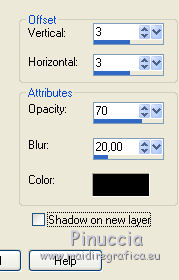
Repeat Drop Shadow, vertical and horizontal -3.
17. Effects>Plugins>Nik Software - Color Efex Pro - Bi-Color Filters
Color set: Cool/Warm 1.
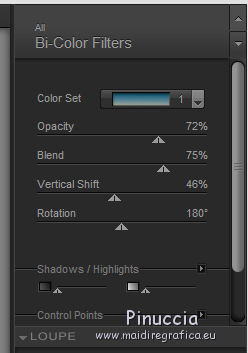
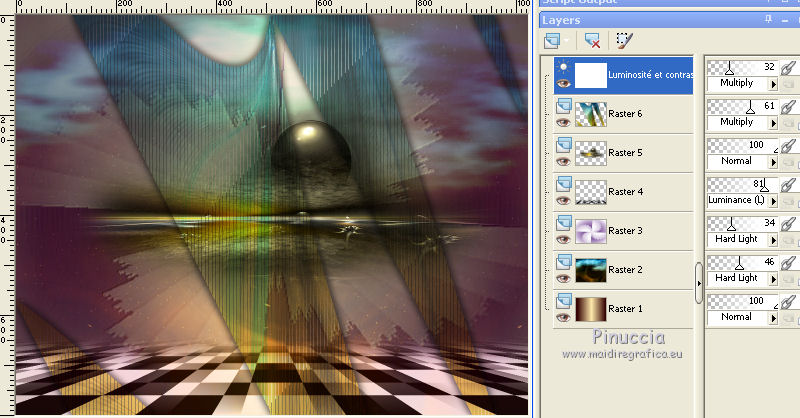
Change the Blend Mode of this layer to Multiply and reduce the opacity to 61%.
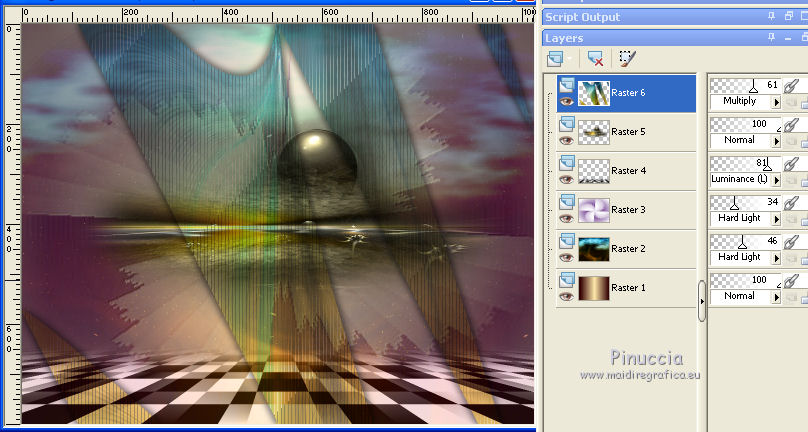
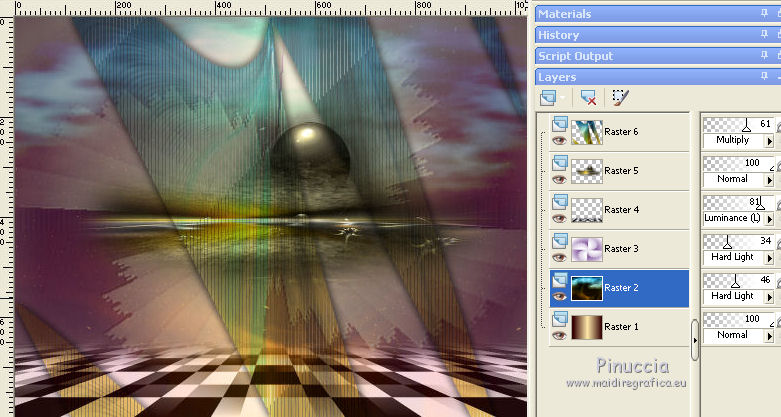
Repeat Nik Software on the layer Raster 2.
18. Activate the top layer.
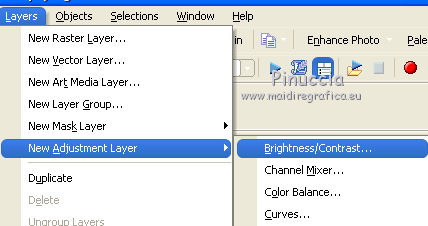
Layers>New Adjustment Layer>Brightness/Contrast
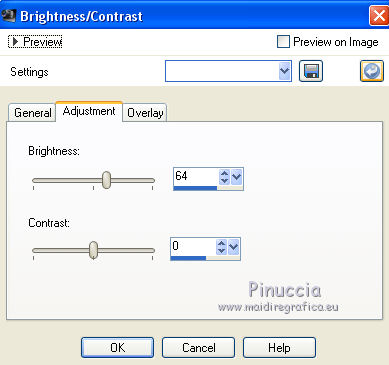
Adapt as you prefer.
Change the Blend Mode of this layer to Multiply and reduce the opacity to 32%.
19. Open decograma - Edit>Copy.
Go back to your work and go to Edit>Paste as new layer.
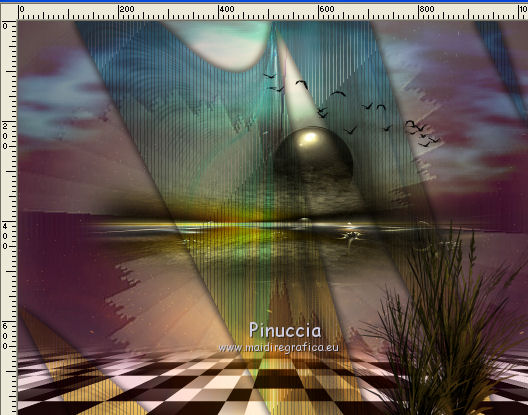
Move  the tube at the bottom right. the tube at the bottom right.
20. Open bird_brushed_II_by_lpdragonfly_5 - Edit>Copy.
Go back to your work and go to Edit>Paste as new layer.
Place  the tube over the misted the tube over the misted
21. Open the woman tube - Edit>Copy.
Go back to your work and go to Edit>Paste as new layer.
Place  the tube at the bottom left. the tube at the bottom left.
22. Image>Add borders, 1 pixel, symmetric, color #ffffff.
Image>Resize, to 85%, resize all layers checked.
Edit>Copy.
23. Image>Add borders, 40 pixels, symmetric, light color #c0c0c0.
Select this border with your Magic Wand Tool  , ,
(don't forget to set Tolerance and Feather to 0)
Edit>Paste into Selection.
Adjust>Blur>Gaussian Blur - radius 30

Selections>Invert.
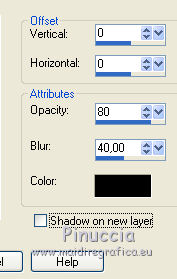
Effects>3D Effects>Drop Shadow, color #000000.
Selections>Select None.
Sign your work on a new layer.
little note about the watermark:
I don't ask to put watermark on the versions made by my translations.
But if you decide to use the watermark supplied by the author, I would appreciate that my work as translator was also respected.
For that, I added my watermark to the material (in english and in french).
24. Layers>Merge>Merge All and save as jpg.
The tube of this version is by Anna.br
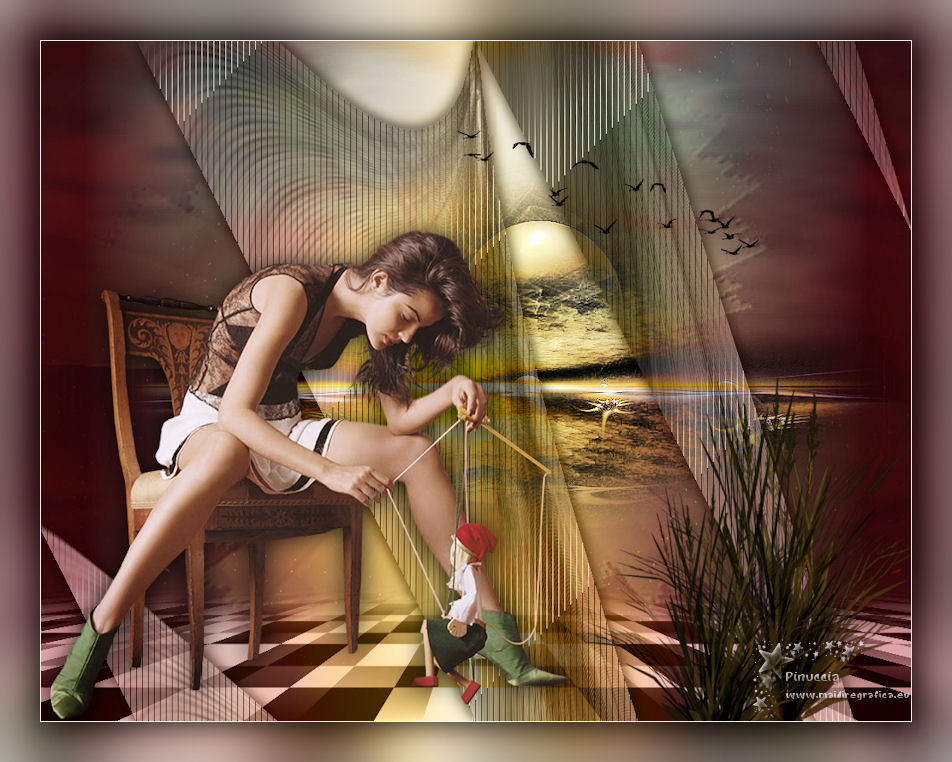
Your versions here

If you have problems or doubts, or you find a not worked link, or only for tell me that you enjoyed this tutorial, write to me.
My mail is in the menu on the top of the page.
6 October 2018
|
 ENGLISH VERSION

 ENGLISH VERSION
