|
TOP ANGELA
 ENGLISH VERSION ENGLISH VERSION
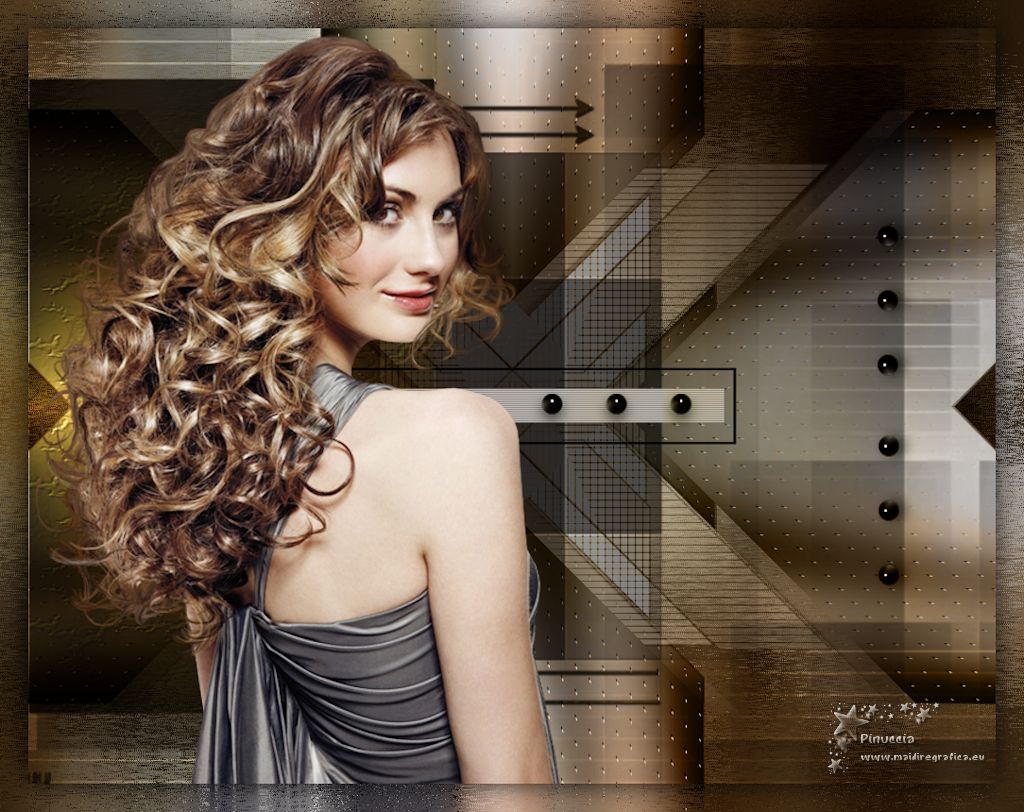
Here you find the original of this tutorial:

This tutorial was created with PSPX8 and translated with PSPX3, but it can also be made using other versions of PSP.
Since version PSP X4, Image>Mirror was replaced with Image>Flip Horizontal,
and Image>Flip with Image>Flip Vertical, there are some variables.
In versions X5 and X6, the functions have been improved by making available the Objects menu.
In the latest version X7 command Image>Mirror and Image>Flip returned, but with new differences.
See my schedule here
French translation here
your versions ici
For this tutorial, you will need:
Material here
Thanks for the tubes CibiBijoux (Beauty_in_fur_CibiBijoux, Jarre_raisins), Animabelle (328_paysage_p3_animabelle),
Mask: maskfield (mp)
(you find here the links to the material authors' sites)
Plugins
consult, if necessary, my filter section here
Filters Unlimited 2.0 here
Mehdi here
L&&k's - L&K's Mayra here
&<Bkg Designer sf10I> - Special Effects 1 (to import in Unlimited) here
VM Natural here
Alien Skin Eye Candy 5 Impact here
Toadies here
Filters VM Natural and Toadies can be used alone or imported into Filters Unlimited.
(How do, you see here)
If a plugin supplied appears with this icon  it must necessarily be imported into Unlimited it must necessarily be imported into Unlimited

You can change Blend Modes according to your colors.
In the newest versions of PSP, you don't find the foreground/background gradient (Corel_06_029).
You can use the gradients of the older versions.
The Gradient of CorelX here
Copy the Selections in the Selections Folder.
Copy the texture drock003 in the Textures Folder.
Open the mask in PSP and minimize it with the rest of the material.
1. Set your foreground color to #08322b,
and your background color to #979a56.
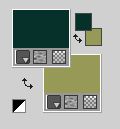
Set your foreground color to a Foreground/Background Gradient, style Rectangular.
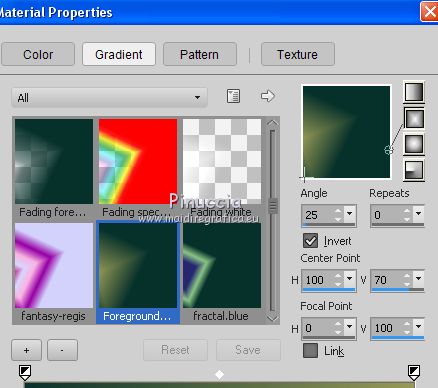
Open a new transparent image 1024 x 800 pixels.
Flood Fill  the transparent image with your Gradient. the transparent image with your Gradient.
2. Layers>New Raster Layer.
Selections>Select All.
Open the tube Smiling_blonde_girl_by_CibiBijoux and go to Edit>Copy.
Minimize the tube.
Go back to your work and go to Edit>Paste into Selection.
Selections>Select None.
Effects>Image Effects>Seamless Tiling.

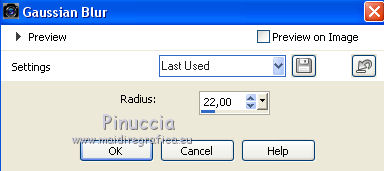
Adjust>Blur>Gaussian Blur - radius 22
3. Effects>Plugins>Tramages - Wee Scratches
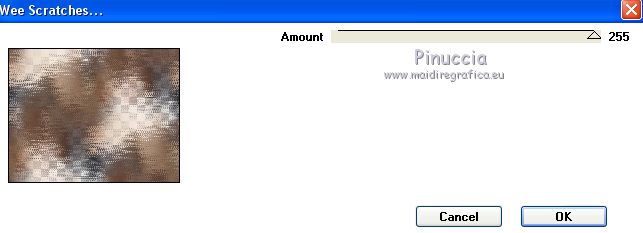
Layers>Merge>Merge Down.
4. Layers>New Raster Layer.
Flood Fill  the layer with your Gradient the layer with your Gradient
Effects>Image Effects>Seamless Tiling, same settings

5. Layers>New Mask layer>From image
Open the menu under the source window and you'll see all the files open.
Select the mask Mask_08_GB_2019.

Layers>Merge>Merge Group.
6. Effects>Texture Effects>Texture - select the texture drock003
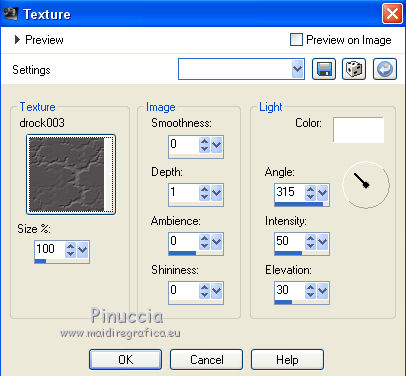
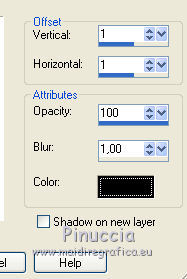
Effects>3D Effects>Drop Shadow, color #000000.
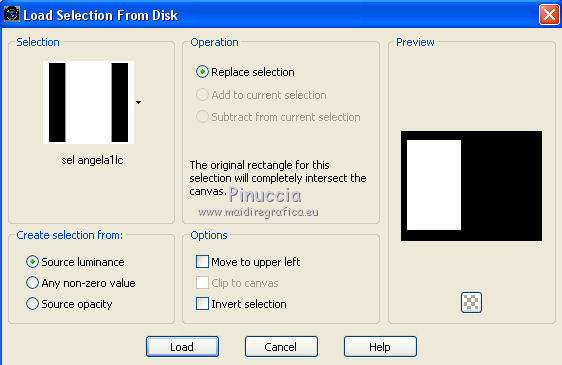
7. Selections>Load/Save Selection>Load Selection from Disk.
Look for and load the selection selangela1lc.PSPSelection.
Selections>Promote Selection to layer.
Layers>New Raster Layer.
Open the image angela1lc and go to Edit>Copy.
Go back to your work and go to Edit>Paste into Selection.
Selections>Select None.
Layers>Merge>Merge Down.
Activate the mask layer Group-Raster 2.
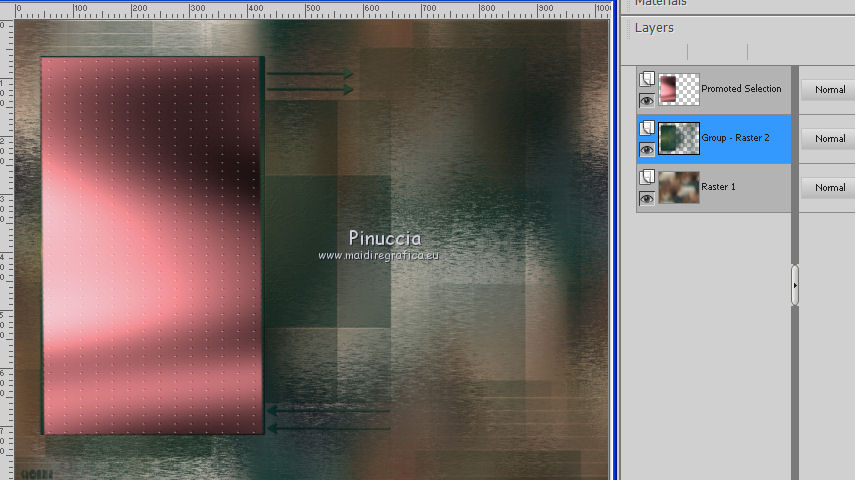
8. Selections>Load/Save Selection>Load Selection from Disk.
Look for and load the selection selangela2lc.PSPSelection.
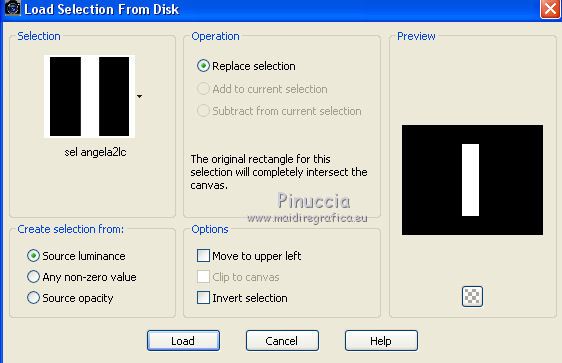
Selections>Promote Selection to layer.
Layers>New Raster Layer.
Open the image angela2lc and go to Edit>Copy.
Go back to your work and go to Edit>Paste into Selection.
Selections>Select None.
Layers>Merge>Merge Down.
Activate again the mask layer Group-Raster 2.
9. Selections>Load/Save Selection>Load Selection from Disk.
Look for and load the selection selangela3lc.PSPSelection.
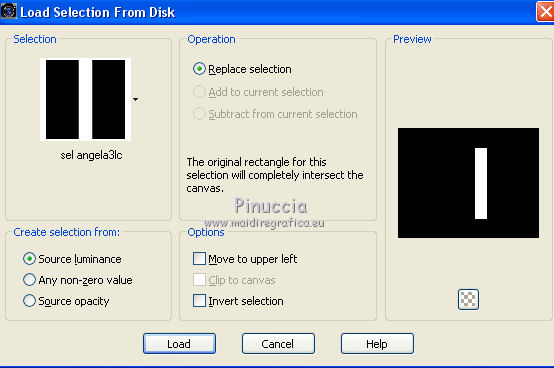
Selections>Promote Selection to layer.
Layers>New Raster Layer.
Open the image angela3lc and go to Edit>Copy.
Go back to your work and go to Edit>Paste into Selection.
Selections>Select None.
Layers>Merge>Merge Down.
Activate the mask layer Group-Raster 2.
10. Selections>Load/Save Selection>Load Selection from Disk.
Look for and load the selection selangela4lc.PSPSelection.
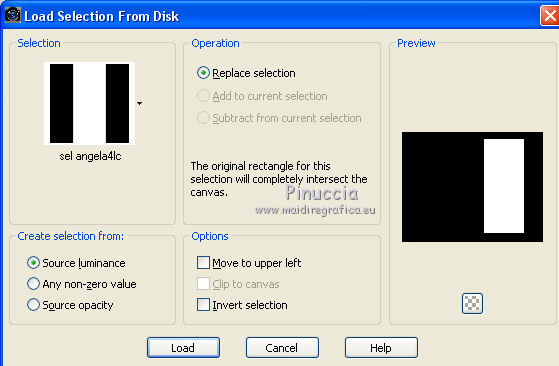
Selections>Promote Selection to layer.
Layers>New Raster Layer.
Open the image angela4lc and go to Edit>Copy.
Go back to your work and go to Edit>Paste into Selection.
Selections>Select None.
Layers>Merge>Merge Down.
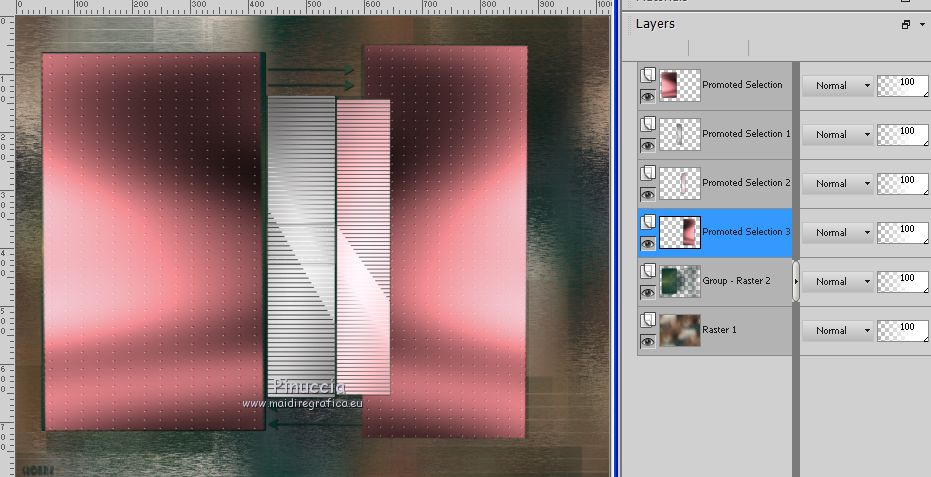
You should have this
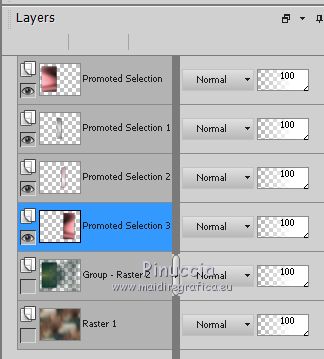
Close the two bottom layers: Raster 1 and Group-Raster 2
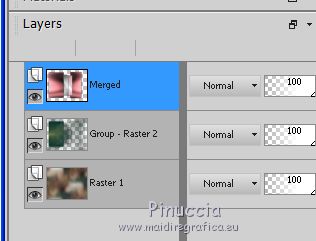
Layers>Merge>Merge visible.
Open again the closed layer and keep the top layer Merged selected
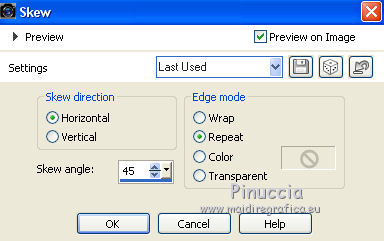
11. Effects>Geometric Effects>Skew.
12. Effects>Plugins>Simple - Pizza Slice Mirror.
13. Effects>Plugins>Simple - 4Way Average
The two effects work without windows: result:
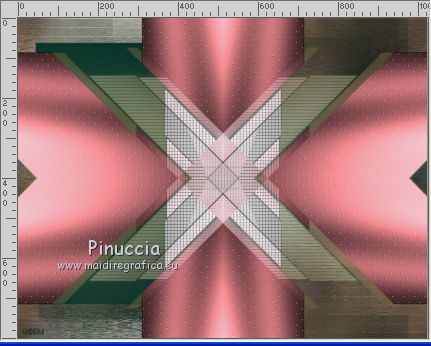
14. Effects>Plugins>Nik Software - Color Efex Pro - Color Stylizer
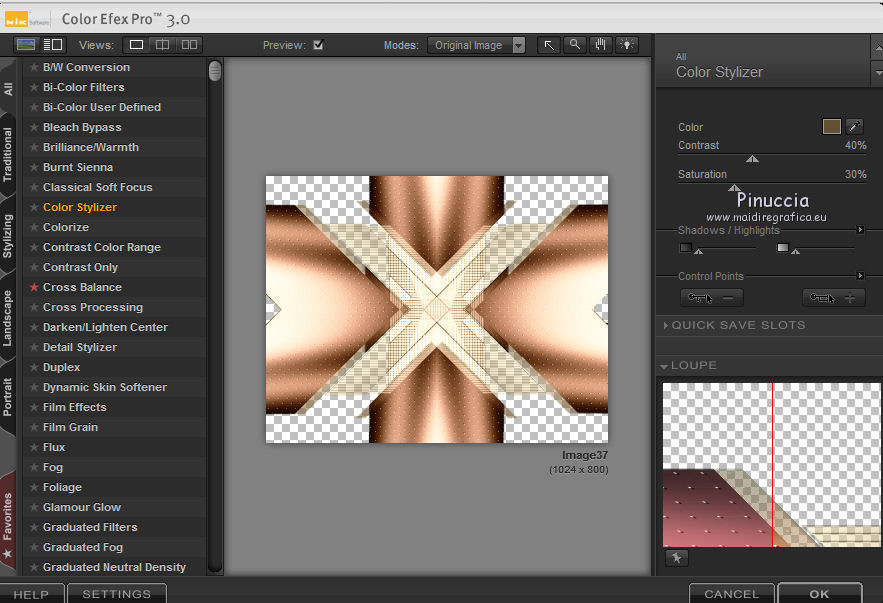
Repeat this effect on the other two layers below (Raster 1 and Group-Raster 2).
Activate the mask layer Group-Raster 2.
Layers>Arrange>Bring to Top.
Activate your Pick Tool 
and pull the mask up to cover the whole image
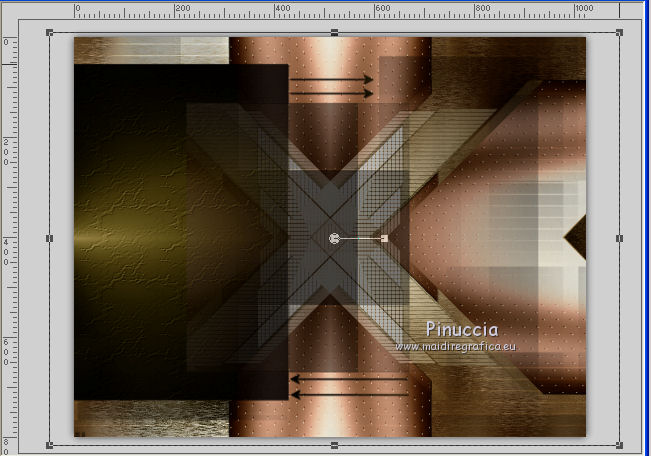
Change the Blend Mode of this layer to Hard Light, opacity 91,
and of the layer below to Luminance (legacy), or at your choice
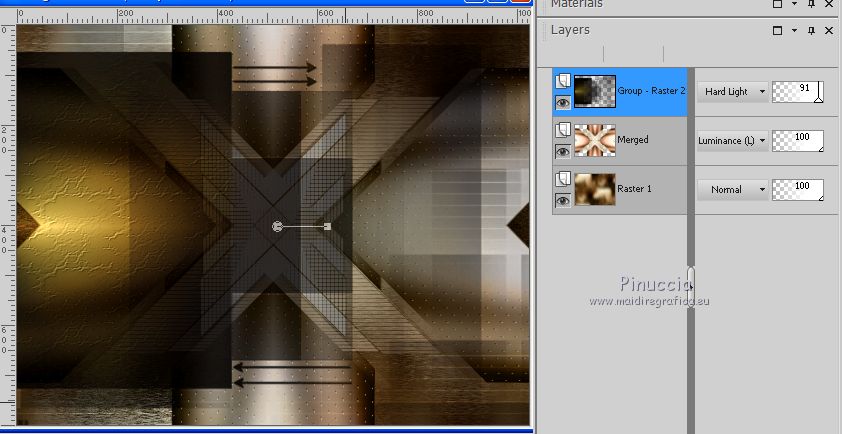
15. Open the image angela5lc and go to Edit>Copy.
Go back to your work and go to Edit>Paste as new layer.
Don't move it.
Keep the Blend Mode of this layer to Luminance (legacy).
16. Open the image angela6lc and go to Edit>Copy.
Go back to your work and go to Edit>Paste as new layer.
17. Open decoalc and go to Edit>Copy.
Go back to your work and go to Edit>Paste as new layer.
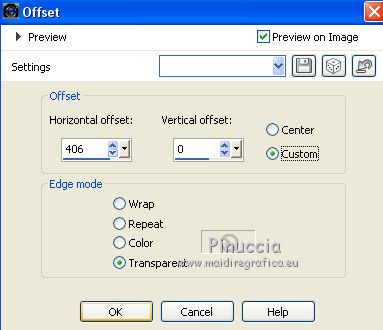
Effects>Image Effects>Offset.
Change the Blend Mode of this layer to Luminance (legacy).
18. Open decoblc and go to Edit>Copy.
Go back to your work and go to Edit>Paste as new layer.
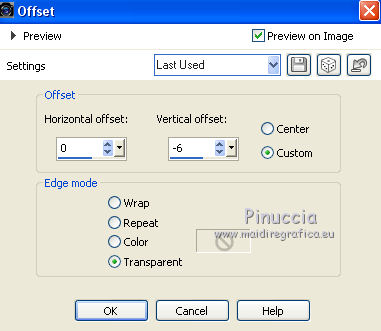
Effects>Image Effects>Offset
Keep the Blend Mode of this layer to Luminance (legacy)
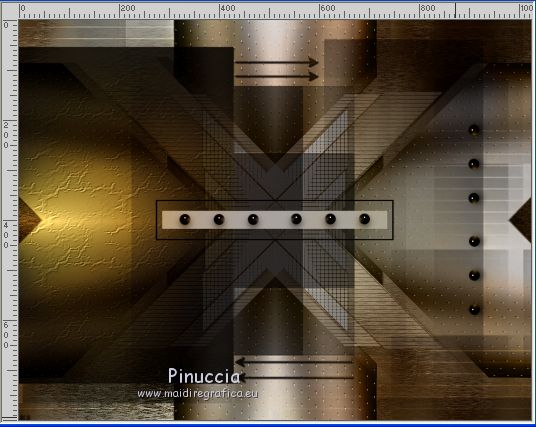
19. Activate again the tube Smiling_blonde_girl_by_CibiBijoux and go to Edit>Copy.
Go back to your work and go to Edit>Paste as new layer.
Image>Resize, at your choice (for me 120%), resize all layers not checked.
Move  the tube to the left side. the tube to the left side.
Layers>Merge>Merge visible.
20. Selections>Select All.
Edit>Copy.
Image>Add borders, 30 pixels, symmetric, color #ffffff.
Selections>Invert.
Edit>Paste into Selection.
Adjust>Blur>Gaussian Blur - radius 22

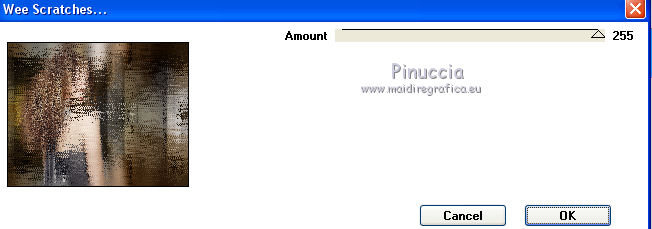
Effects>Plugins>Tramages - Wee Scratches, same settings.
Selections>Invert.
Effects>3D Effects>Drop Shadow, color #000000.
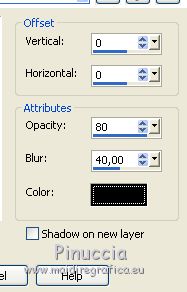
Selections>Select None.
21. Sign your work on a new layer.
little note about the watermark:
I don't ask to put watermark on the versions made by my translations.
But if you decide to use the watermark supplied by the author, I would appreciate that my work as translator was also respected.
For that, I added my watermark to the material (english and french).
22. Image>Resize, to 1024 pixels width, or at your choice, resize all layers checked.
Save as jpg.
The tube of this version is by Jewel
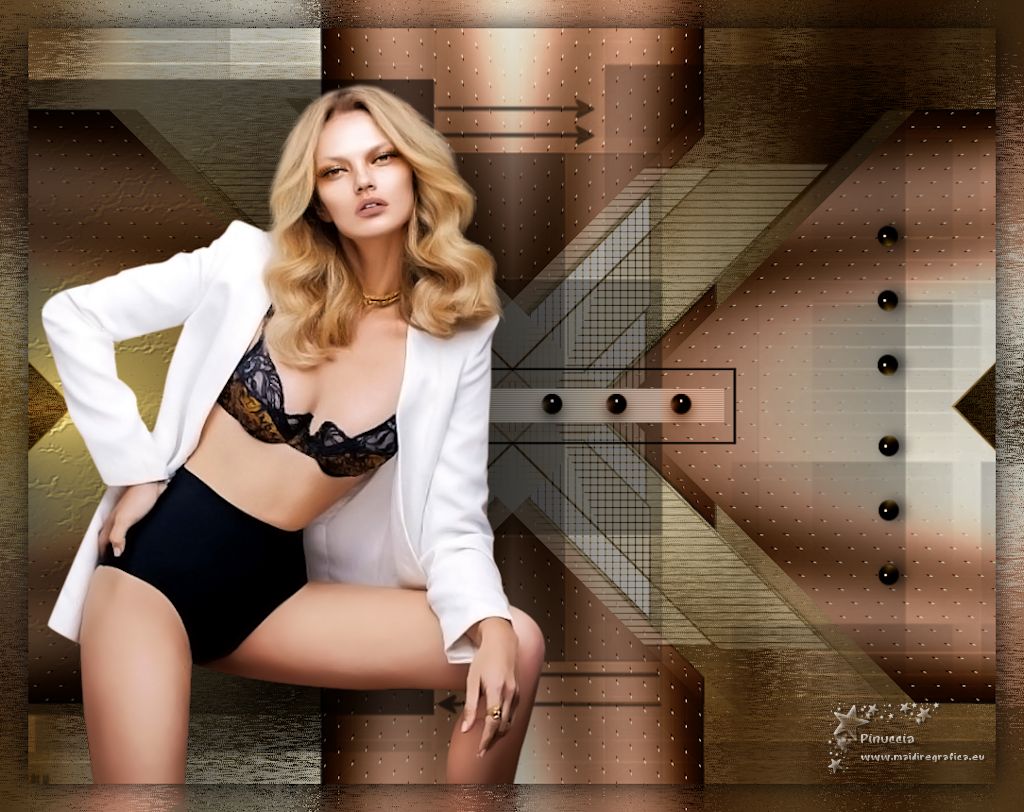
Your versions here

If you have problems or doubts, or you find a not worked link, or only for tell me that you enjoyed this tutorial, write to me.
7 March 2019
|
 ENGLISH VERSION
