|
NOËL 2018
 ENGLISH VERSION ENGLISH VERSION
Here you find the original of this tutorial:

This tutorial was translated with PSPX3 but it can also be made using other versions of PSP.
Since version PSP X4, Image>Mirror was replaced with Image>Flip Horizontal,
and Image>Flip with Image>Flip Vertical, there are some variables.
In versions X5 and X6, the functions have been improved by making available the Objects menu.
In the latest version X7 command Image>Mirror and Image>Flip returned, but with new differences.
See my schedule here
Italian translation here
le vostre versioni/your versions qui
For this tutorial, you will need:
Material here
The image of the Galaxy come from NASA.
Thanks to the authors, that I don't know, of the rest of the material.
(The links of the tubemakers here).
Plugins
Filters Unlimited 2.0 here
Graphics Plus - Cross Shadow, Emboss here
Filters Graphics Plus can be used alone or imported into Filters Unlimited.
(How do, you see here)
If a plugin supplied appears with this icon  it must necessarily be imported into Unlimited it must necessarily be imported into Unlimited
Animation Shop here

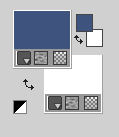
1. Set your Foreground color to #3e557e
and your background color to #ffffff.
2. Open a new transparent image 800 x 600 pixels.
3. Open the landscape with the tree and go to Edit>Copy.
Go back to your work and go to Edit>Paste as new layer.
4. Don't move the image and close this layer.
5. Open the image of the galaxy and Apri l'immagine della galassia go to Edit>Copy.
Go back to your work and go to Edit>Paste as new layer.
Image>Resize, 2 times to 40%, resize all layers not checked.
Image>Mirror.
6. Open the tube of the book and go to Edit>Copy.
Go back to your work and go to Edit>Paste as new layer.
7. Effects>Image Effects>Offset.

8. Activate the Magic Wand Tool 
and click on the empty zone of the book to select it.
9. Selections>Modify>Expand - 20 pixels.

10. Activate the layer of the galaxy.
Selections>Invert.
Press CANC on the keyboard 
Selections>Select None and stay on this layer.
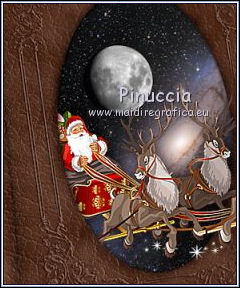
11. Open the tube of the sledge and go to Edit>Copy.
Go back to your work and go to Edit>Paste as new layer.
Image>Resize, to 60%, resize all layers not checked.
12. Effects>Image Effects>Offset.

13. Layers>Duplicate.
Layers>Merge>Merge Down.
Adjust>Sharpness>Sharpen More.
14. Effects>3D Effects>Drop Shadow.

15. Layers>Duplicate.
Layers>Arrange>Move Up.
16. Activate the Erase Tool 
and erase the left part of the sledge.
17. Activate the layer of the book.
Effects>3D Effects>Drop Shadow, same settings.

Repeat Drop Shadow, vertical and horizontal -3.
18. Open the closed layer and activate the top layer.
Open the tube of the snow and go to Edit>Copy.
Go back to your work and go to Edit>Paste as new layer.
19. Effects>Image Effects>Offset.

20. Open the tube of the tree trunk and go to Edit>Copy.
Go back to your work and go to Edit>Paste as new layer.
Image>Resize, to 80%, resize all layers not checked.
Adjust>Sharpness>Sharpen More.
Move  the tube at the bottom right. the tube at the bottom right.
21. Open the tube of the fox and go to Edit>Copy.
Go back to your work and go to Edit>Paste as new layer.
Image>Resize, to 60%, resize all layers not checked.
Adjust>Sharpness>Sharpen More.
22. Move  the fox in front of the trunk. the fox in front of the trunk.
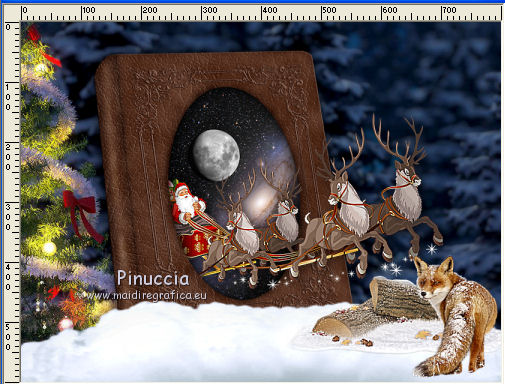
23. Open the tube of the squirrel and go to Edit>Copy.
Go back to your work and go to Edit>Paste as new layer.
Image>Resize, to 60%, resize all layers not checked.
Adjust>Sharpness>Sharpen More.
Move  the tube at the bottom left. the tube at the bottom left.
24. Open the tube of the birds and go to Edit>Copy.
Go back to your work and go to Edit>Paste as new layer.
Image>Resize, to 30%, resize all layers not checked.
Adjust>Sharpness>Sharpen More.
25. Move  this tube down in the middle. this tube down in the middle.
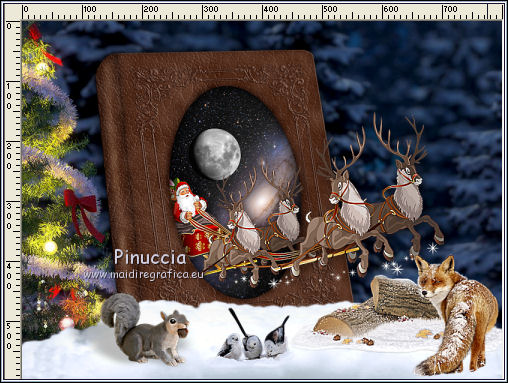
26. Sign your work on a new layer.
little note about the watermark:
I never ask to put watermark on the versions made by my translations.
But if you decide to use the watermark supplied by the author (to put in mode Soft Light),
I would appreciate that my work as translator was respected too.
For that, I added my watermark to the material (in italian and in english).
27. Image>Add borders, 2 pixels, symmetric, color white.
Image>Add borders, 30 pixels, symmetric,foreground color.
Image>Add borders, 2 pixels, symmetric, color white.
28. Activate the Magic Wand Tool 
and click on the 30 pixels borders to select it.
29. Effects>Plugins>Graphics Plus - Cross Shadow, default settings

Selections>Select None.
30. Edit>Copy.
Open Animation Shop and go to Edit>Paste>Paste as new animation.
31. Edit>Duplicate - 3 times to have an animation composed by 4 frames.
32. Click on the first frame to select it.
Edit>Selection All.
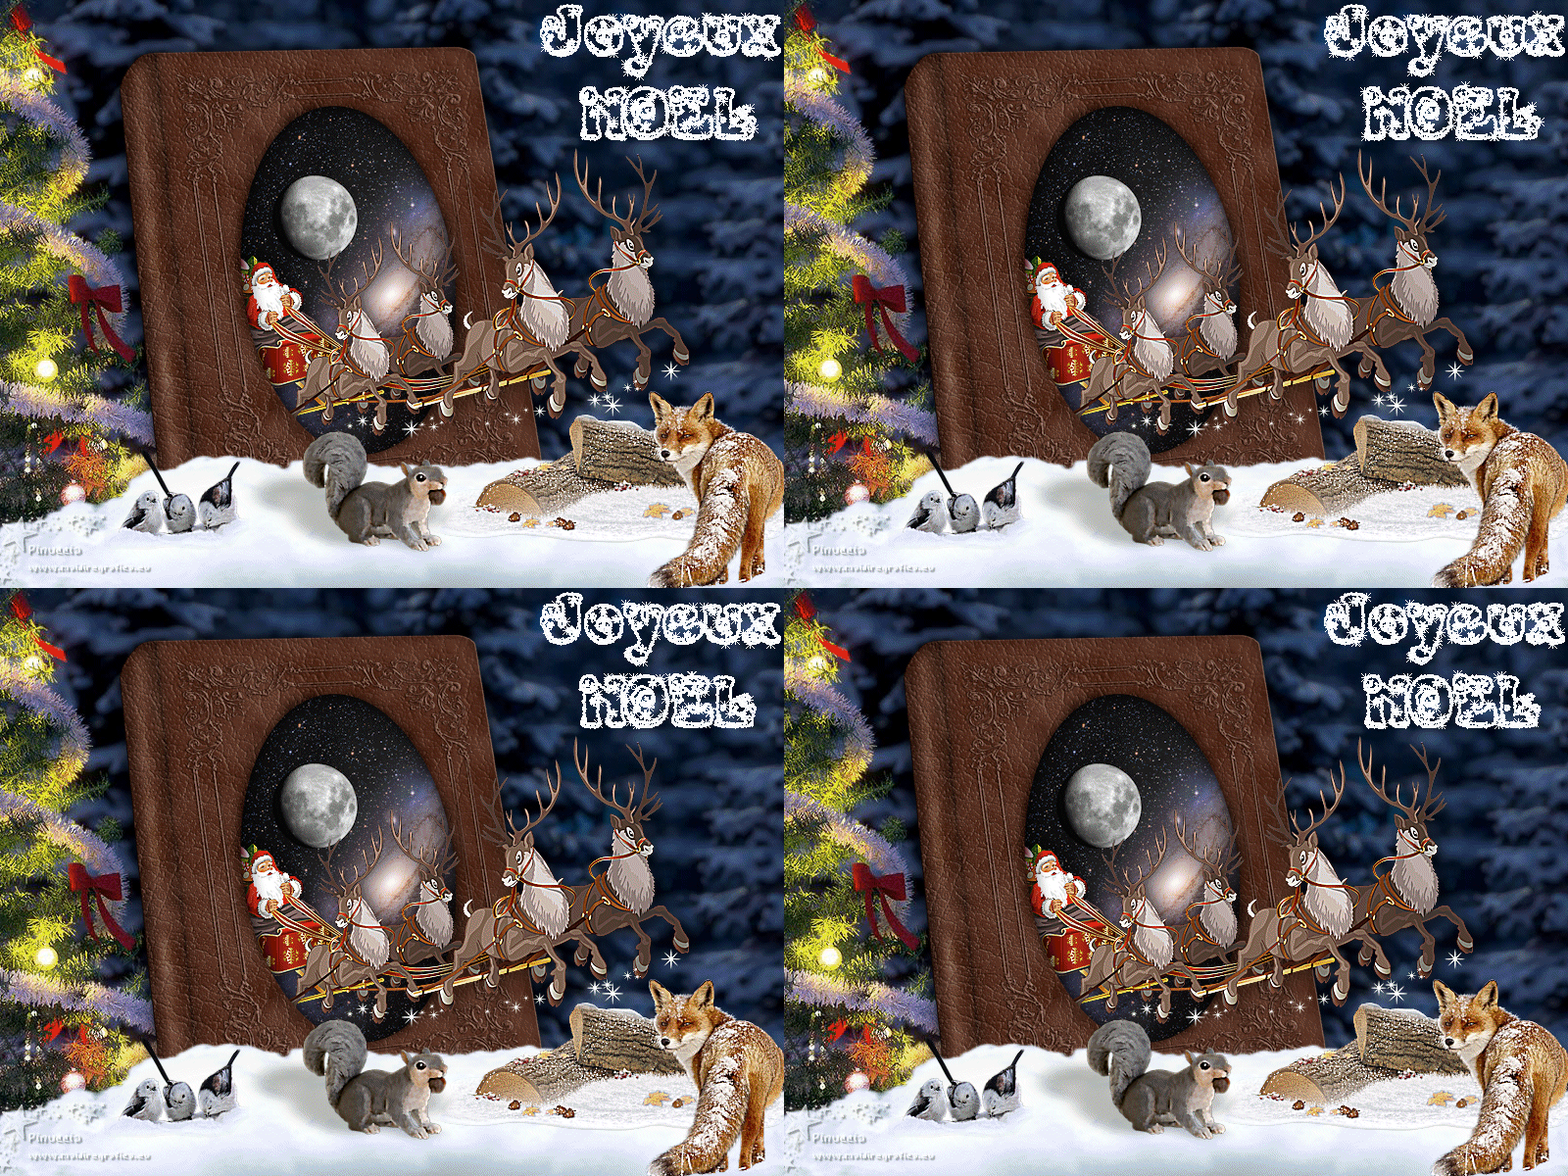
33. Open the animation of the text Joyeux Noël, also composed by 4 frames.
Edit>Select All.
Edit>Copy.
34. Activate your work and go to Edit>Paste>Paste in the selected frame.
Place the texte at the upper right and when you have found the correct position, click with your left mouse button.
35. Check the result clicking on View Animation 
and save as gif.
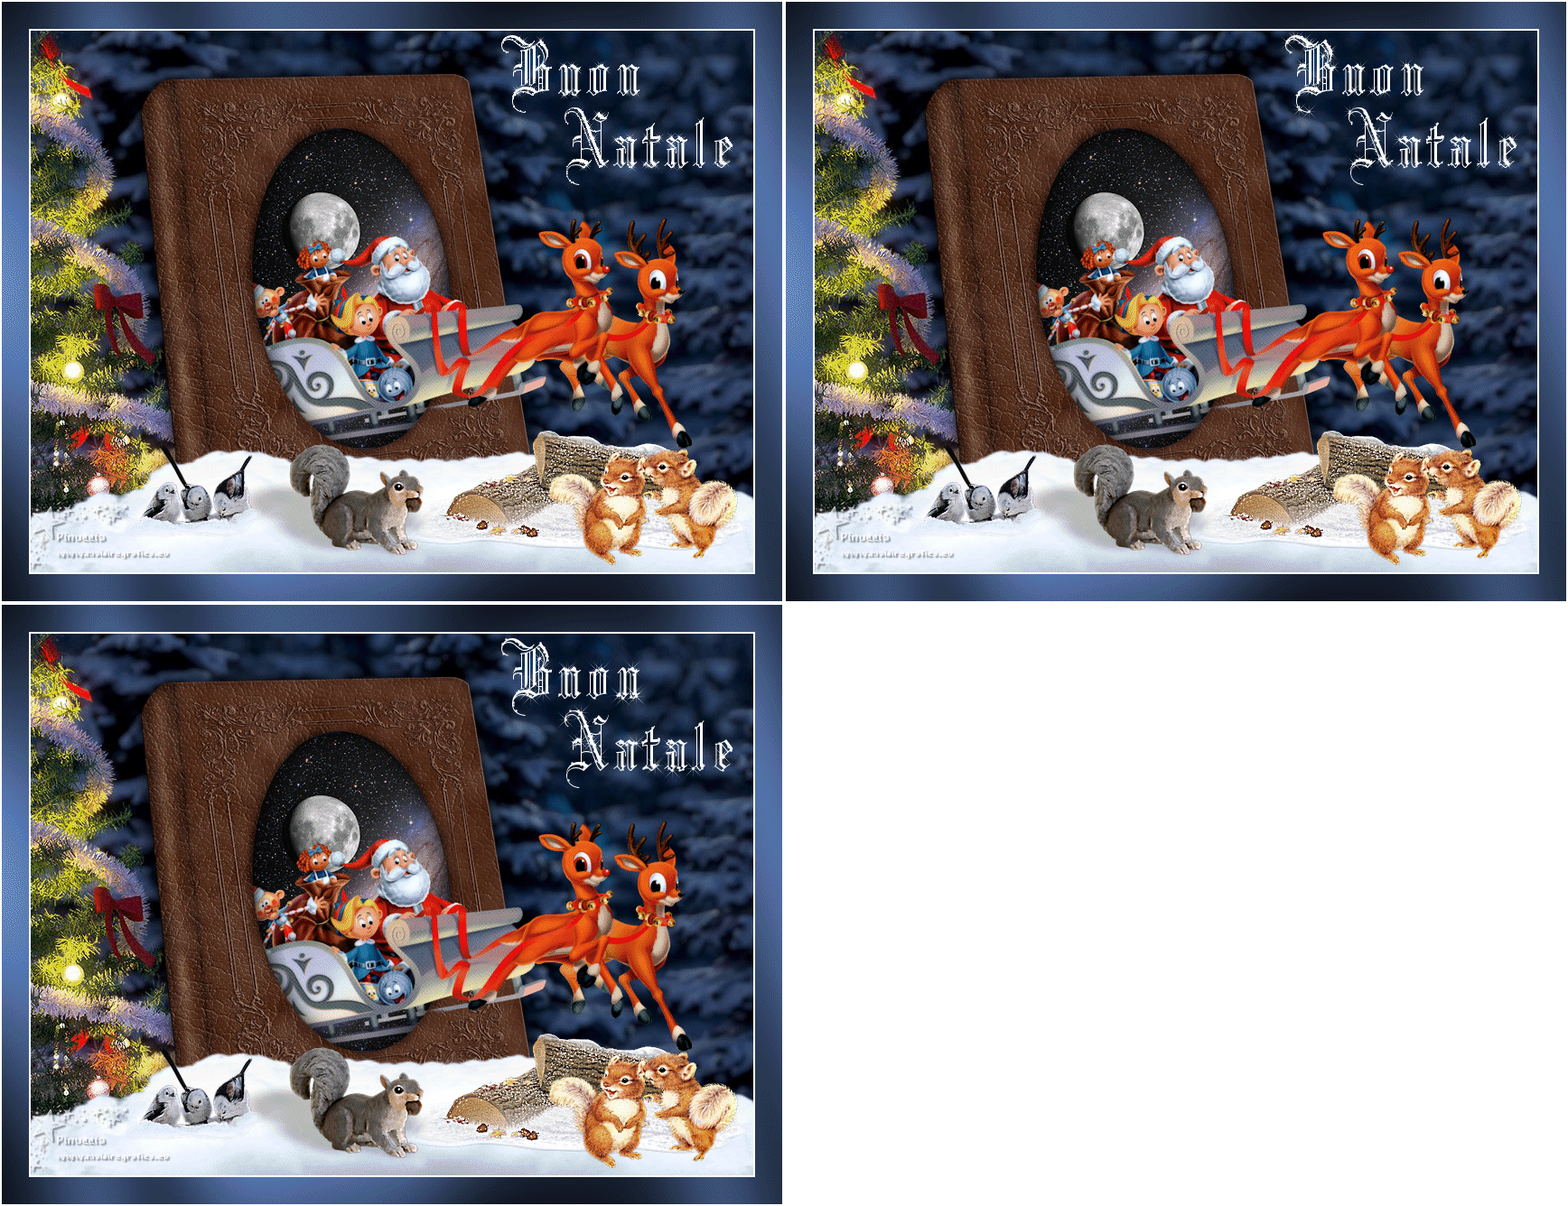
If you have problems or doubts, or you find a not worked link, or only for tell me that you enjoyed this tutorial, write to me.
9 November 2018
|
 ENGLISH VERSION
