|
VIVE LA RENTRÉE
 ENGLISH VERSION ENGLISH VERSION
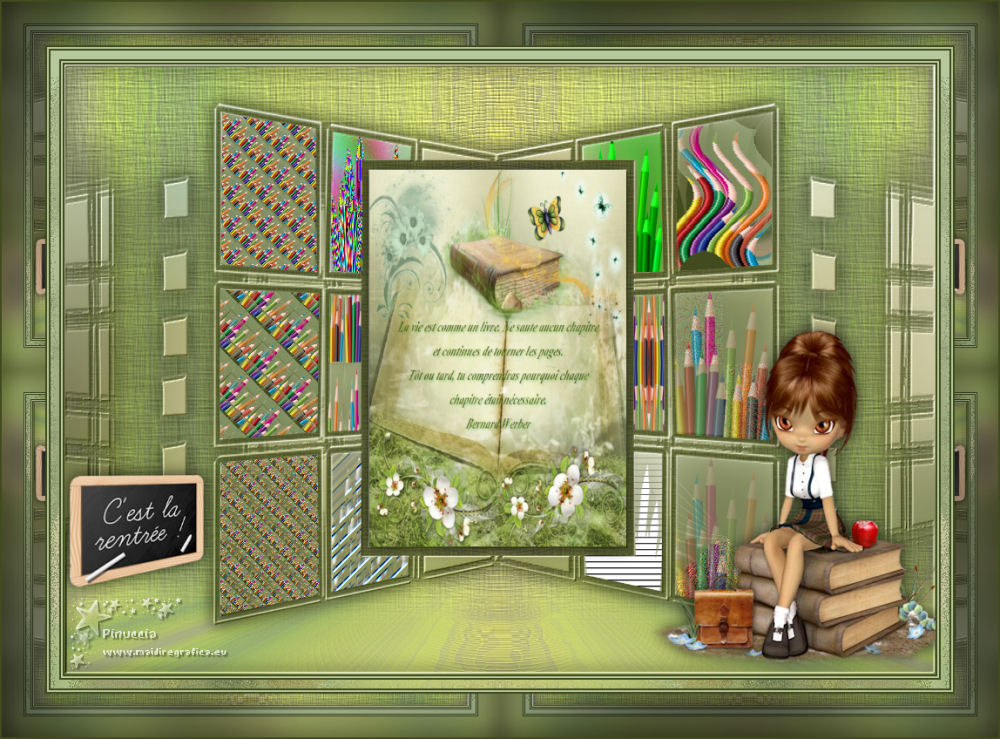
Here you find the original of this tutorial:

This tutorial was translated with PSPX7 but it can also be made using other versions of PSP.
Since version PSP X4, Image>Mirror was replaced with Image>Flip Horizontal,
and Image>Flip with Image>Flip Vertical, there are some variables.
In versions X5 and X6, the functions have been improved by making available the Objects menu.
In the latest version X7 command Image>Mirror and Image>Flip returned, but with new differences.
See my schedule here
Italian translation here
Your versions here
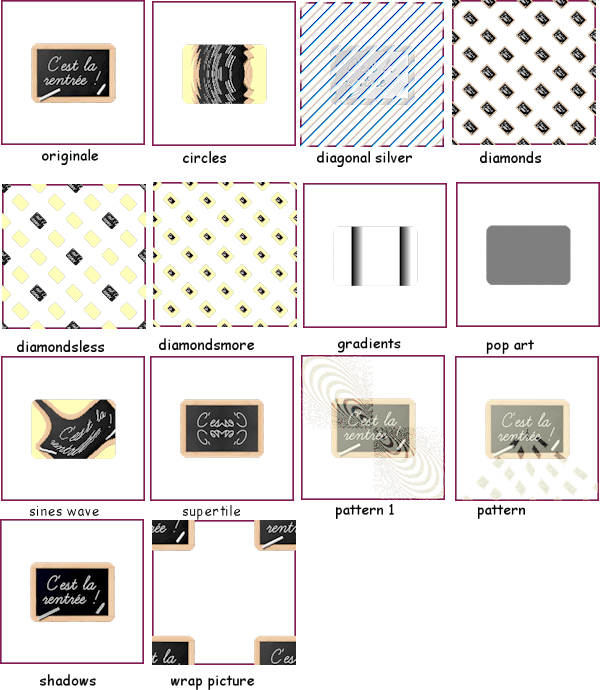
In this tutorial we'll study the plugin Gittes Plugins
Material here
You need at your choice:
1 background image on return to school theme
1 main tube on return to school theme
1 or more tubes for the filter effects.
A mask by GraphicsBeatrice.
Plugins
Filters Unlimited 2.0 here
Gittes Plugins, in the material
Topaz Labs - Adjust 4, in the material.
Mura's Seamless - Emboss at Alpha here
Mura's Meister - Perspective Tiling here
VM Natural - Speed here
Graphics Plus - Cross Shadow, Quick Tile I here
Filters Graphics Plus. VM Natural, and Mura's Seamless can be used alone or imported into Filters Unlimited.
(How do, you see here)
If a plugin supplied appears with this icon  it must necessarily be imported into Unlimited it must necessarily be imported into Unlimited

You can change Blend Modes according to your colors.
In the newest versions of PSP, you don't find the foreground/background gradient (Corel_06_029).
You can use the gradients of the older versions.
The Gradient of CorelX here
The texture Hachure fine Peu profonde corresponds to the standard texture Hatch Fine, or Corel_15_021.
If you don't find it in your PSP, copy the supplied texture in the Textures Folder.
Open the mask in PSP and minimize it with the rest of the material.
1. Choose a background image or the supplied image.
Window>Duplicate, or on the keyboard shift+D, to make a copy
(this is important because we will need it again and again.
It is necessary to always have the original available)
Choose two colors from the image,
and set your foreground color to light color, for me #b7ca9d,
and set your background color to dark color, for me #424b1e.
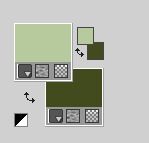
Set your foreground color to a Foreground/Background Gradient, style Linear.

2. Open the image alpha "vive la rentrée".
This image, that will be the basis of your work, is not empty,
but contains the selections saved on the alpha channel.

Selections>Select All.
Activate your background image and go to Edit>Copy.
Go back to your work and go to Edit>Paste into Selection.
Selections>Select None.
3. Adjust>Blur>Gaussian Blur, radius 50.

4. Layers>Duplicate.
Close this layer and go back to the layer Raster 1.
5. Effects>Plugins>Gittes Plugins - Circles.
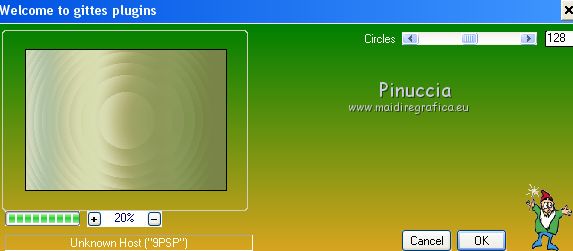
the Circles effect of the VM Toolbox filter joined in the File Locations before this filter,
will not allow you to find the Circles effect in Gitter
You will need to remove VM Toolbox from File Locations
(you can add it later when you'll need it)
Effects>Edge Effects>Enhance More.
6. Layers>Duplicate.
Image>Mirror.
Reduce the opacity of this layer to 50%.
Layers>Merge>Merge Down.
7. Effects>Plugins>Topaz Labs - Adjust 4.
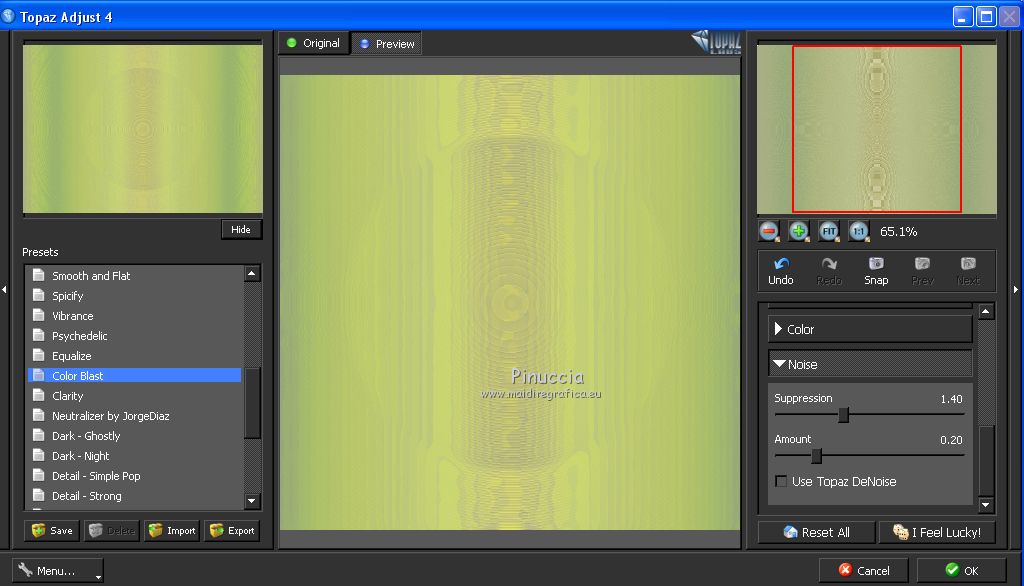
Adjust>Sharpness>Sharpen More.
8. Re-open and activate the layer above, Copy of Raster 1.
Layers>New Mask layer>From image
Open the menu under the source window and you'll see all the files open.
Select the mask Geometric_3_GB

Layers>Merge>Merge group.
Effects>Plugins>Mura's Seamless - Emboss at alpha, default settings.
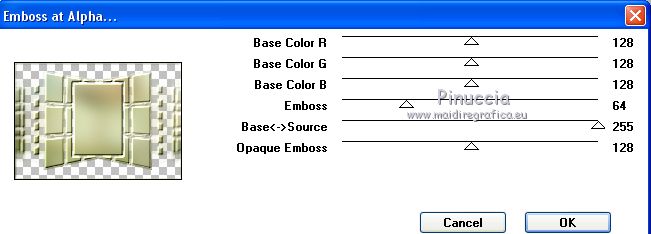
9. Effects>3D Effects>Drop Shadow, color black or your dark color.

10. Layers>New Raster Layer.
Selections>Load/Save Selection >Load Selection from Alpha Channel.
The selection sélection#1 is immediately available. You just have to click Load.

Flood Fill  the selection with your gradient. the selection with your gradient.
Adjust>Blur>Gaussian Blur - radius 25.

11. At this point you can take a single tube to return to school theme,
and that you will need it for all the effects of the filter,
o a tube for each effect. To you to decide.
For me, I chose the first solution.
Open the choosen tube and go to Edit>Copy.
Go back to your work and go to Edit>Paste into Selection.
12. Effects>Plugins>Gittes Plugin - Diamonds
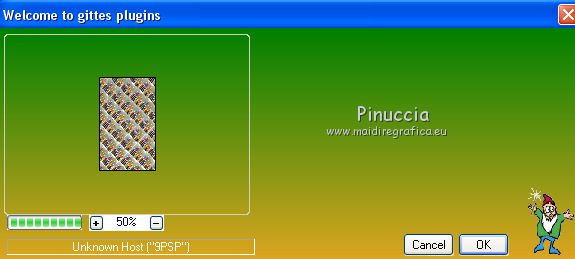
Selections>Select None.
13. Effects>3D Effects>Drop Shadow, same settings.
14. Layers>New Raster Layer.
Selections>Load/Save Selection >Load Selection from Alpha Channel.
Open the selections menu and load sélection#2.

Flood Fill  the selection with your gradient. the selection with your gradient.
15. Adjust>Blur>Gaussian Blur - radius 25.

16. Edit>Paste into Selection (your tube is always in memory).
Effects>Plugins>Gittes Plugin - Diamondsless
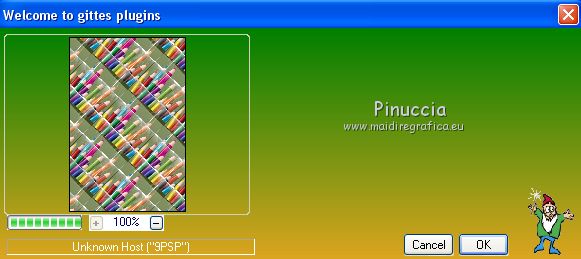
Selections>Select None.
Effects>3D Effects>Drop Shadow, same settings.
17. Layers>New Raster Layer.
Selections>Load/Save Selection >Load Selection from Alpha Channel.
Open the selections menu and load sélection#3.

Flood Fill  the selection with your gradient. the selection with your gradient.
Adjust>Blur>Gaussian Blur - radius 25.
Edit>Paste into Selection (your tube is always in memory).
Effects>Plugins>Gittes Plugin - Diamonds More
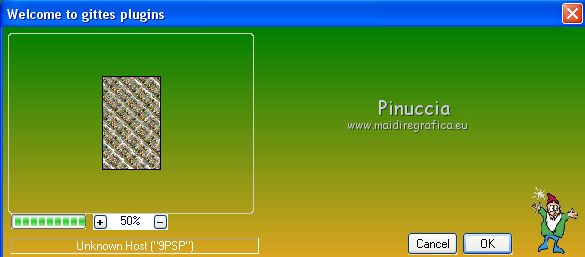
Selections>Select None.
Effects>3D Effects>Drop Shadow, same settings.
18. Layers>New Raster Layer.
Selections>Load/Save Selection >Load Selection from Alpha Channel.
Open the selections menu and load sélection#4.

Flood Fill  the selection with your gradient. the selection with your gradient.
Adjust>Blur>Gaussian Blur - radius 25.
Edit>Paste into Selection (your tube is always in memory).
Effects>Plugins>Gittes Plugin - Sinus Waves, default settings.
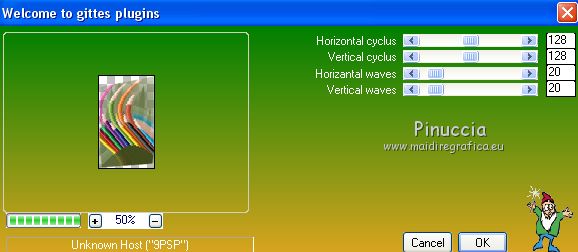
Selections>Select None.
Effects>3D Effects>Drop Shadow, same settings.
19. Layers>New Raster Layer.
Selections>Load/Save Selection >Load Selection from Alpha Channel.
Open the selections menu and load sélection#5.

Flood Fill  the selection with your gradient. the selection with your gradient.
Adjust>Blur>Gaussian Blur - radius 25.
Edit>Paste into Selection (your tube is always in memory).
Effects>Plugins>Gittes Plugin - Pattern 1
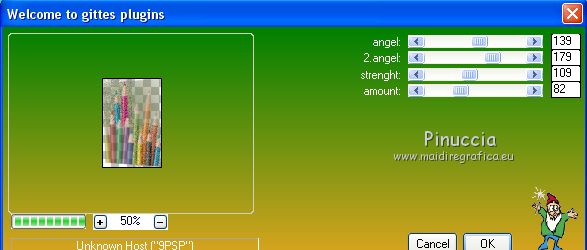
Selections>Select None.
Effects>3D Effects>Drop Shadow, same settings.
20. Layers>New Raster Layer.
Selections>Load/Save Selection >Load Selection from Alpha Channel.
Open the selections menu and load sélection#6.

Flood Fill  the selection with your gradient. the selection with your gradient.
Adjust>Blur>Gaussian Blur - radius 25.
Edit>Paste into Selection (your tube is always in memory).
Effects>Plugins>Gittes Plugin - Pattern
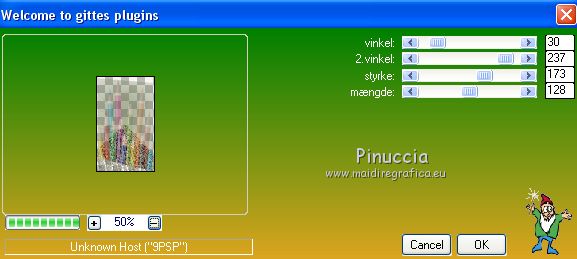
Selections>Select None.
Effects>3D Effects>Drop Shadow, same settings.
21. Layers>New Raster Layer.
Selections>Load/Save Selection >Load Selection from Alpha Channel.
Open the selections menu and load sélection#7.

Flood Fill  the selection with your gradient. the selection with your gradient.
Adjust>Blur>Gaussian Blur - radius 25.
Edit>Paste into Selection (your tube is always in memory).
Effects>Plugins>Gittes Plugin - Pop Art
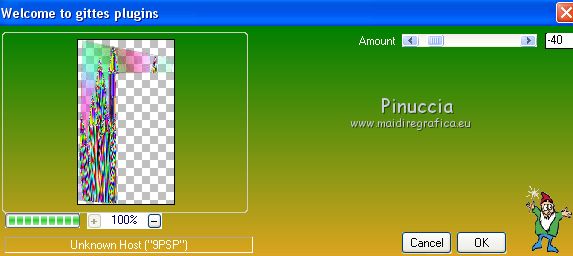
Selections>Select None.
Effects>3D Effects>Drop Shadow, same settings.
22. Layers>New Raster Layer.
Selections>Load/Save Selection >Load Selection from Alpha Channel.
Open the selections menu and load sélection#8.

Flood Fill  the selection with your gradient. the selection with your gradient.
Adjust>Blur>Gaussian Blur - radius 25.
Edit>Paste into Selection (your tube is always in memory).
Effects>Plugins>Gittes Plugin - Wrap Picture
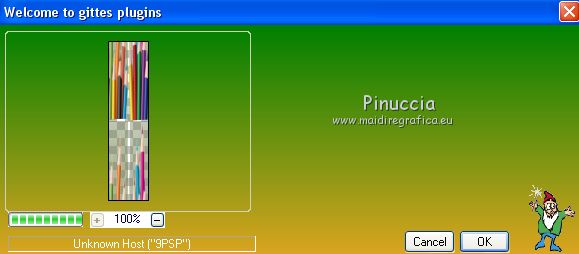
Selections>Select None.
Effects>3D Effects>Drop Shadow, same settings.
23. Layers>New Raster Layer.
Selections>Load/Save Selection >Load Selection from Alpha Channel.
Open the selections menu and load sélection#9.

Flood Fill  the selection with your gradient. the selection with your gradient.
Adjust>Blur>Gaussian Blur - radius 25.
Edit>Paste into Selection (your tube is always in memory).
Effects>Plugins>Gittes Plugin - Diagonale Silver
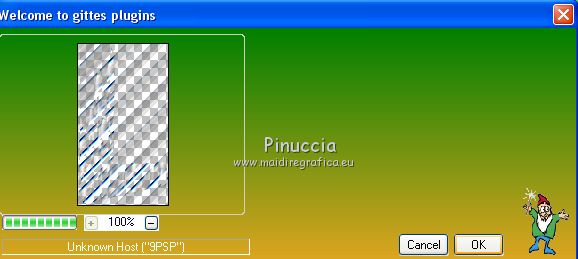
Selections>Select None.
Effects>3D Effects>Drop Shadow, same settings.
24. Layers>New Raster Layer.
Selections>Load/Save Selection >Load Selection from Alpha Channel.
Open the selections menu and load sélection#10.

Flood Fill  the selection with your gradient. the selection with your gradient.
Adjust>Blur>Gaussian Blur - radius 25.
Edit>Paste into Selection (your tube is always in memory).
Effects>Plugins>Gittes Plugin - Gittes Gradients.
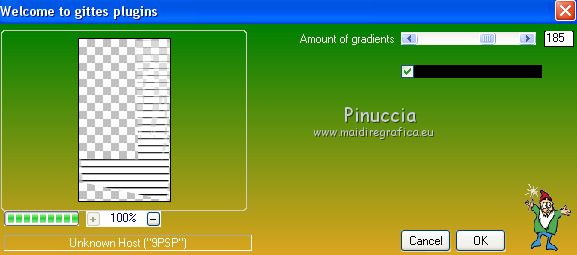
Selections>Select None.
Effects>3D Effects>Drop Shadow, same settings.
25. Layers>New Raster Layer.
Selections>Load/Save Selection >Load Selection from Alpha Channel.
Open the selections menu and load sélection#11.

Flood Fill  the selection with your gradient. the selection with your gradient.
Adjust>Blur>Gaussian Blur - radius 25.
Edit>Paste into Selection (your tube is always in memory).
Effects>Plugins>Gittes Plugin - Gittes Supertile.
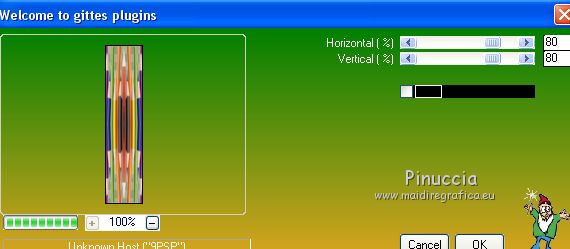
Selections>Select None.
Effects>3D Effects>Drop Shadow, same settings.
26. Layers>New Raster Layer.
Selections>Load/Save Selection >Load Selection from Alpha Channel.
Open the selections menu and load sélection#12.

Flood Fill  the selection with your gradient. the selection with your gradient.
Adjust>Blur>Gaussian Blur - radius 25.
Edit>Paste into Selection (your tube is always in memory).
Effects>Plugins>Gittes Plugin - Shadows
(if necessary, adapt the settings to your colors).
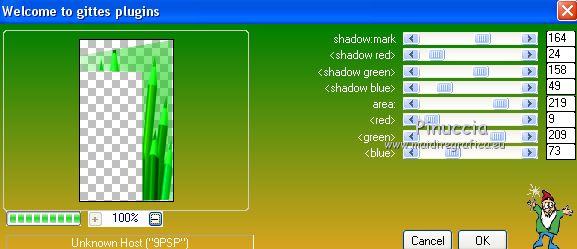
Selections>Select None.
Effects>3D Effects>Drop Shadow, same settings.
27. Close the two bottom layers.
Layers>Merge>Merge visible.
Re-open the closed layers and activate the layer Raster 1.
Layers>Duplicate.
Effects>Plugins>Mura's Meister - Perspective Tiling.
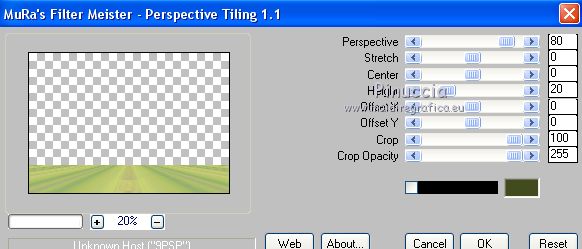
28. Activate the Magic Wand Tool  , Feather 90. , Feather 90.
and click on the transparent part to select it.
Press 4-5 times CANC on the keyboard 
Selections>Select None.
29. Activate again the layer Raster 1.
Effects>Texture Effects>Texture - select the texture Hatch fine or Corel 15_021.

30. Activate the top layer.
Layers>New Raster Layer.
Selections>Load/Save Selection >Load Selection from Alpha Channel.
Open the selections menu and load sélection#13.

Activate the background image used at the beginning of the tutorial and go to Edit>Copy.
Go back to your work and go to Edit>Paste into Selection.
Effects>3D Effects>Drop Shadow, same settings.
Selections>Select None.
31. Layers>Merge>Merge Down - 2 times.
Effects>3D Effects>Drop Shadow, same settings.
32. Copy/Paste as new layer all your tubes, place them 
and apply a Drop Shadow at your choice.
33. When all is ok: Layers>Merge>Merge All.
34. Image>Add borders, 2 pixels, symmetric, dark color.
35. Edit>Copy.
Edit>Paste as new image, and minimize this image for caution.
36. Go back to your work.
Image>Add borders, 2 pixels, symmetric, light color.
Image>Add borders, 2 pixels, symmetric, dark color.
37. Selections>Select All.
Effects>3D Effects>Drop Shadow, color black.

Image>Add borders, 10 pixels, symmetric, light color.
Selections>Invert.
38. Effects>Plugins>VM Natural - Speed.
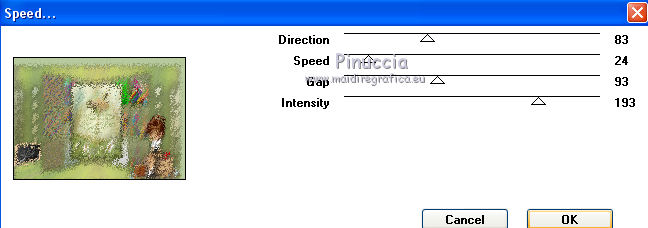
Selections>Promote Selection to Layer.
Selections>Select None.
39. Layers>Duplicate.
Image>Mirror.
Reduce the opacity of this layer to 50%.
Layers>Merge>Merge Down - 2 time.
40. Image>Add borders, 2 pixels, symmetric, dark color.
Image>Add borders, 2 pixels, symmetric, light color.
Image>Add borders, 2 pixels, symmetric, dark color.
Selections>Select All.
Image>Add borders, 50 pixels, symmetric, light color.
Effects>3D Effects>Drop Shadow, same settings.
Selections>Invert.
Edit>Paste into Selection (the image copied and minimized at step 35 is in memory).
Adjust>Blur>Gaussian blur, radius 25.
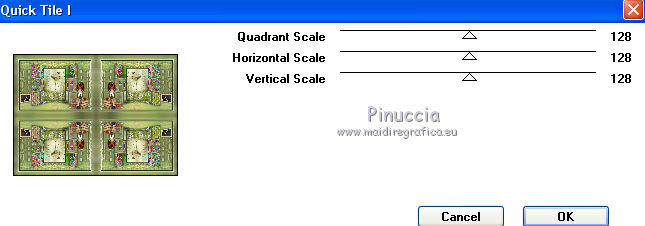
Effects>Plugins>Graphics Plus - Quick Tile I, default settings.
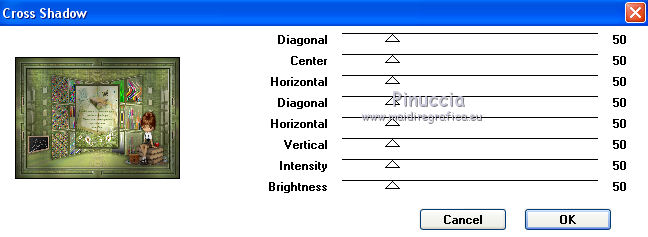
Effects>Plugins>Graphics Plus - Cross Shadow.
Selections>Select None.
41. Image>Add borders, 2 pixels, symmetric, dark color.
42. Sign your work.
Image>Resize, 1000 pixels width, resize all layers checked.
Save as jpg.
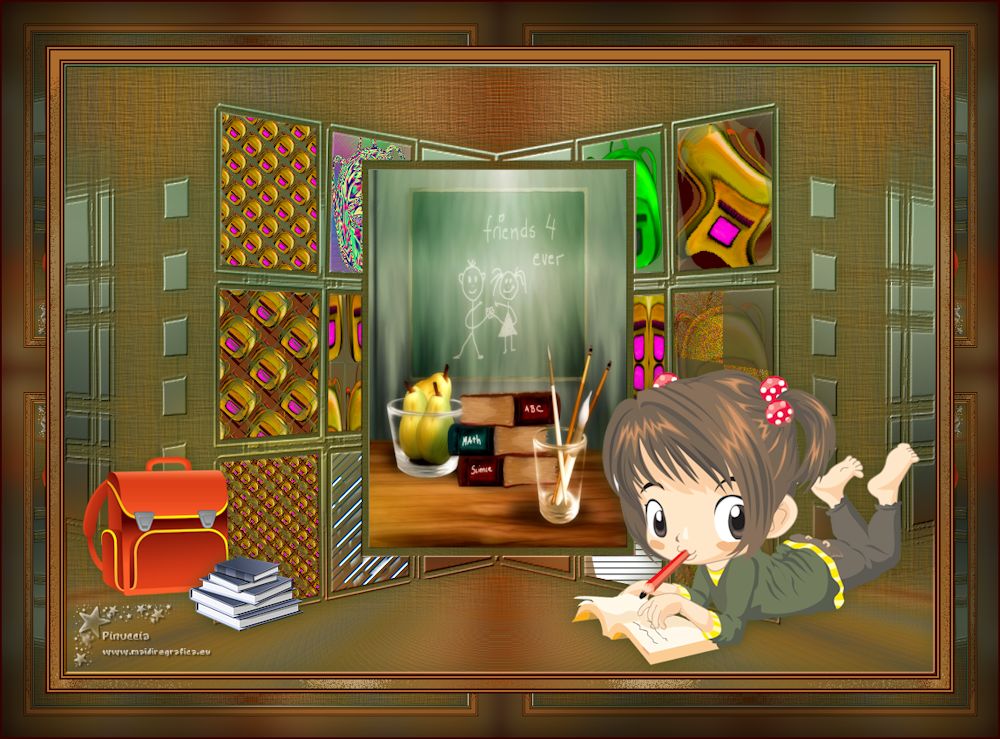
The scrap elements of this versions are by Kts and Julia Design

If you have problems or doubts, or you find a not worked link, or only for tell me that you enjoyed this tutorial, write to me.
4 September 2018
|
 ENGLISH VERSION

 ENGLISH VERSION
