This tutorial was created with PSP2018 and translated with PSPX3 but it can also be made using other versions of PSP.
Since version PSP X4, Image>Mirror was replaced with Image>Flip Horizontal,
and Image>Flip with Image>Flip Vertical, there are some variables.
In versions X5 and X6, the functions have been improved by making available the Objects menu.
In the latest version X7 command Image>Mirror and Image>Flip returned, but with new differences.
See my schedule here
Italian translation here
your versions here
Material here
For the tube thanks Guismo.
The rest of the material is by Alyciane.
Plugins
Mehdi - Melt here
Alien Skin Xenofex 2 - Constellation here
Animation Shop here

You can change Blend Modes according to your colors.
Copy the texture snowflakesLightBlue in the Textures Folder.
Open the mask in PSP and minimize it with the rest of the material.
1. Set your foreground color to #bef7c7,
and your background color to #46bbbe.
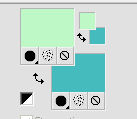
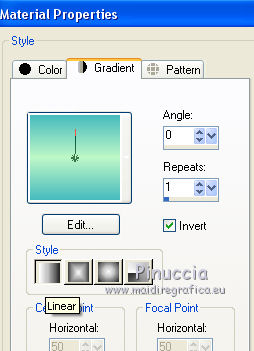
Set your foreground color to a Foreground/Background Gradient, style Linear.
2. Open alpha inde.
This image, that will be the basis of your work, is not empty,
but it contains a selection saved on the alpha channel.
Flood Fill  the transparent image with your Gradient.
3. Effects>Image Effects>Seamless Tiling.

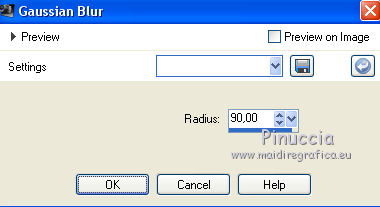
4. Adjust>Blur>Gaussian Blur - radius 90.
5. Layers>Duplicate.
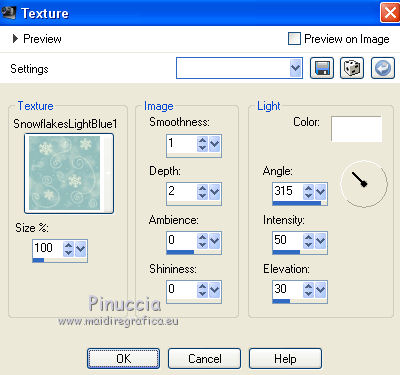
Effects>Texture Effects>Texture - select the texture SnowflakesLightBlue with these settings.
Adjust>Sharpness>Sharpen.
6. Selections>Load/Save Selection>Load Selection from Alpha Channel.
The selection 1 is immediately available.
You have just to click Load.
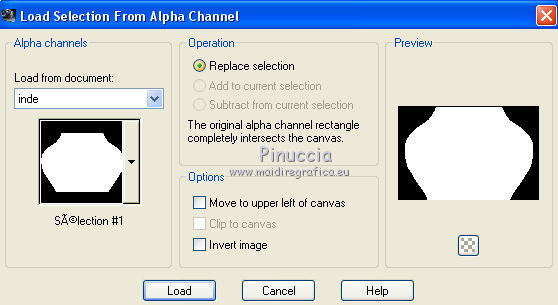
Press CANC on the keyboard 
Selections>Select None.
7. Effect>3D Effects>Drop Shadow.

8. Layers>New Raster Layer.
Set your background color to #1a889a.
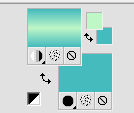
Flood Fill  the layer with color #1a889a.
Layers>New Mask layer>From image
Open the menu under the source window and you'll see all the files open.
Select the mask maskinde
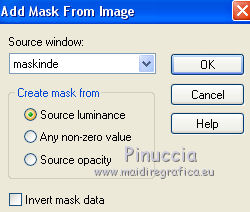
Effects>Edge Effects>Enhance.
Layers>Merge>Merge group.
9. Activate the layer Raster 1.
Selections>Load/Save Selection>Load Selection from Alpha Channel.
Load again selection 1.

Set again your background color to #46bbbe to get the initial Gradient.
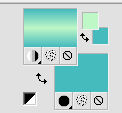
Flood Fill  the selection with your Gradient.
10. Effects>Plugins>Mehdi - Melt.
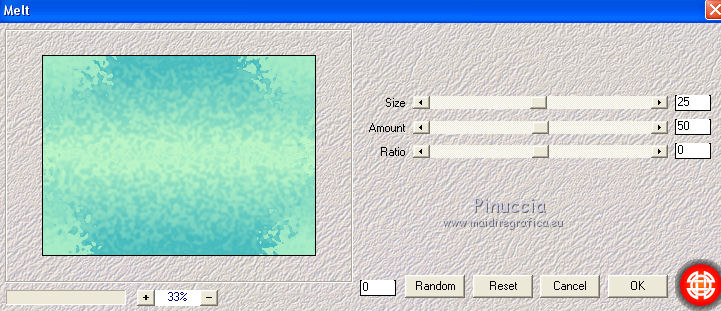
Adjust>Sharpness>Sharpen.
Selections>Select None.
11. Open the landscape tube by Guismo and go to Edit>Copy.
Go back to your work and go to Edit>Paste as new layer.
Adjust>Sharpness>Sharpen.
Move  the tube at the upper.
12. Copy/Paste as new layer your tubes decos and your main tube.
Resize, if necessary and move  them at their site.
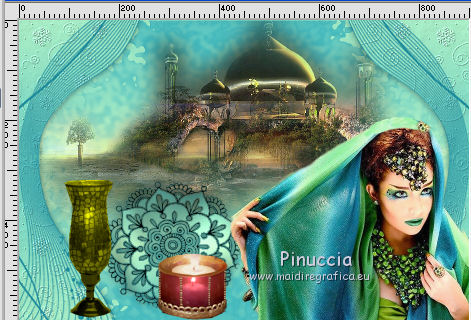
If necessary, apply a Drop Shadow at your choice.
When all is ok:
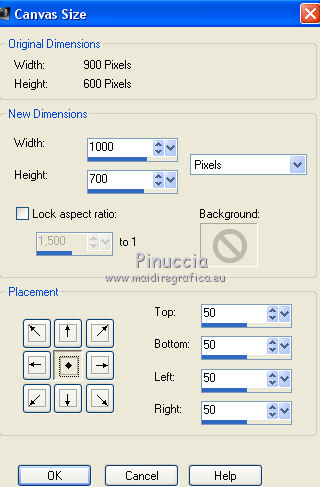
Image>Canvas Size - 1000 x 700 pixels.
13. Layers>New Raster Layer.
Layers>Arrange>Send to Bottom.
Flood Fill  the layer with your Gradient.
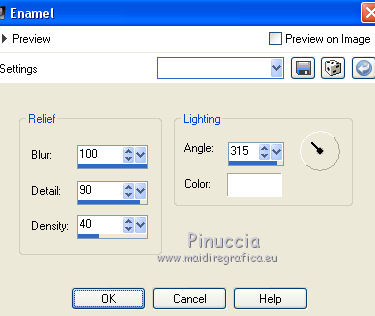
14. Effects>Artistic Effects>Enamel.
15. Selections>Select All.
Selections>Modify>Contract - 30 pixels.
Effects>3D Effects>Drop Shadow.

Selections>Modify>Contract - 20 pixels.
Effects>3D Effects>Drop Shadow, same settings.
Selections>Select None.
16. Sign your work.
Layers>Merge>Merge All and save as jpg.
17. If you want realize the animation, don't merge the layers
and activate the layer of the mask, Group Raster 2.
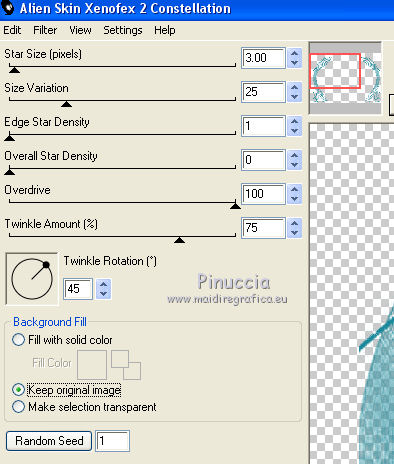
Effects>Plugins>Alien Skin Xenofex 2 - Constellation.
Settings: Glimmer, set Star Size to 3,00 and ok.
Edit>Copy Special>Copy Merged.
Open Animation Shop and go to Edit>Paste>Paste as new image.
18. Go back to PSP.
Edit>Undo Constellation.
Effects>Plugins>Alien Skin Xenofex 2 - Constellation, click one time to Random Seed and ok.
Edit>Copy Special>Copy Merged.
Go back to Animation Shop and go to Edit>Paste>Paste after the current image.
19. Again go back to PSP.
Edit>Undo Constellation.
Effects>Plugins>Alien Skin Xenofex 2 - Constellation, click one time to Random Seed and ok.
Edit>Copy Special>Copy Merged.
Go back to Animation Shop and go to Edit>Paste>Paste after the current image.
20. View Animation 
to check the result and save as gif.

If you have problems or doubts, or you find a not worked link, or only for tell me that you enjoyed this tutorial, write to me.
My mail is in the menu on the top of the page.
8 September 2018
My tutorials and my translations are registeredi
 ENGLISH VERSION
